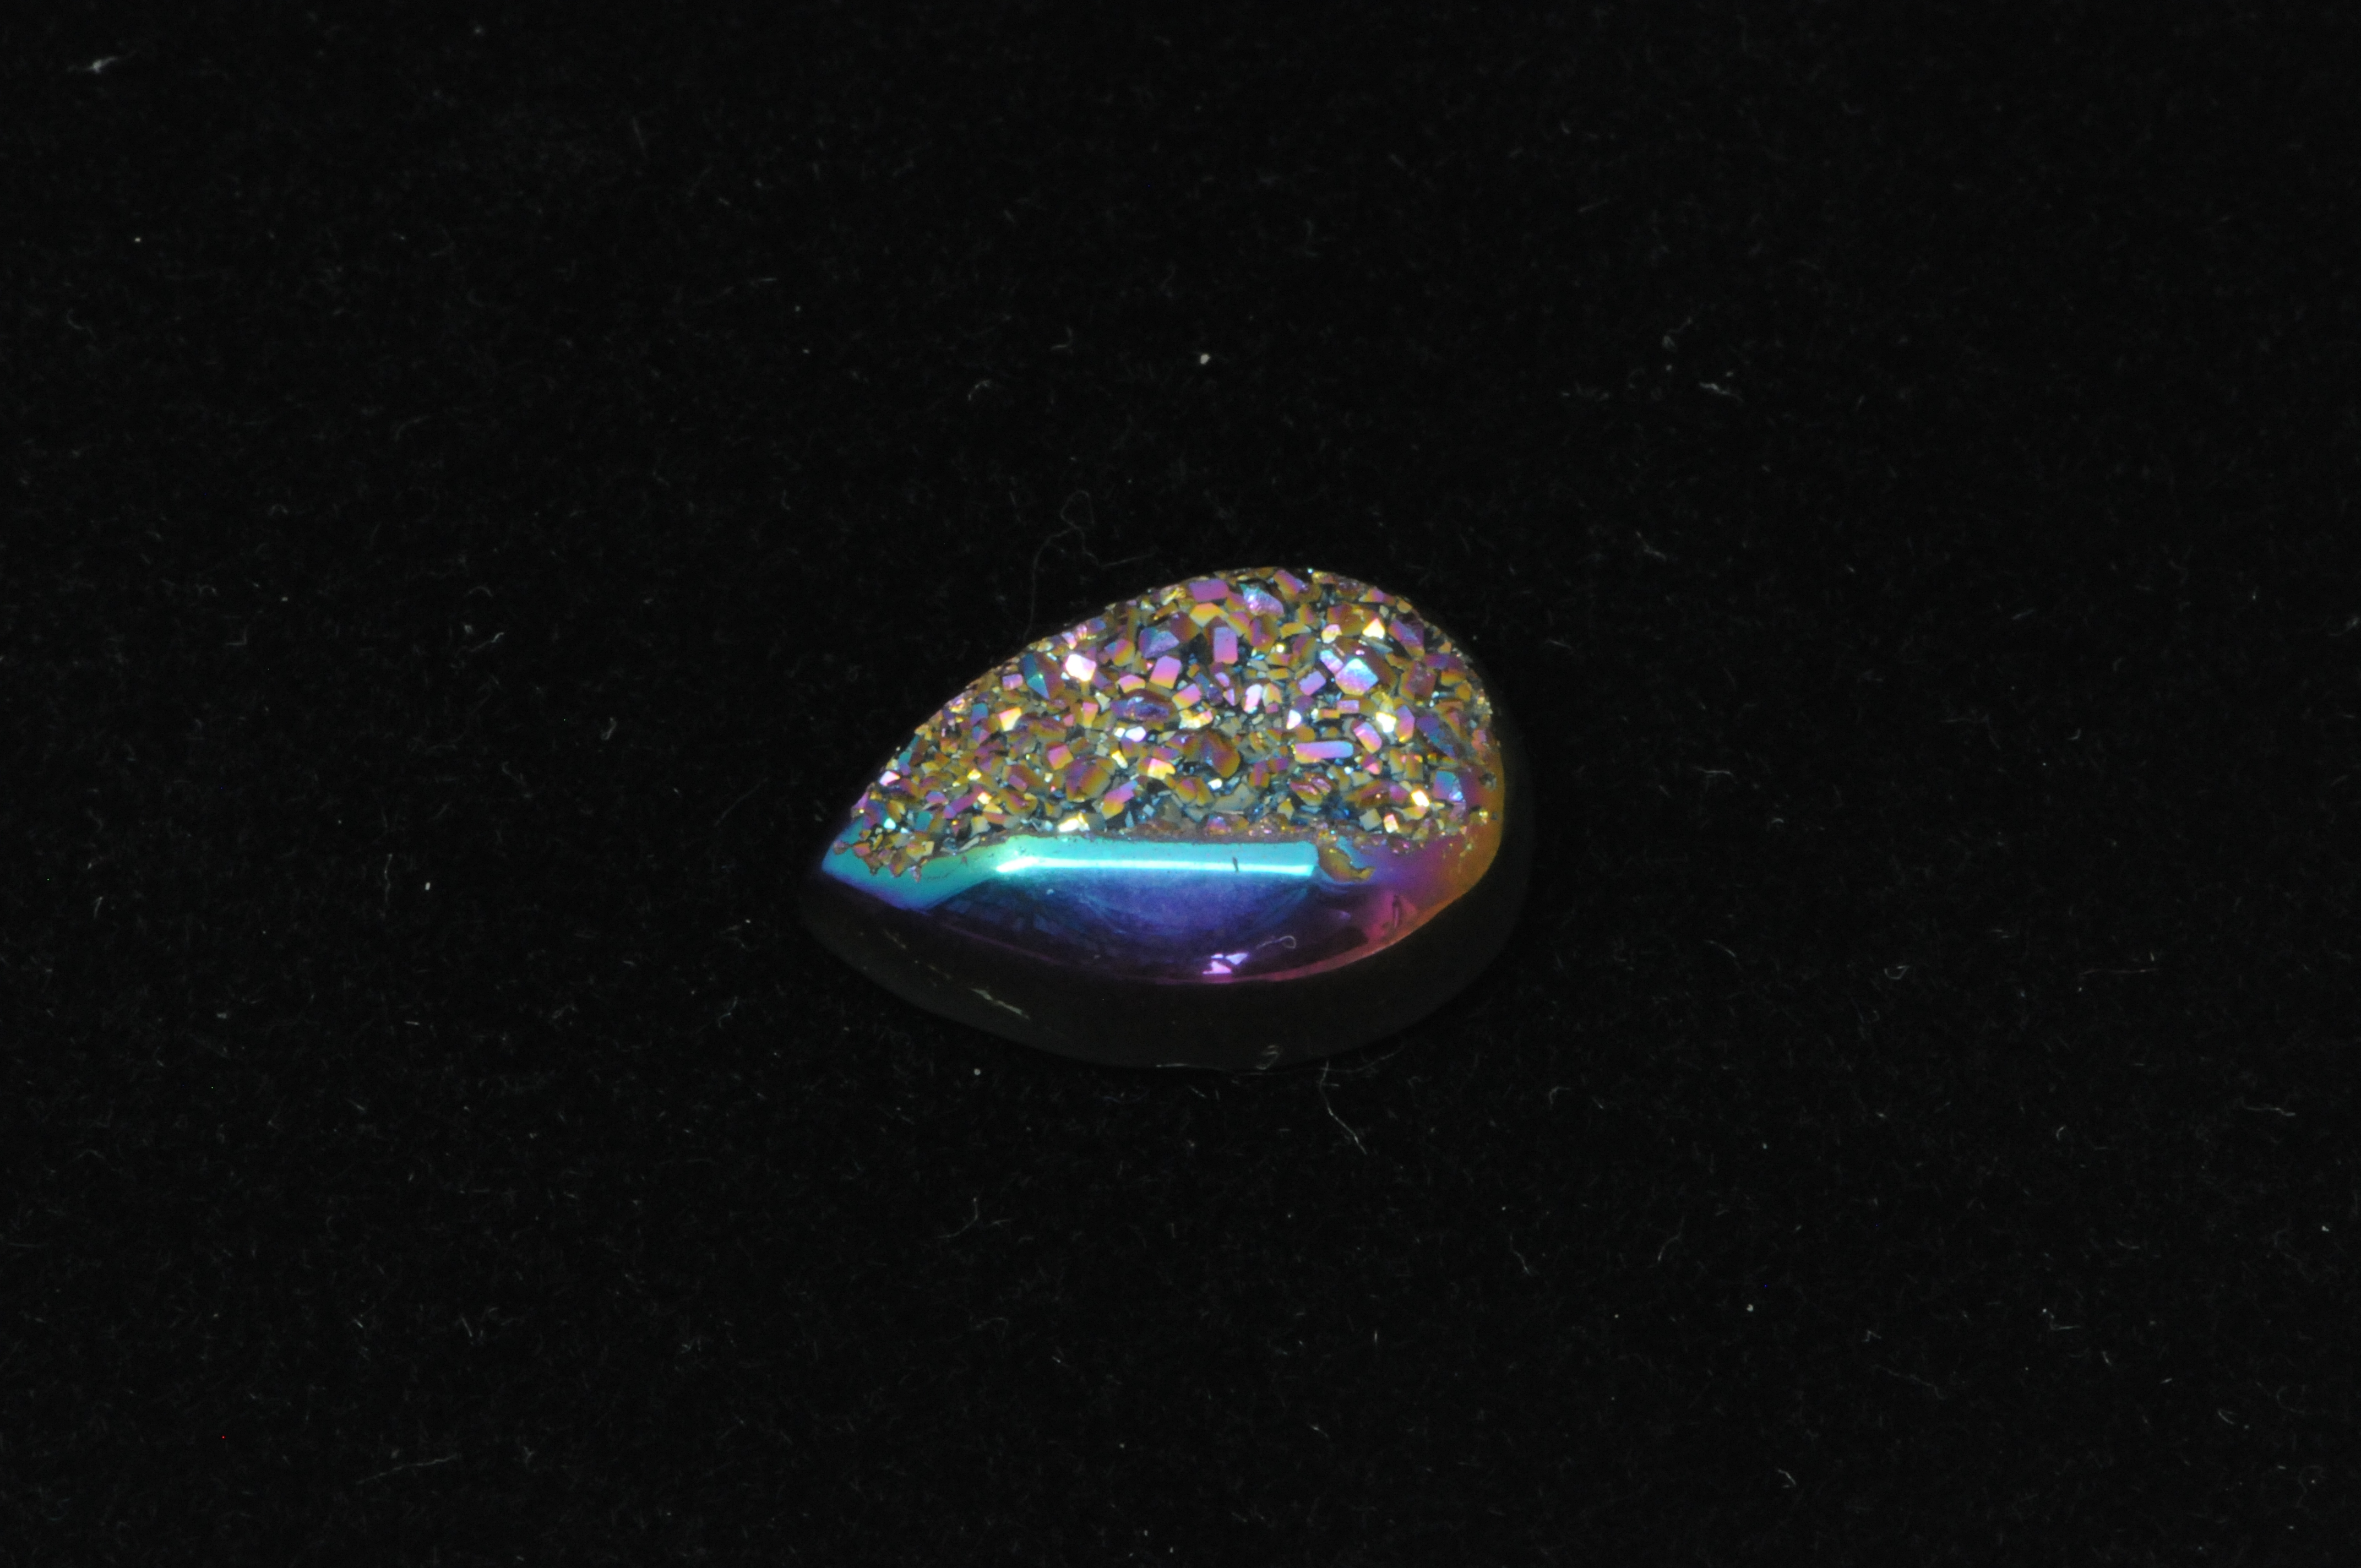
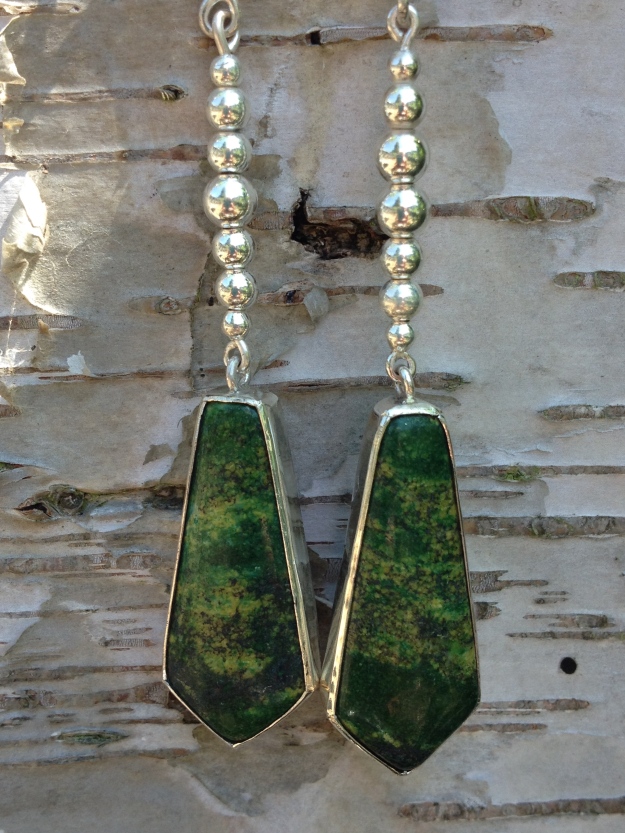
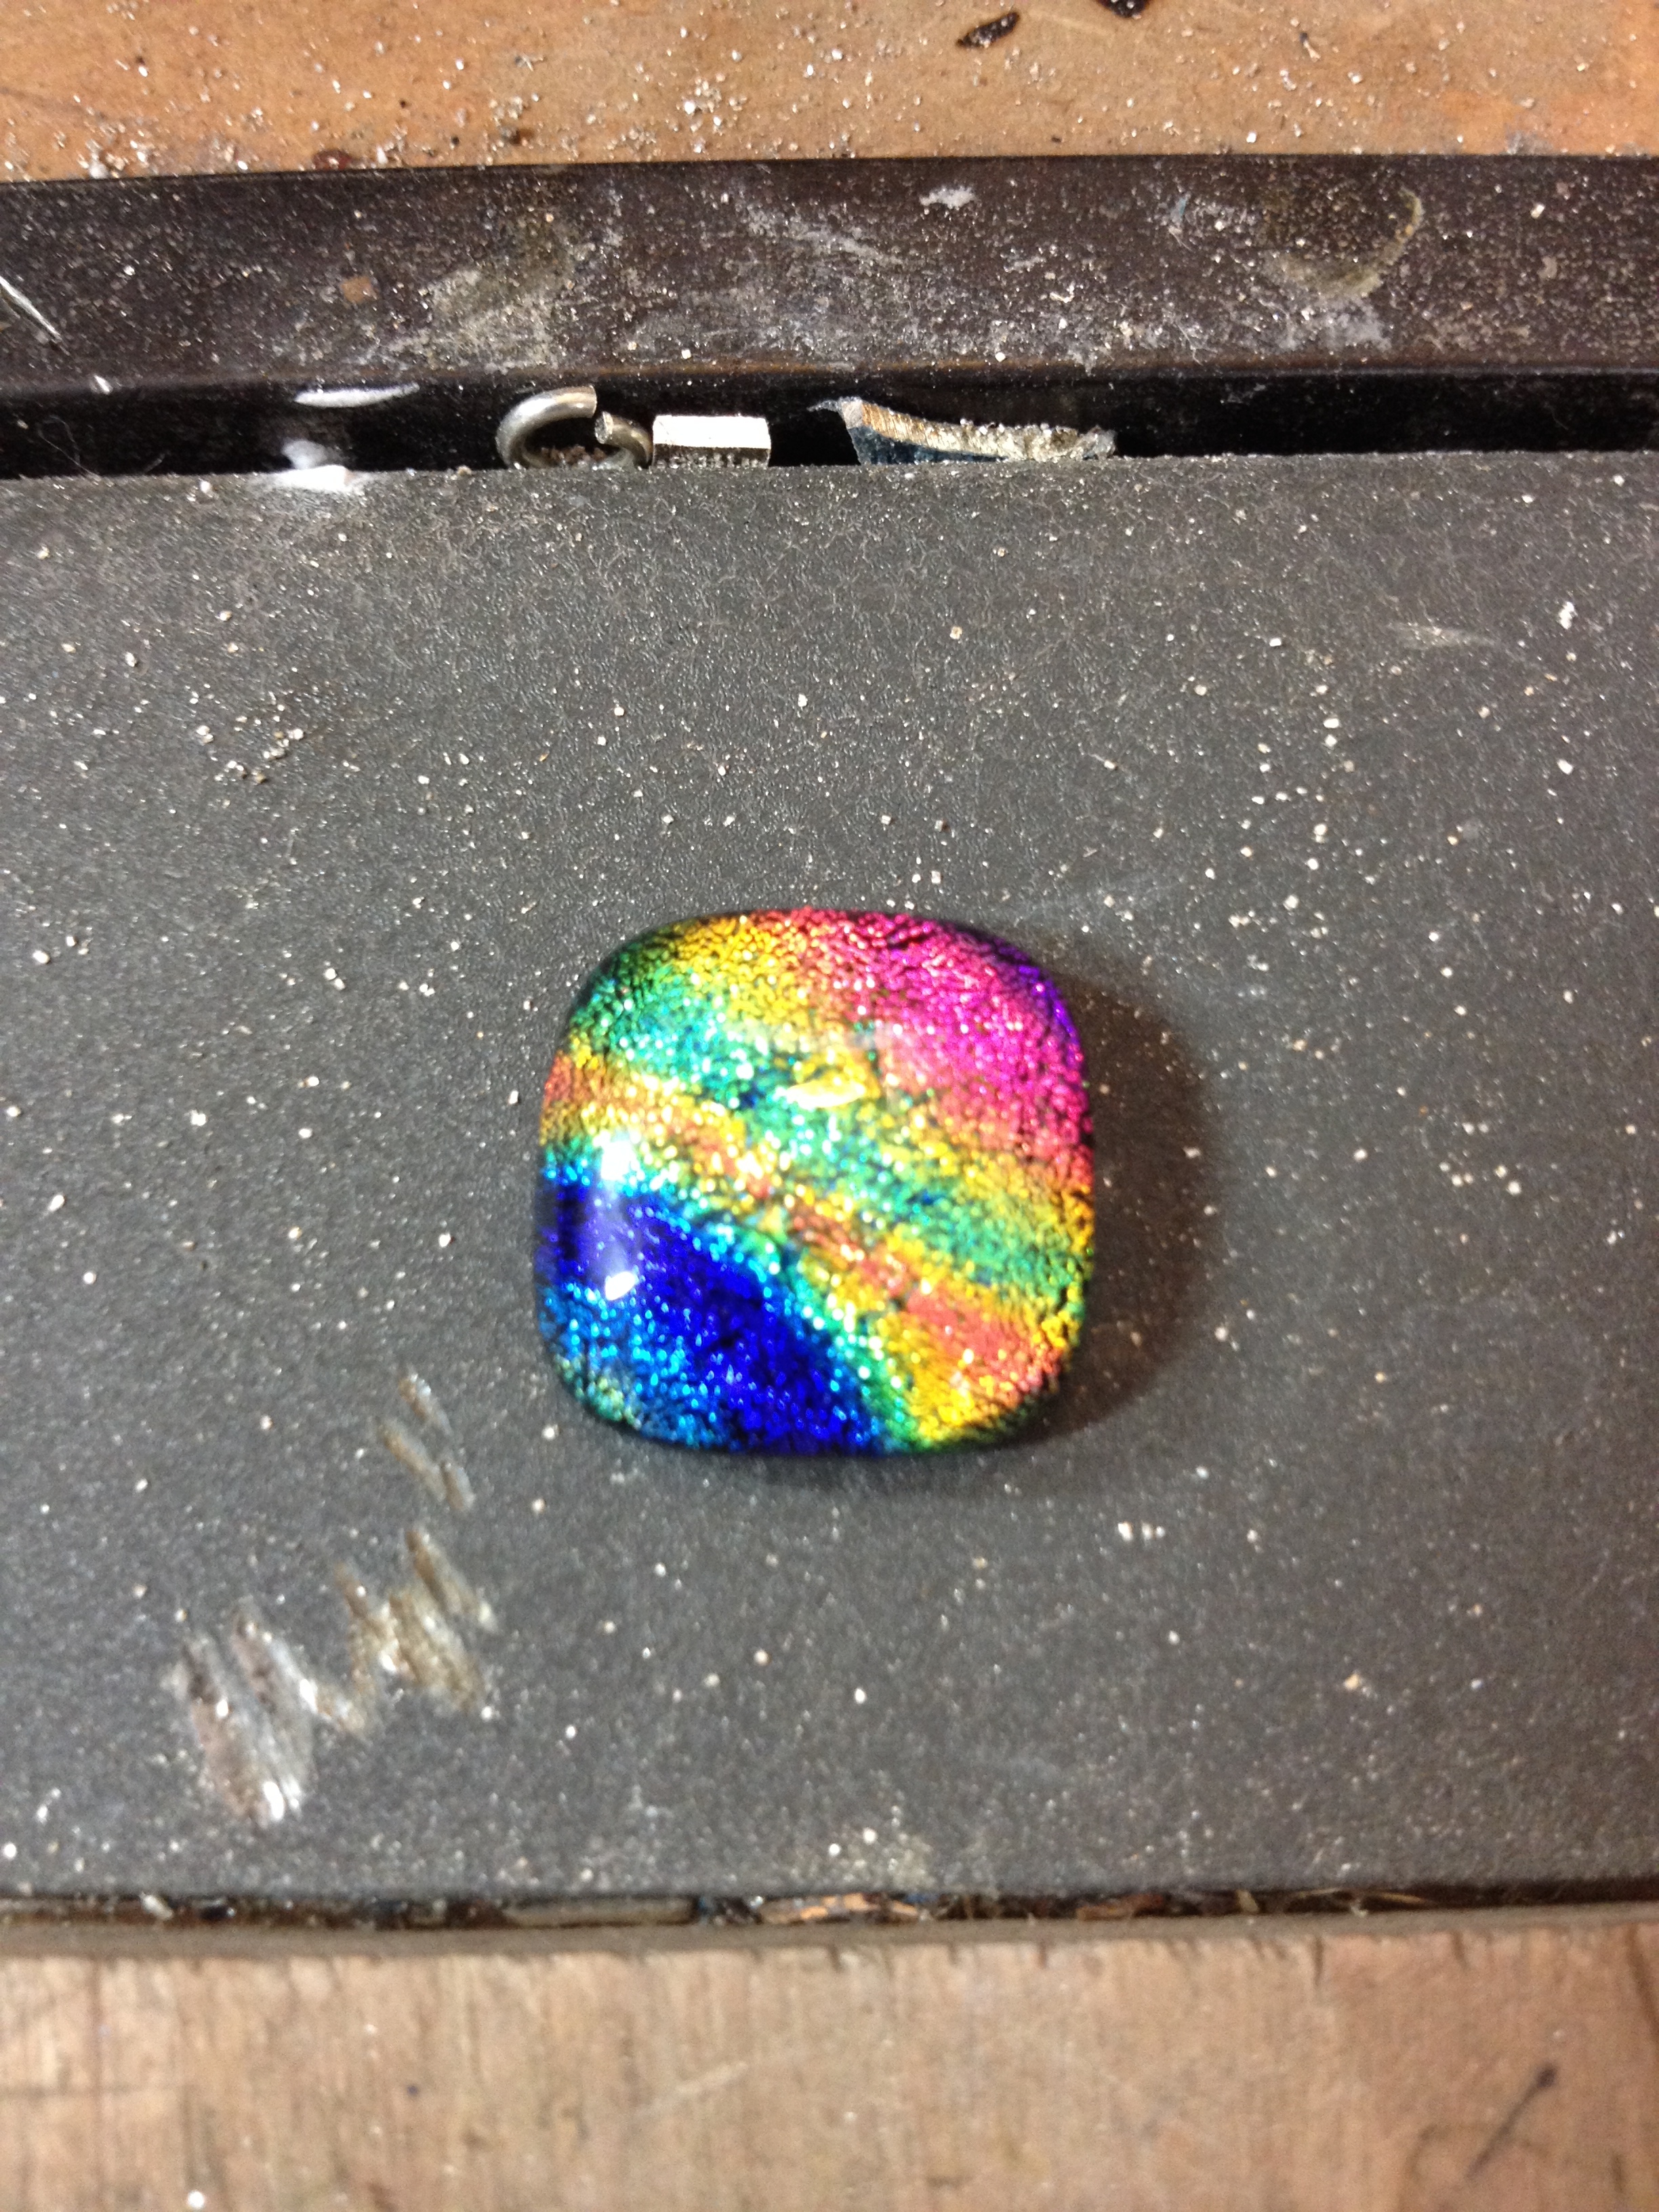
I have had a pair of green Chrysocolla drop shape stones for quite a while now and only recently have they found their owner. Emma wanted a pair of earrings so it seemed only polite to oblige.
Emma and I decided to make a bezel set stone suspended by a long wire threaded with graduated silver beads.
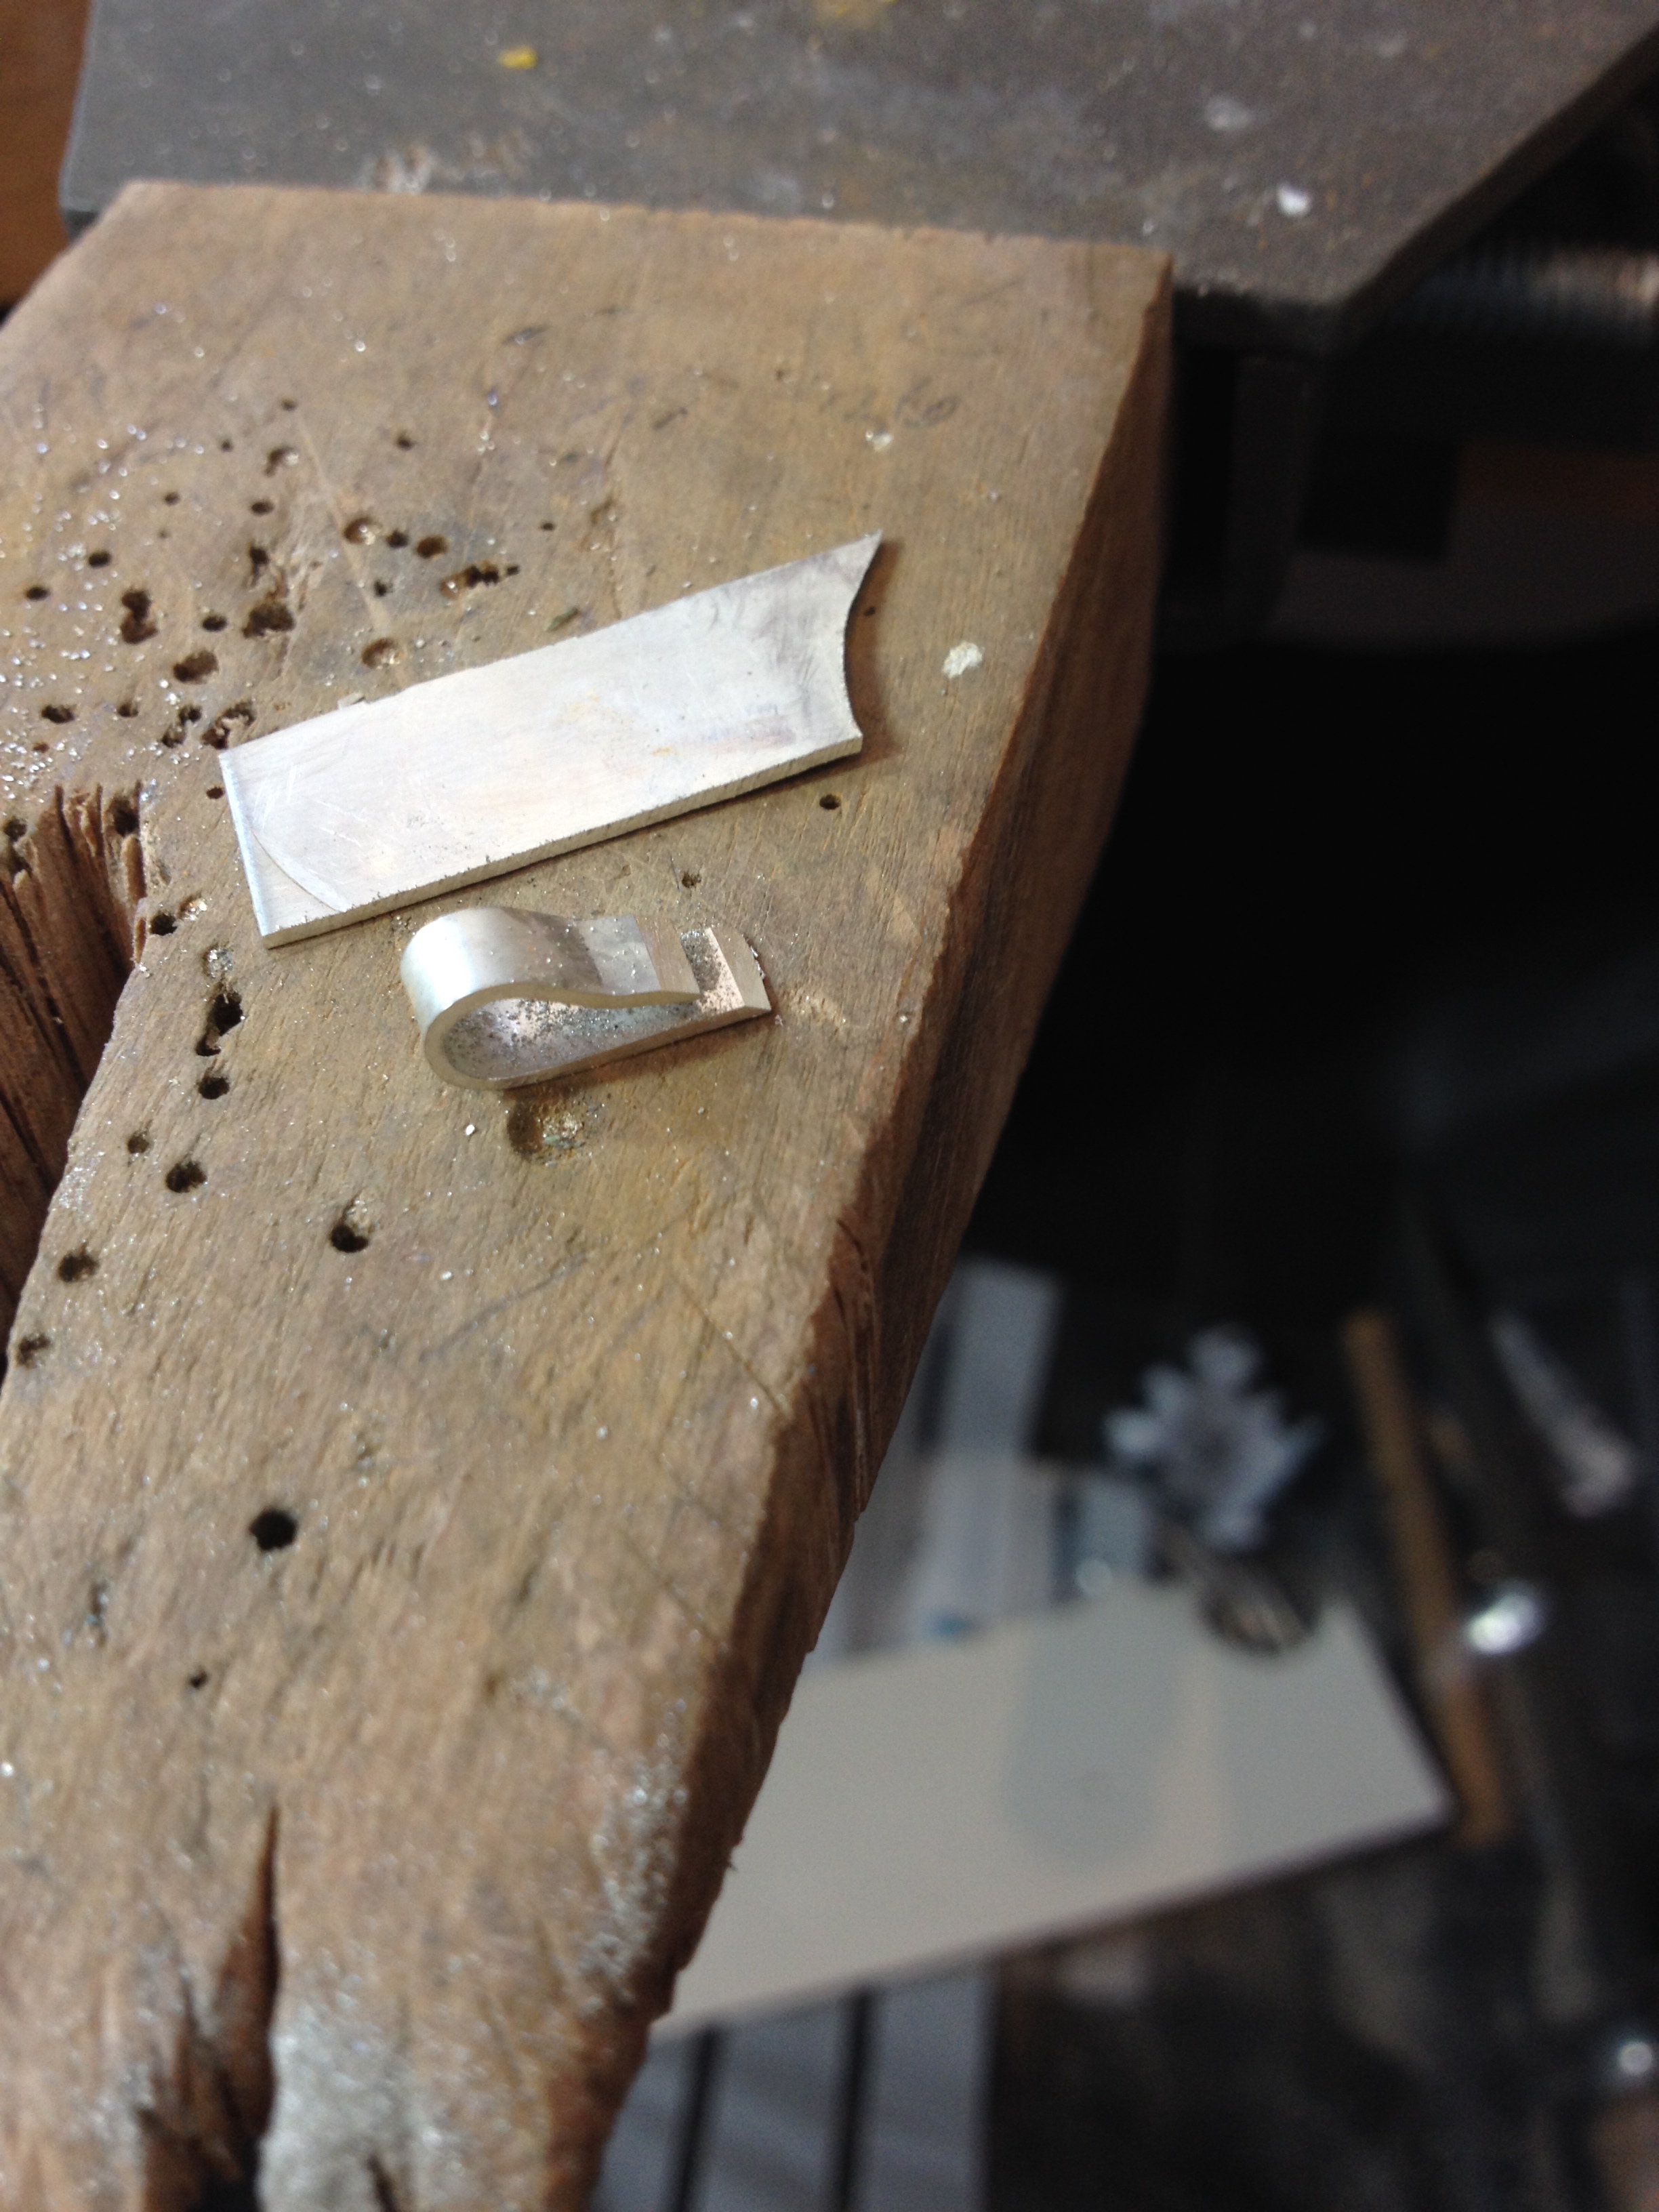
First thing first though – make the settings for the stones. I needed lengths of 0.5mm sheet to make the sides and sheet of 0.8mm for the base.

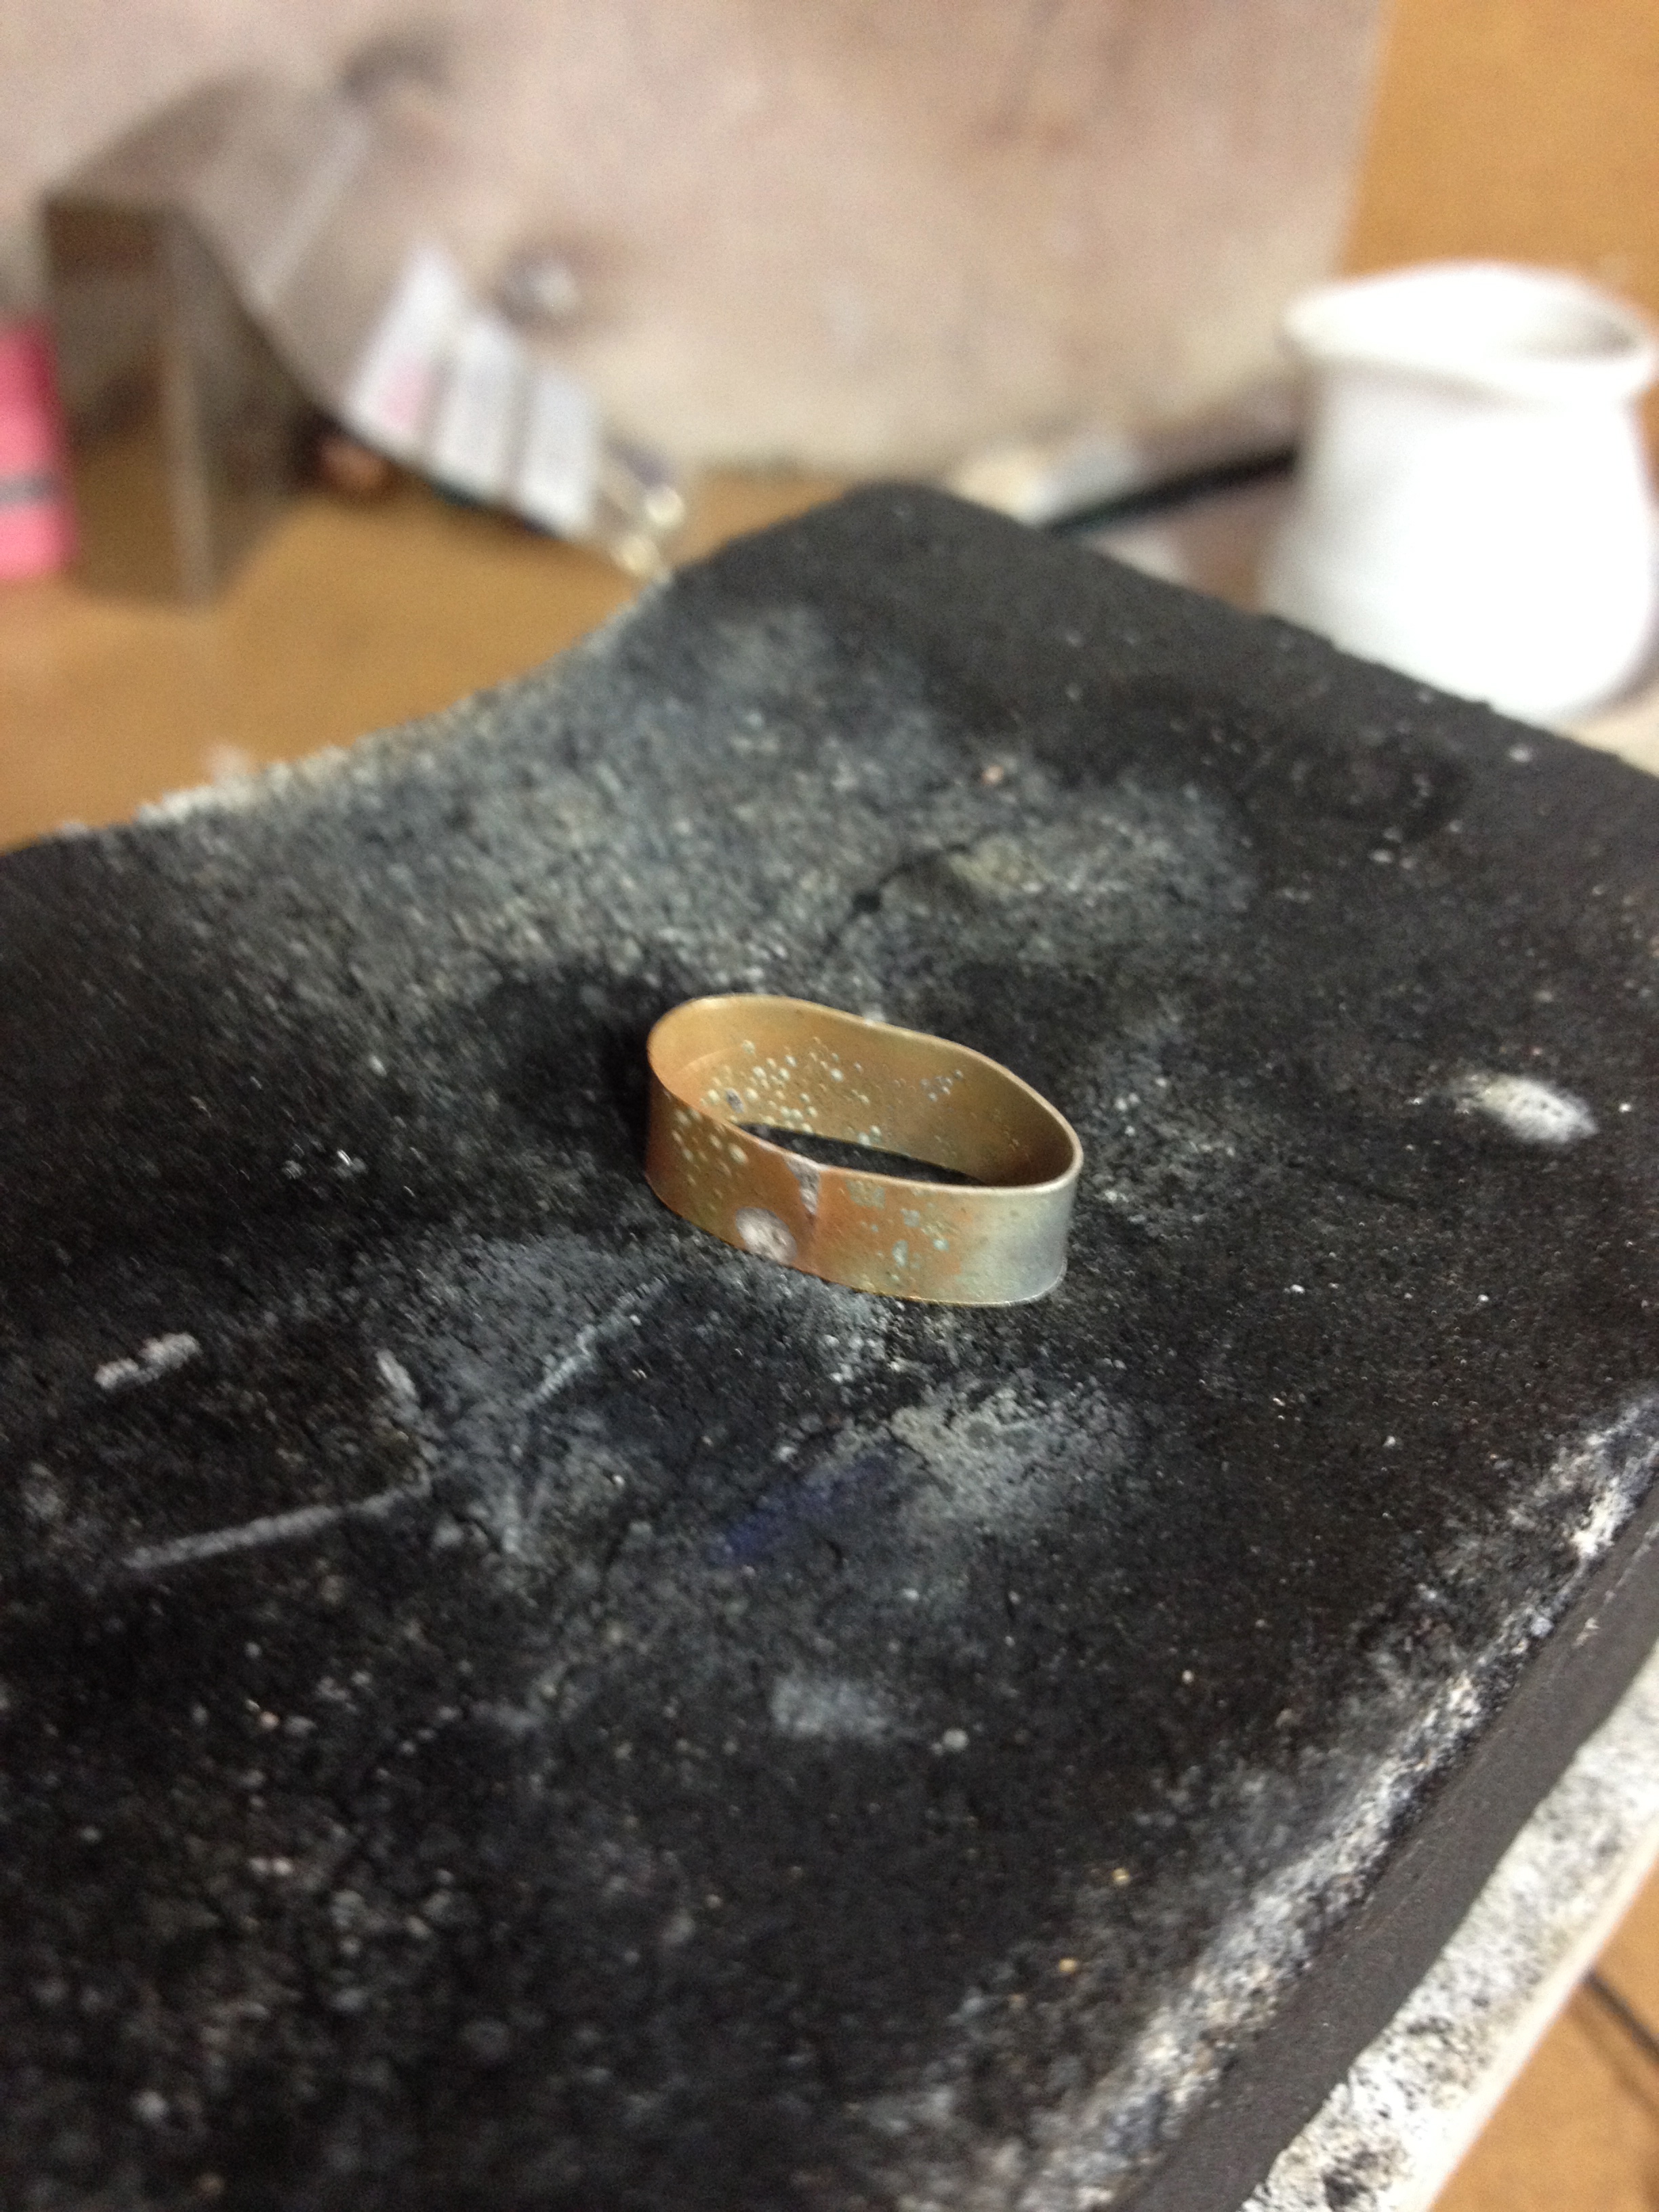
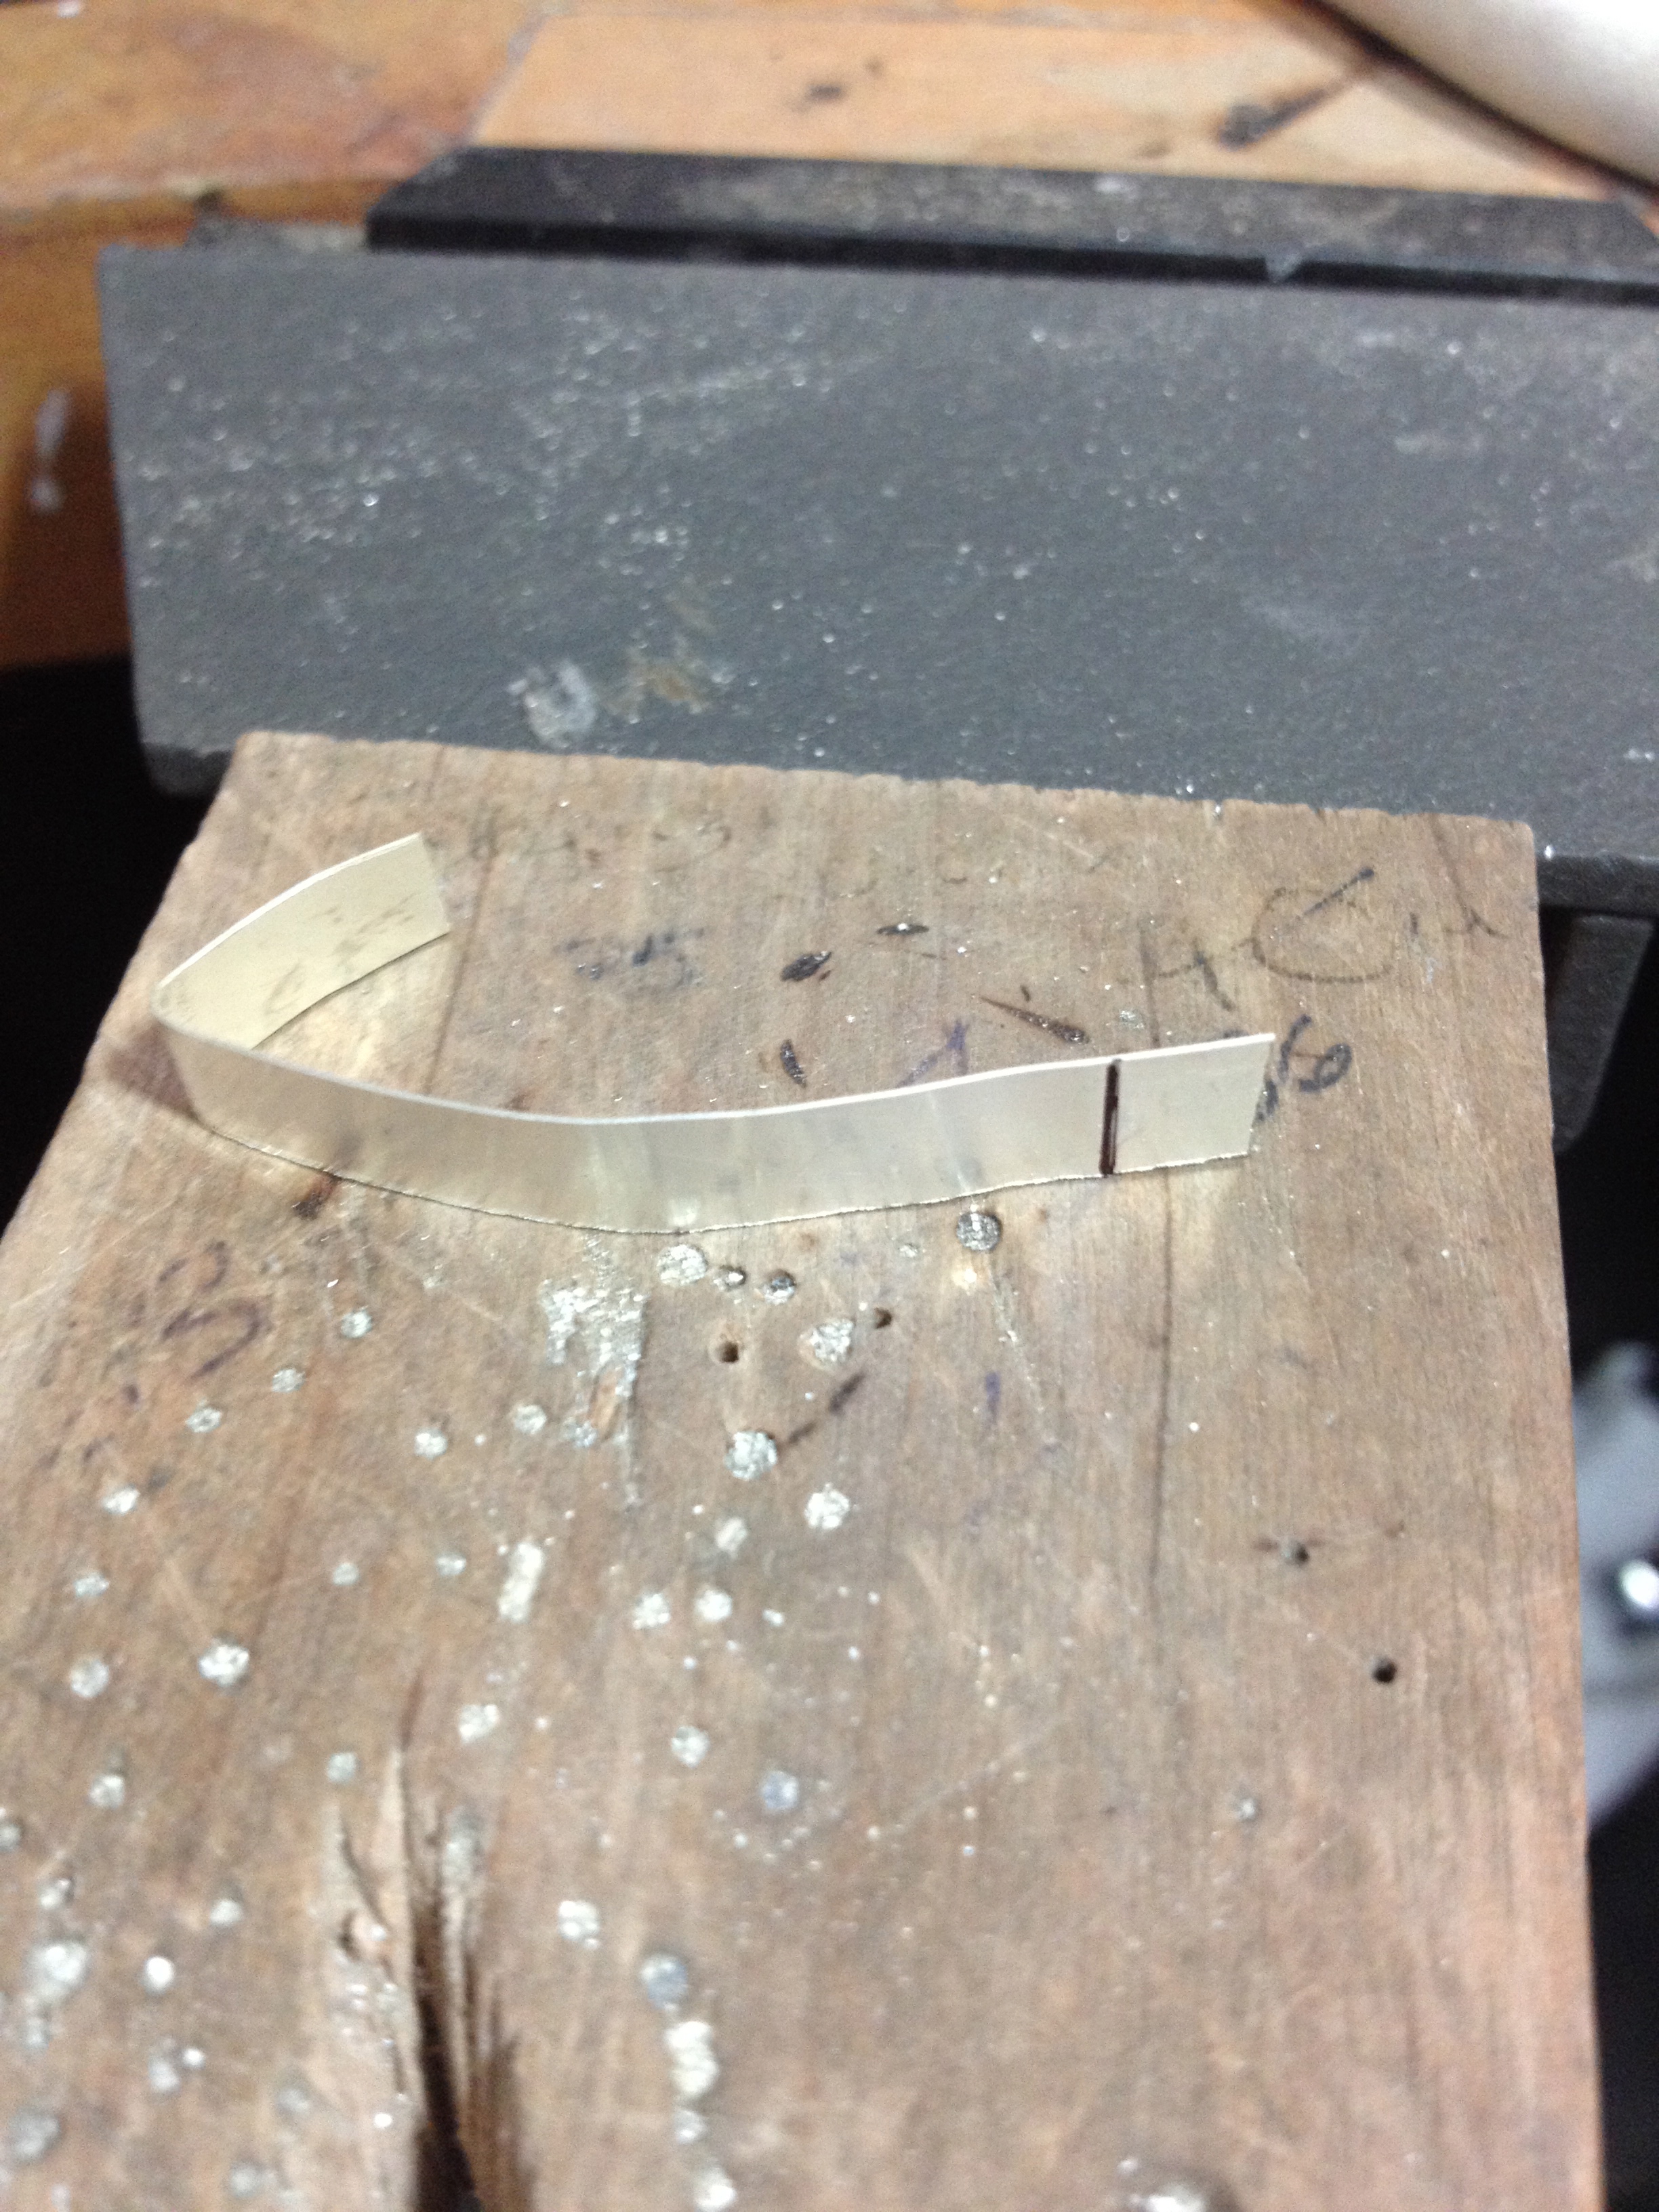
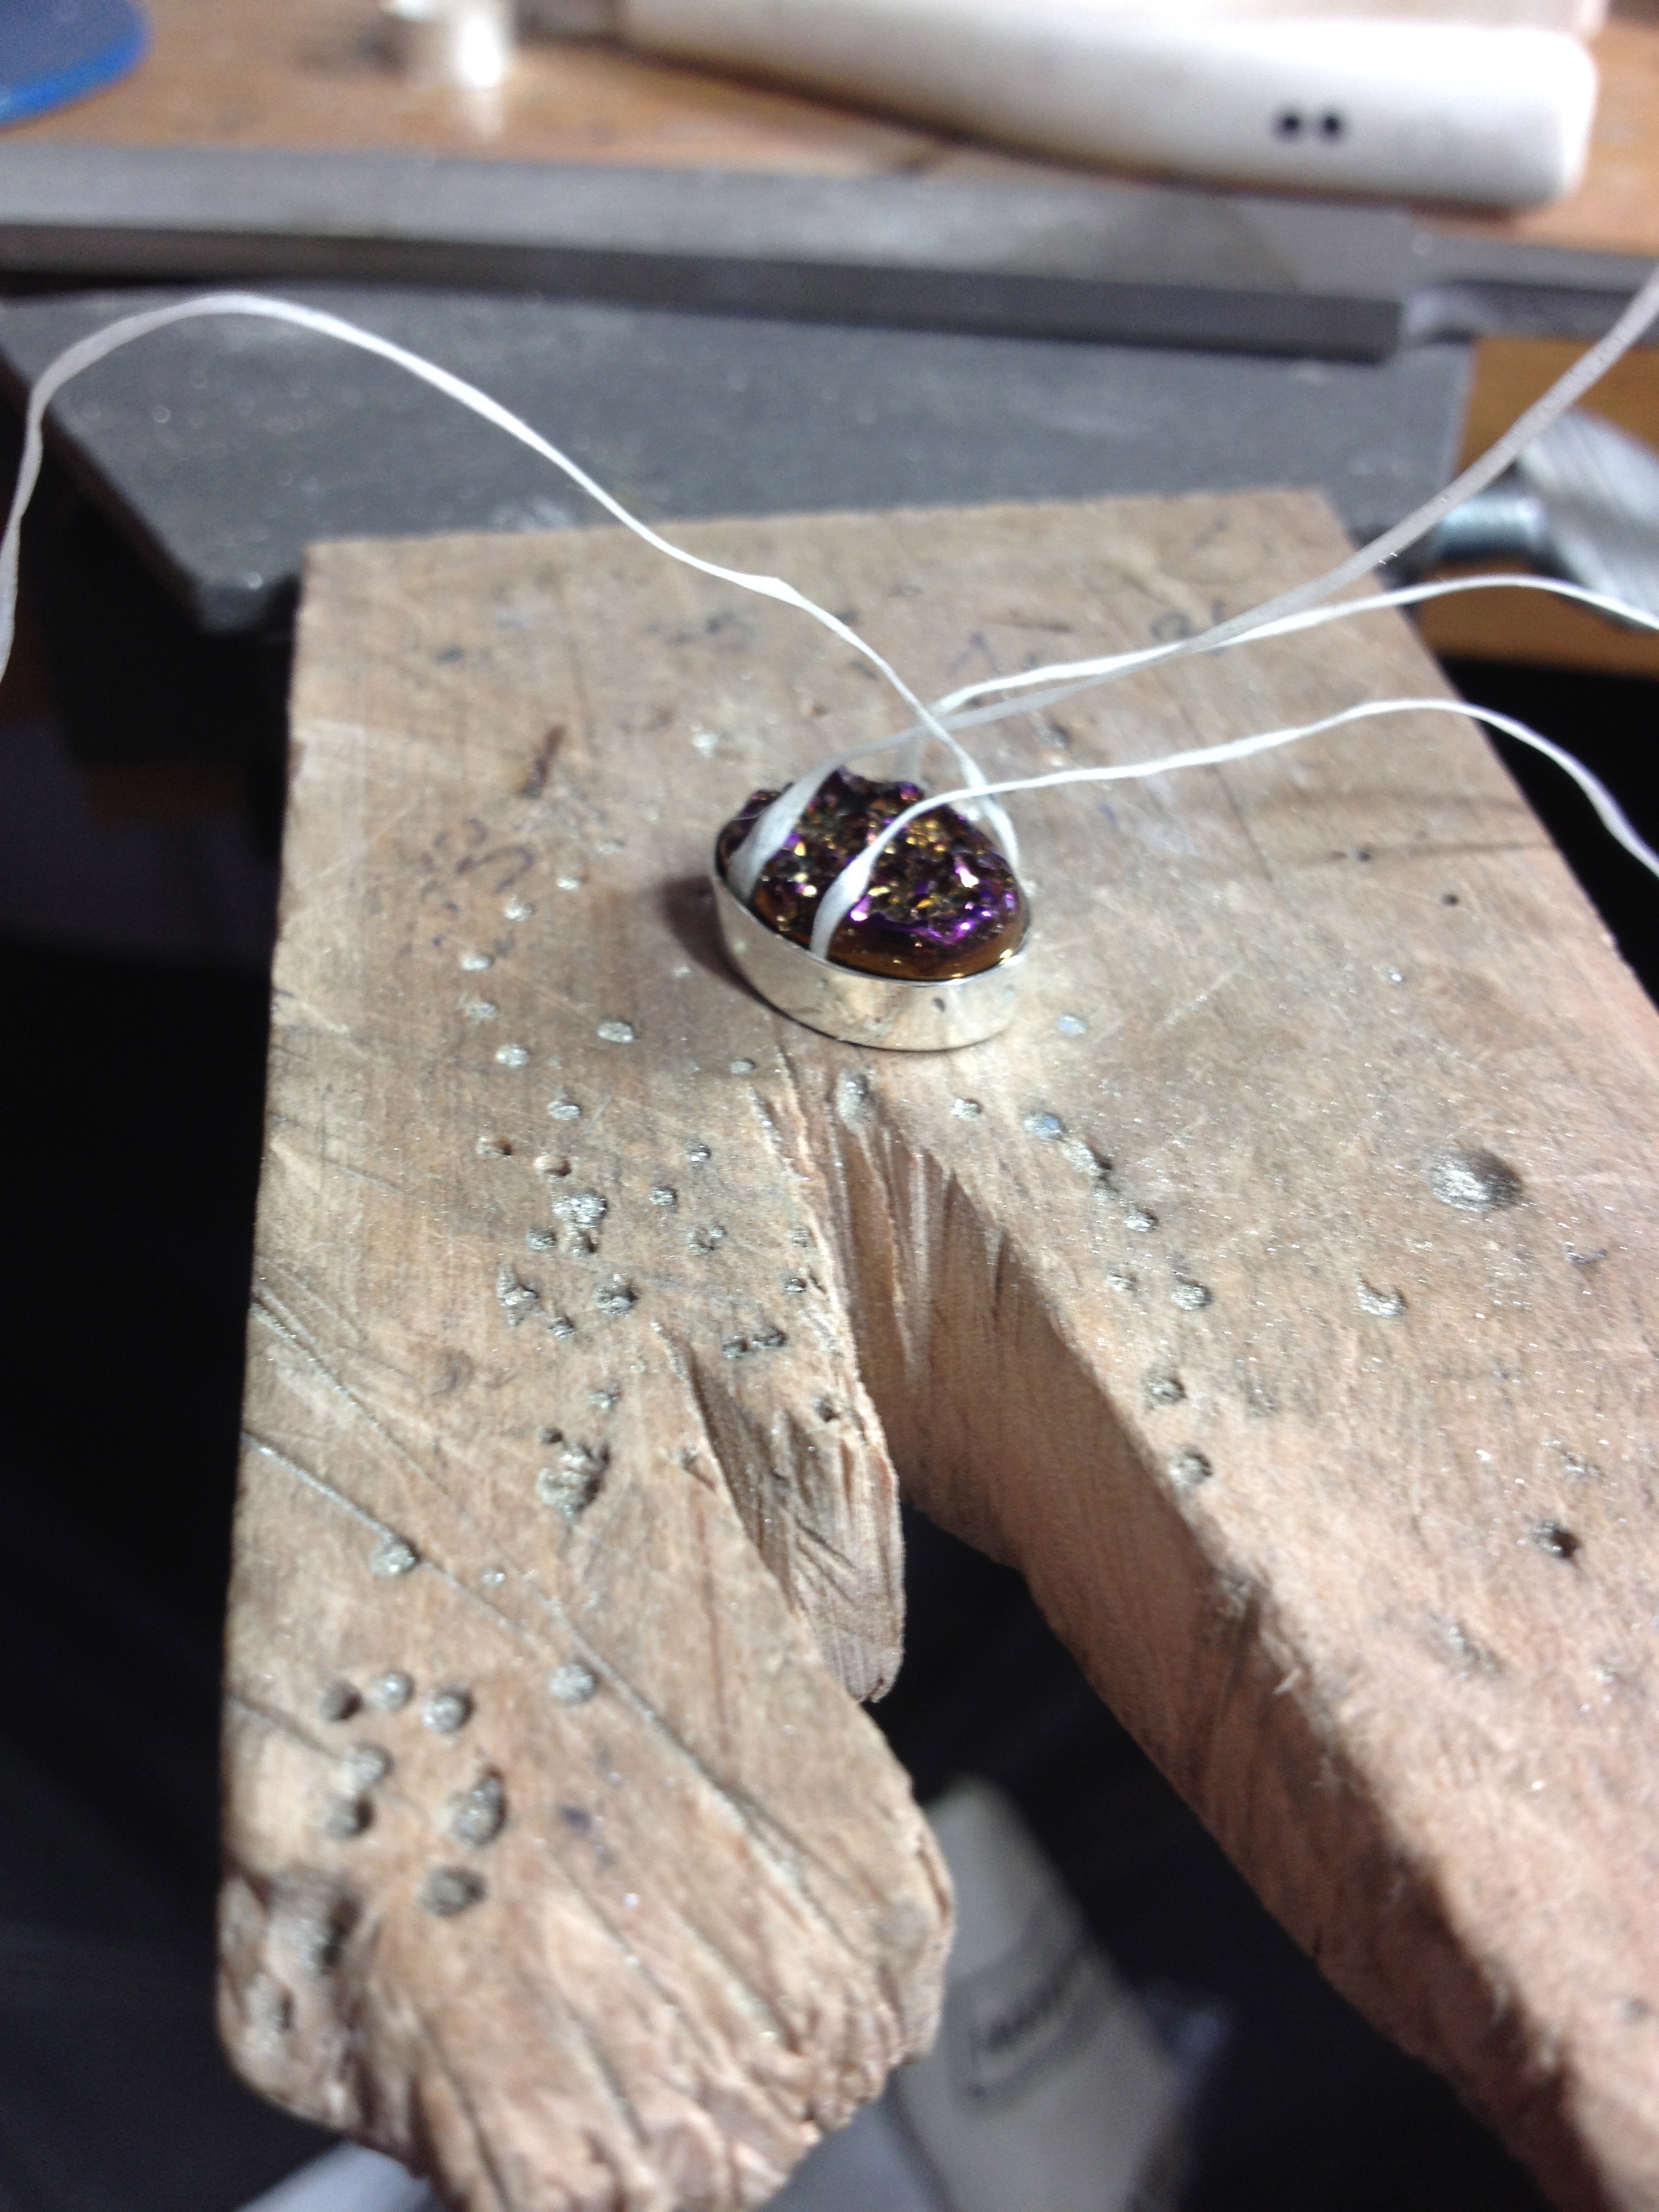
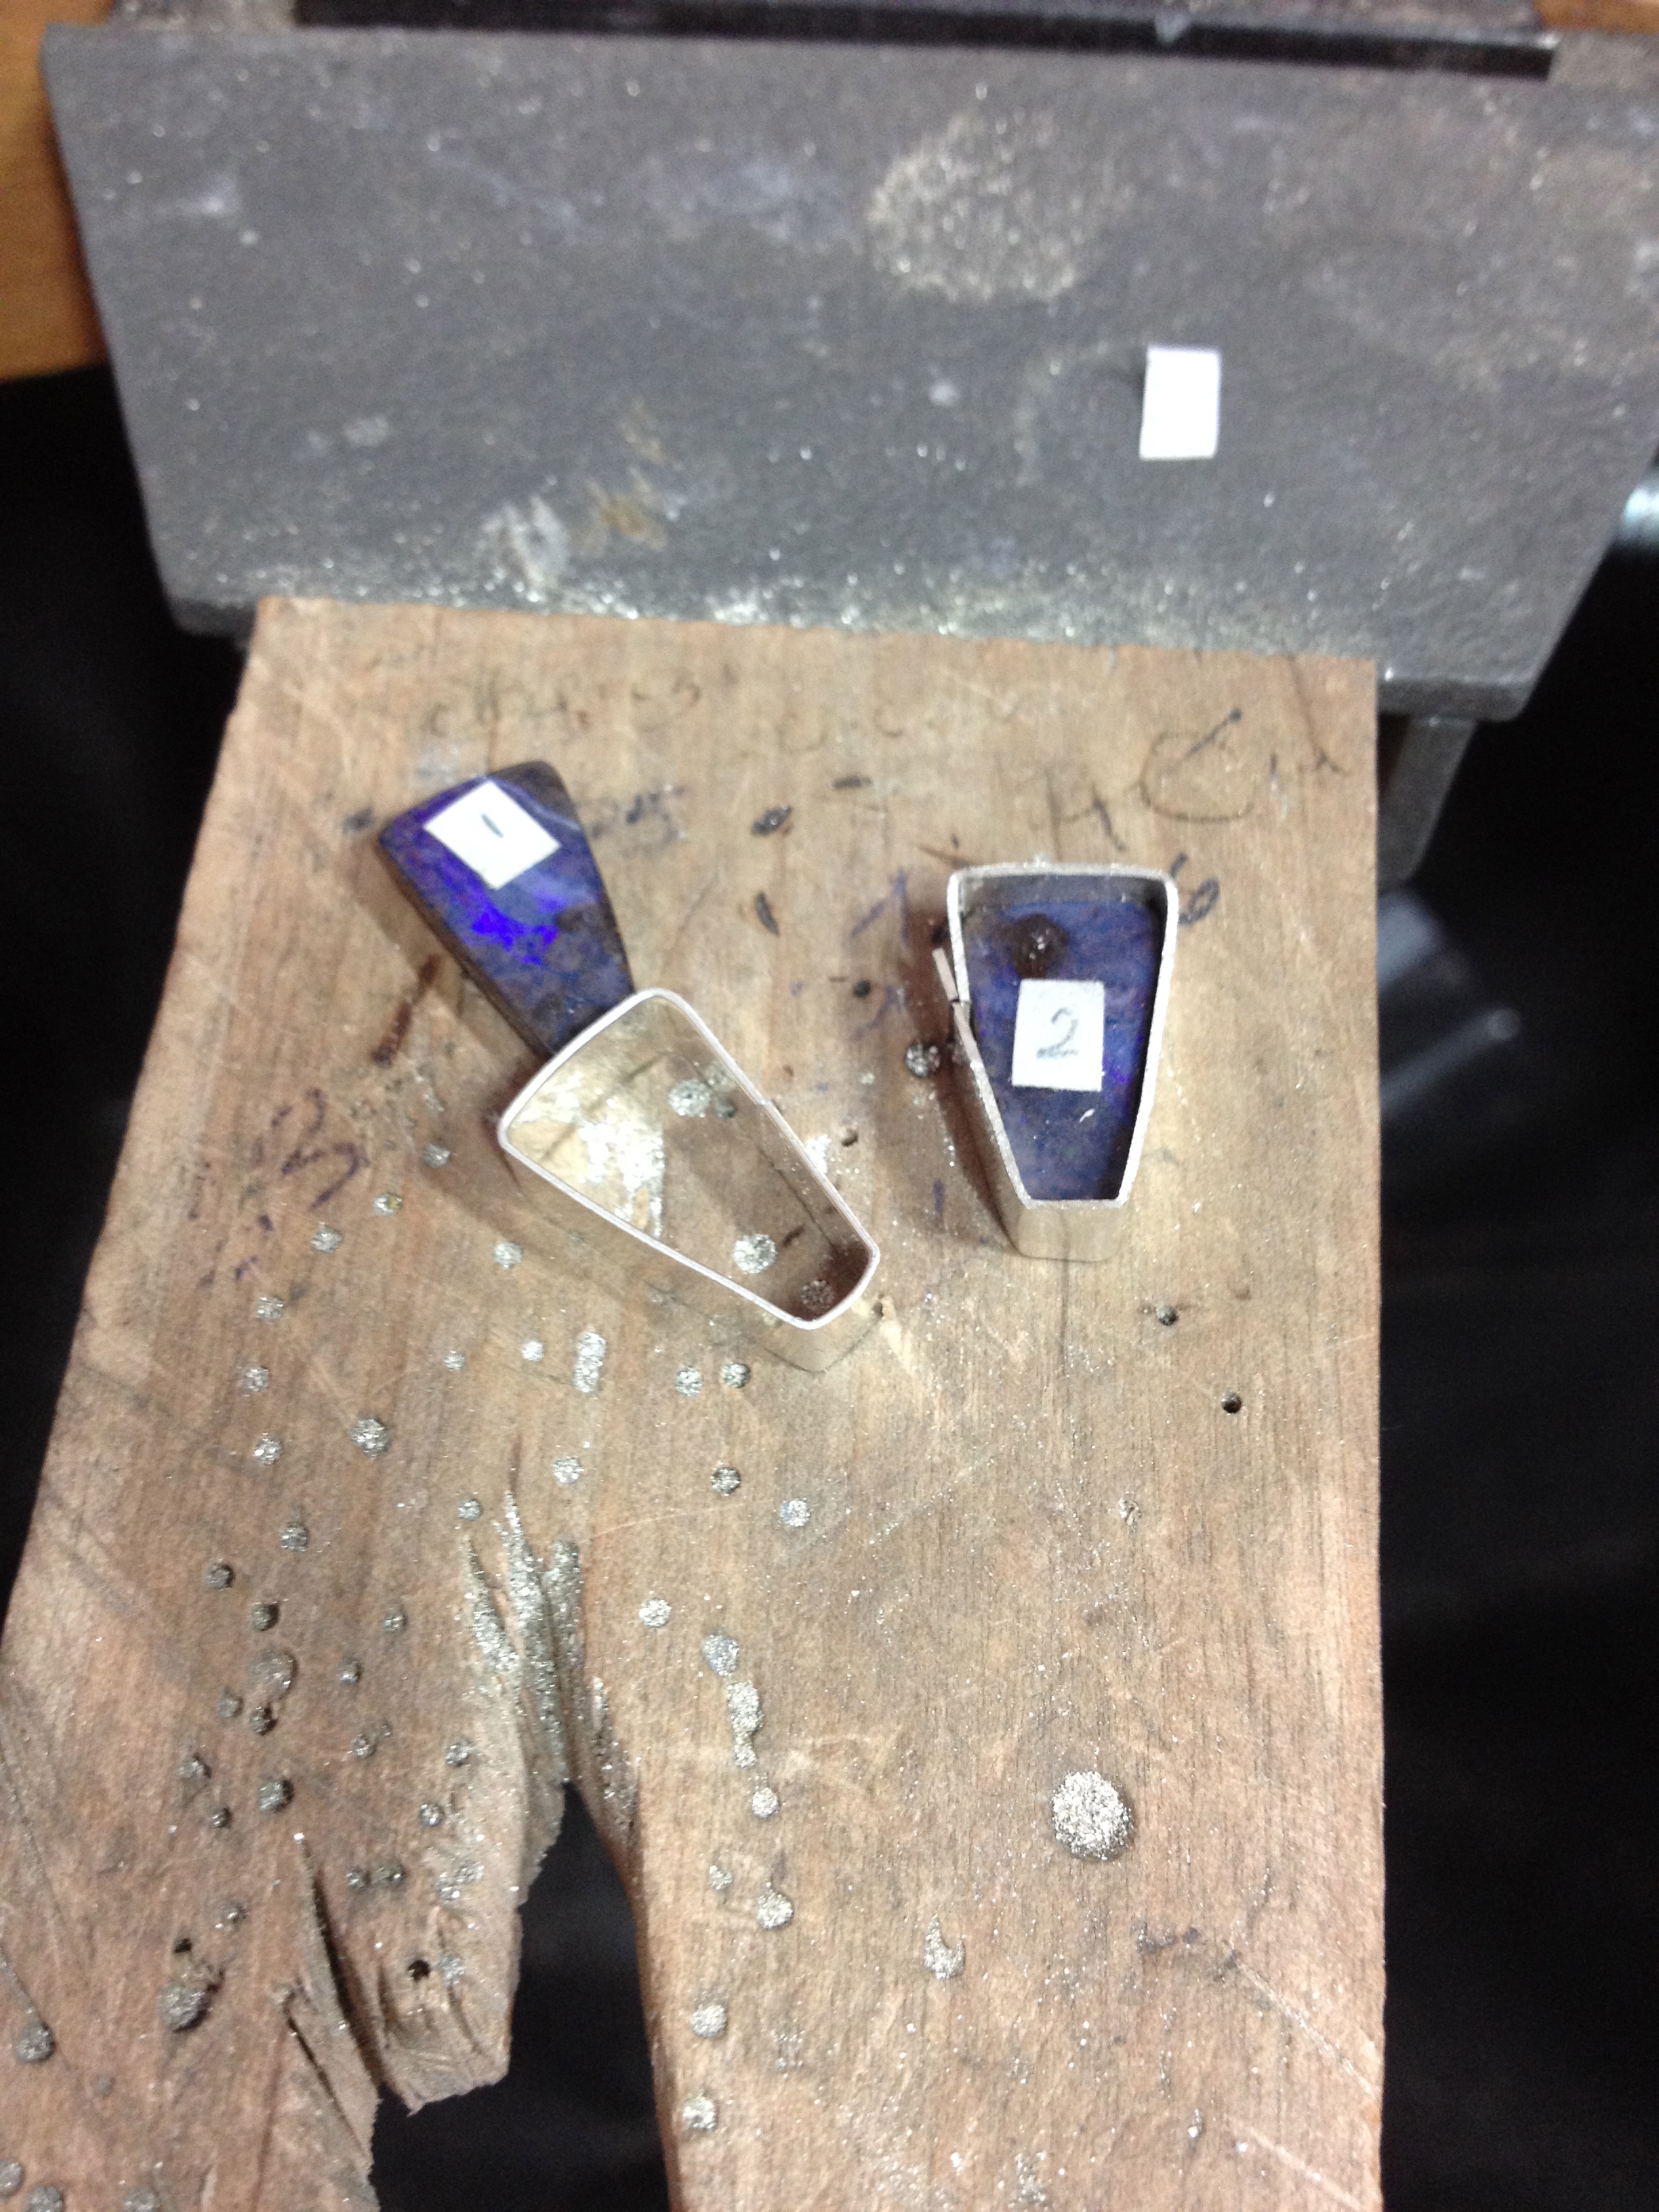
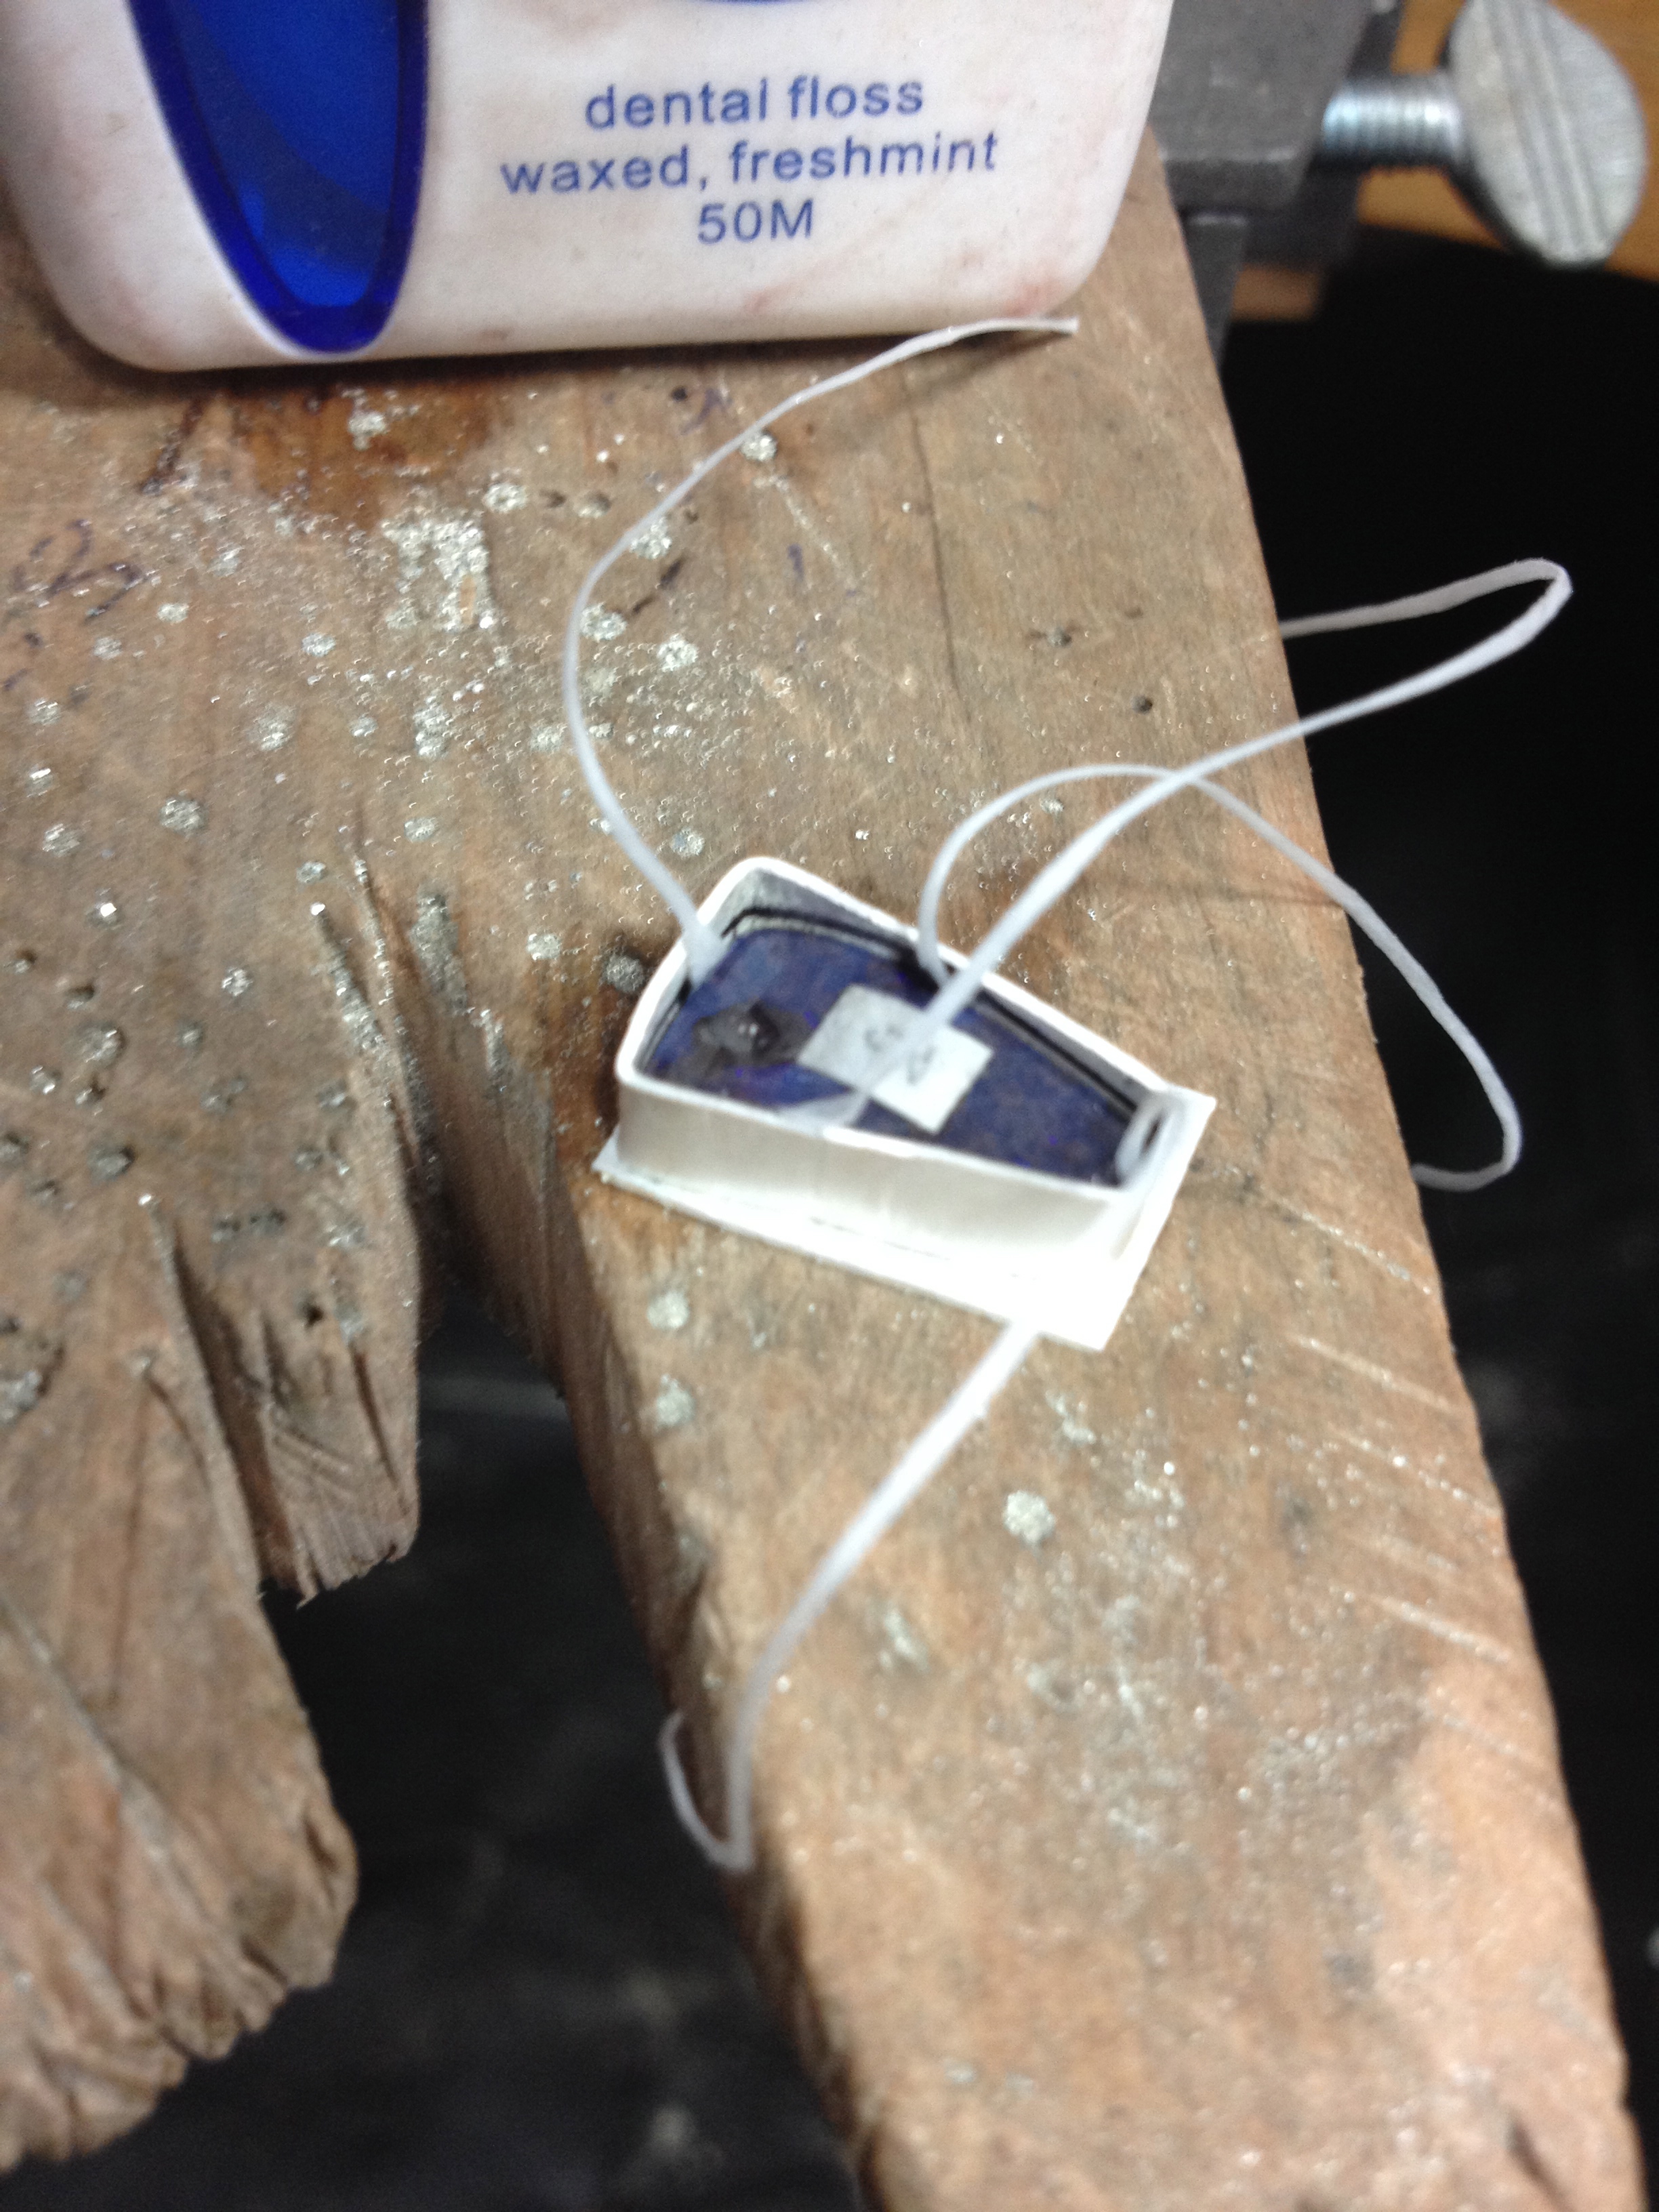
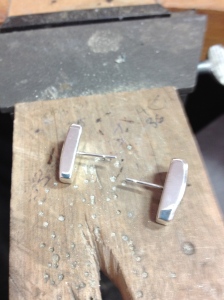
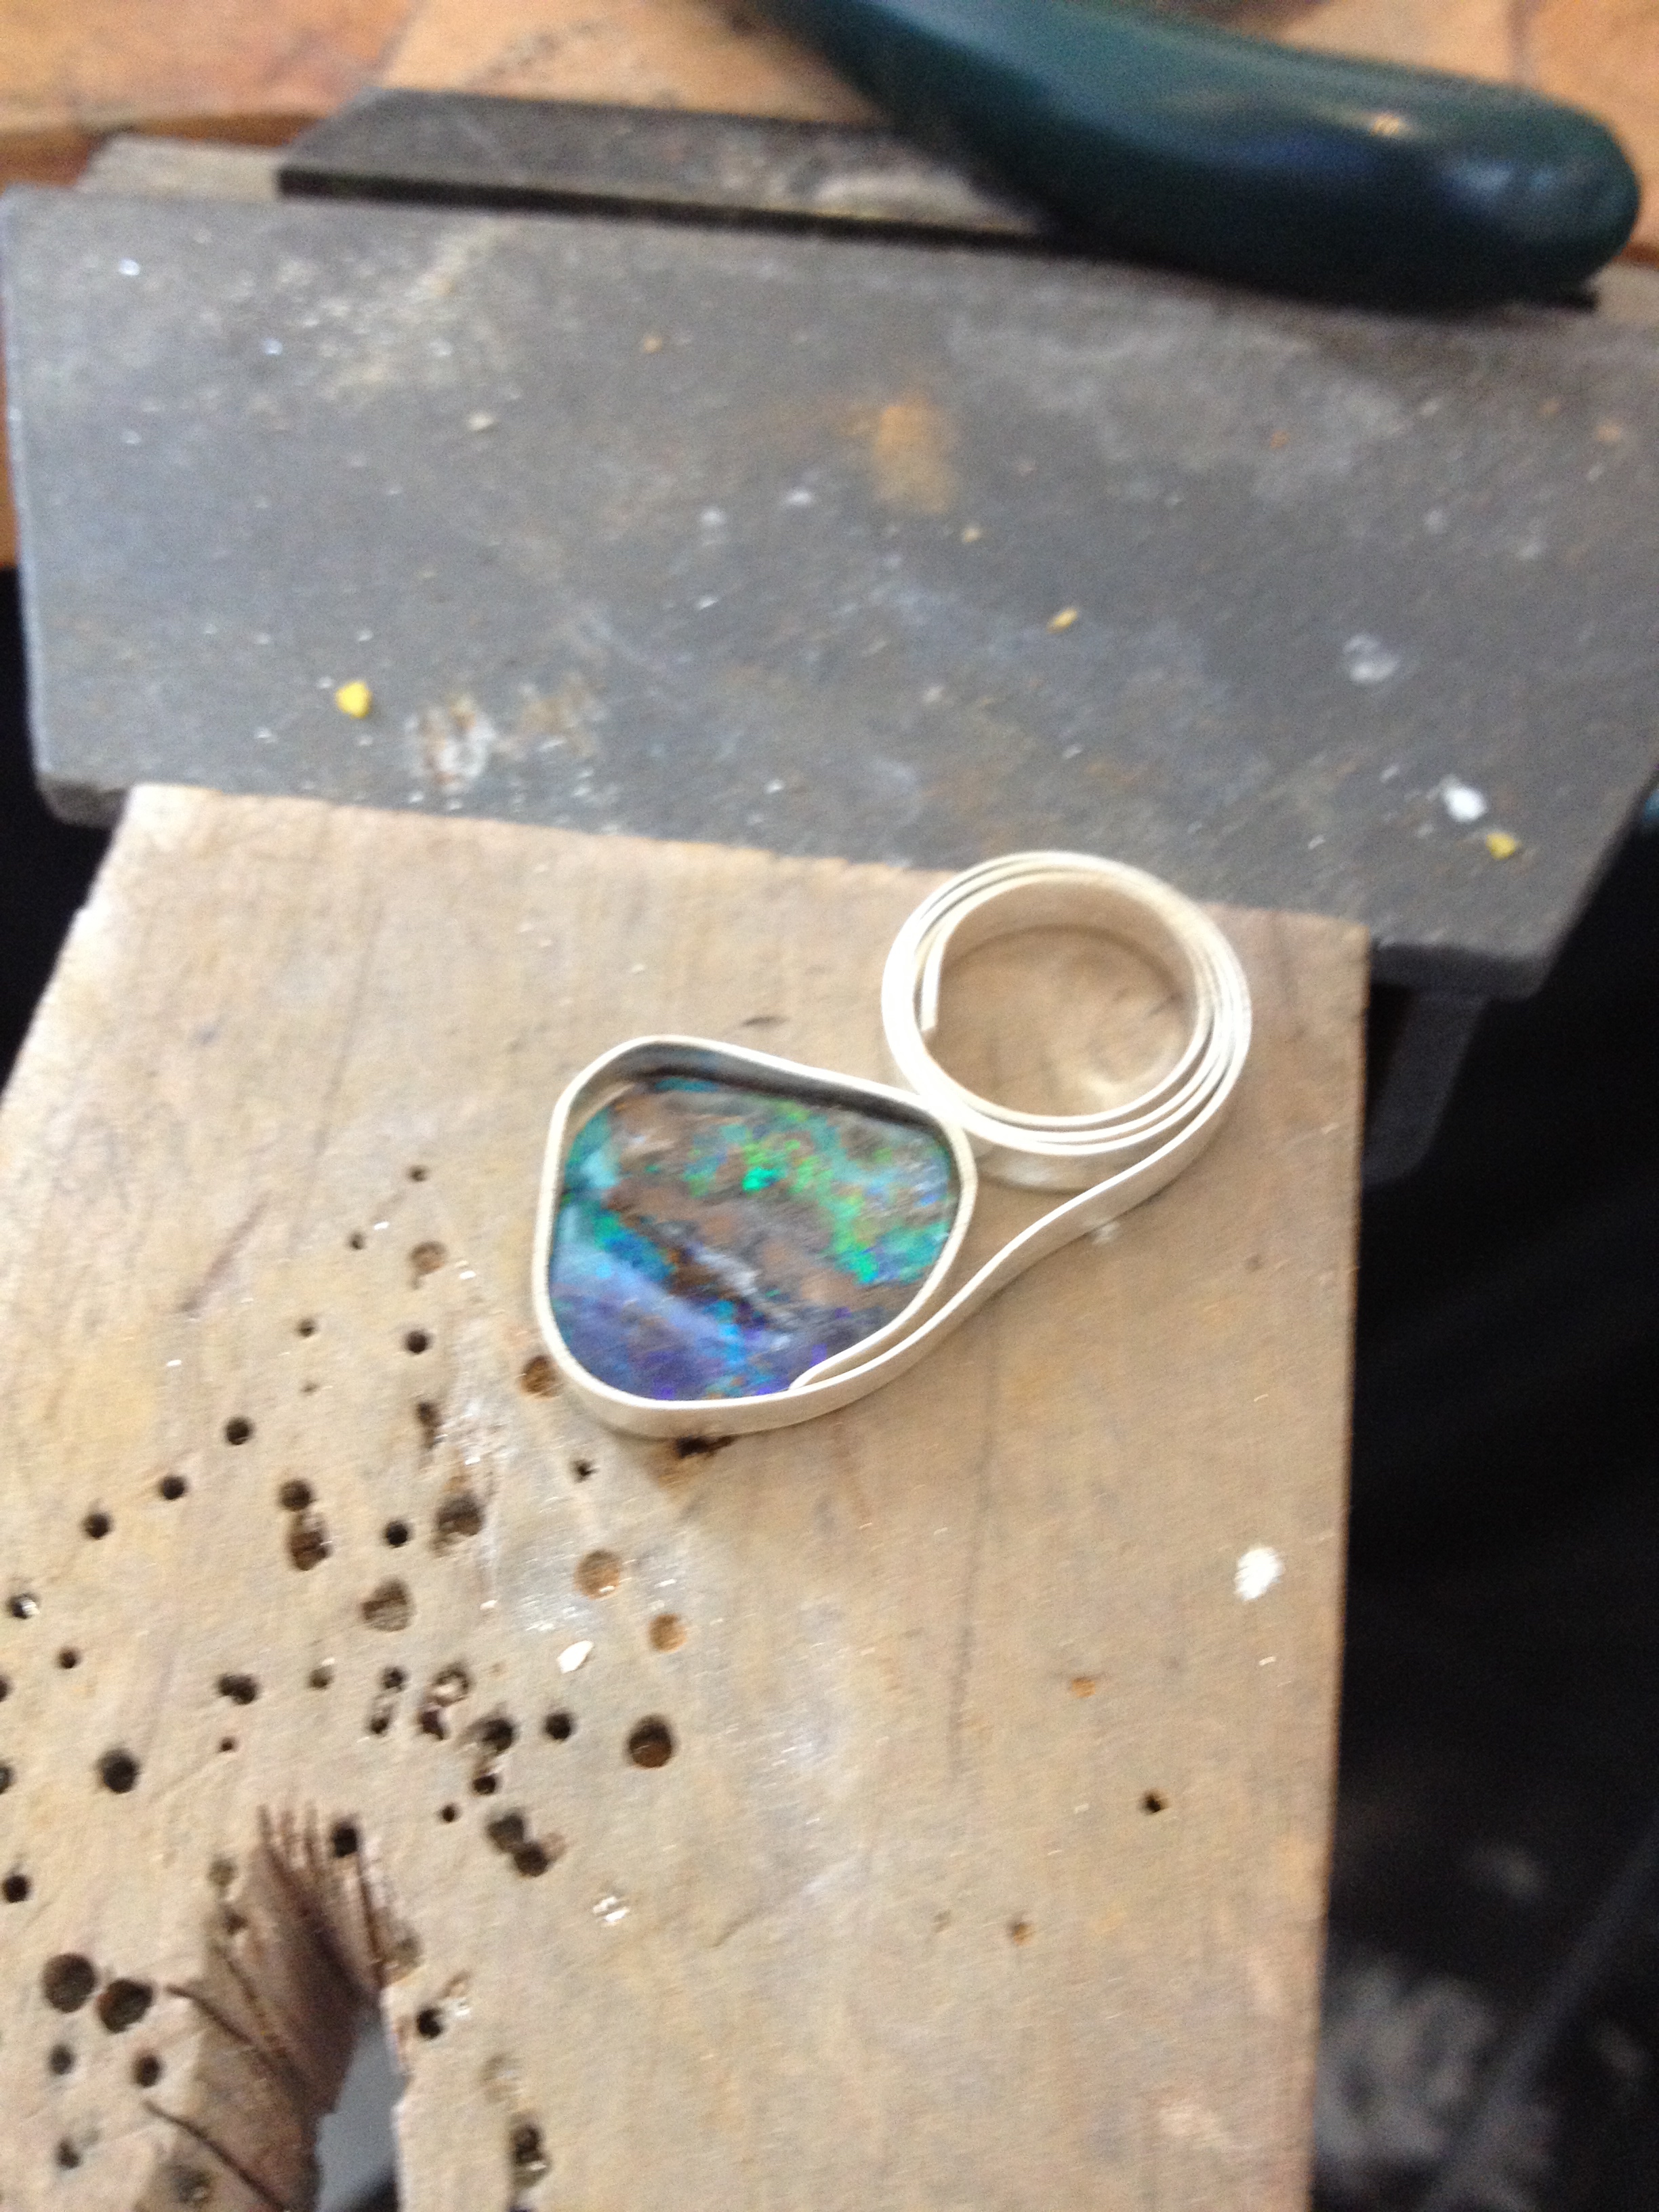
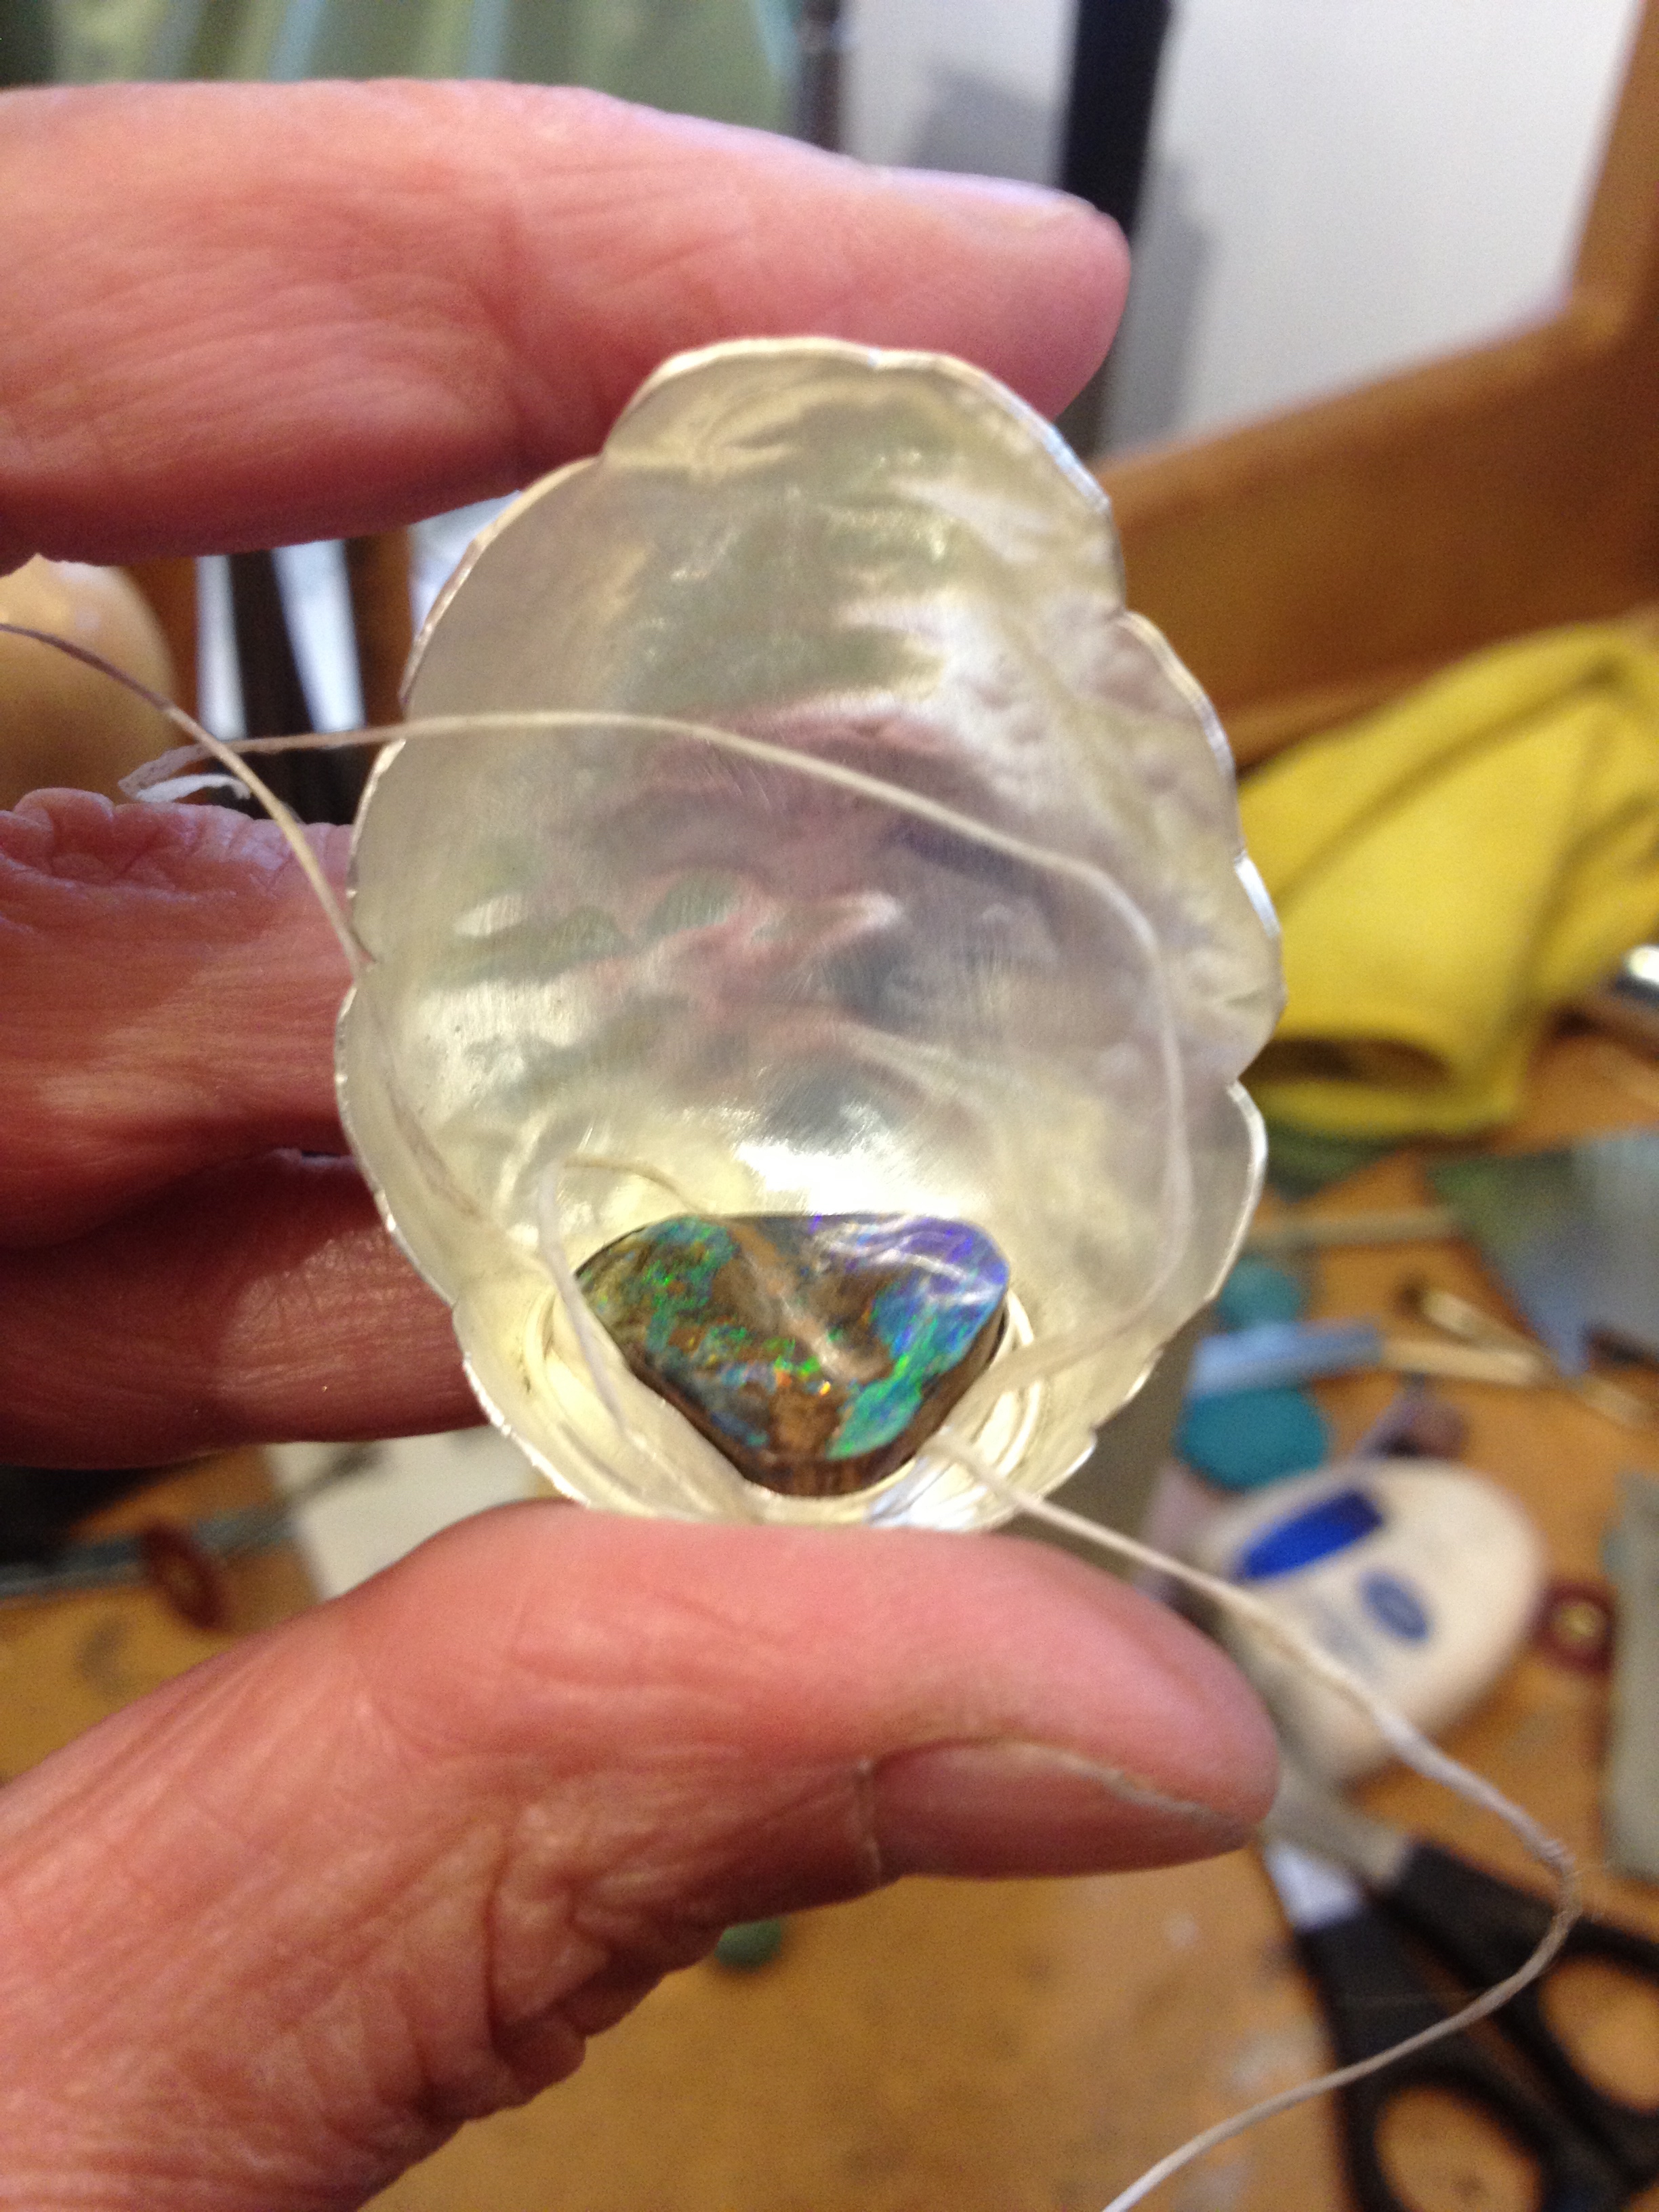
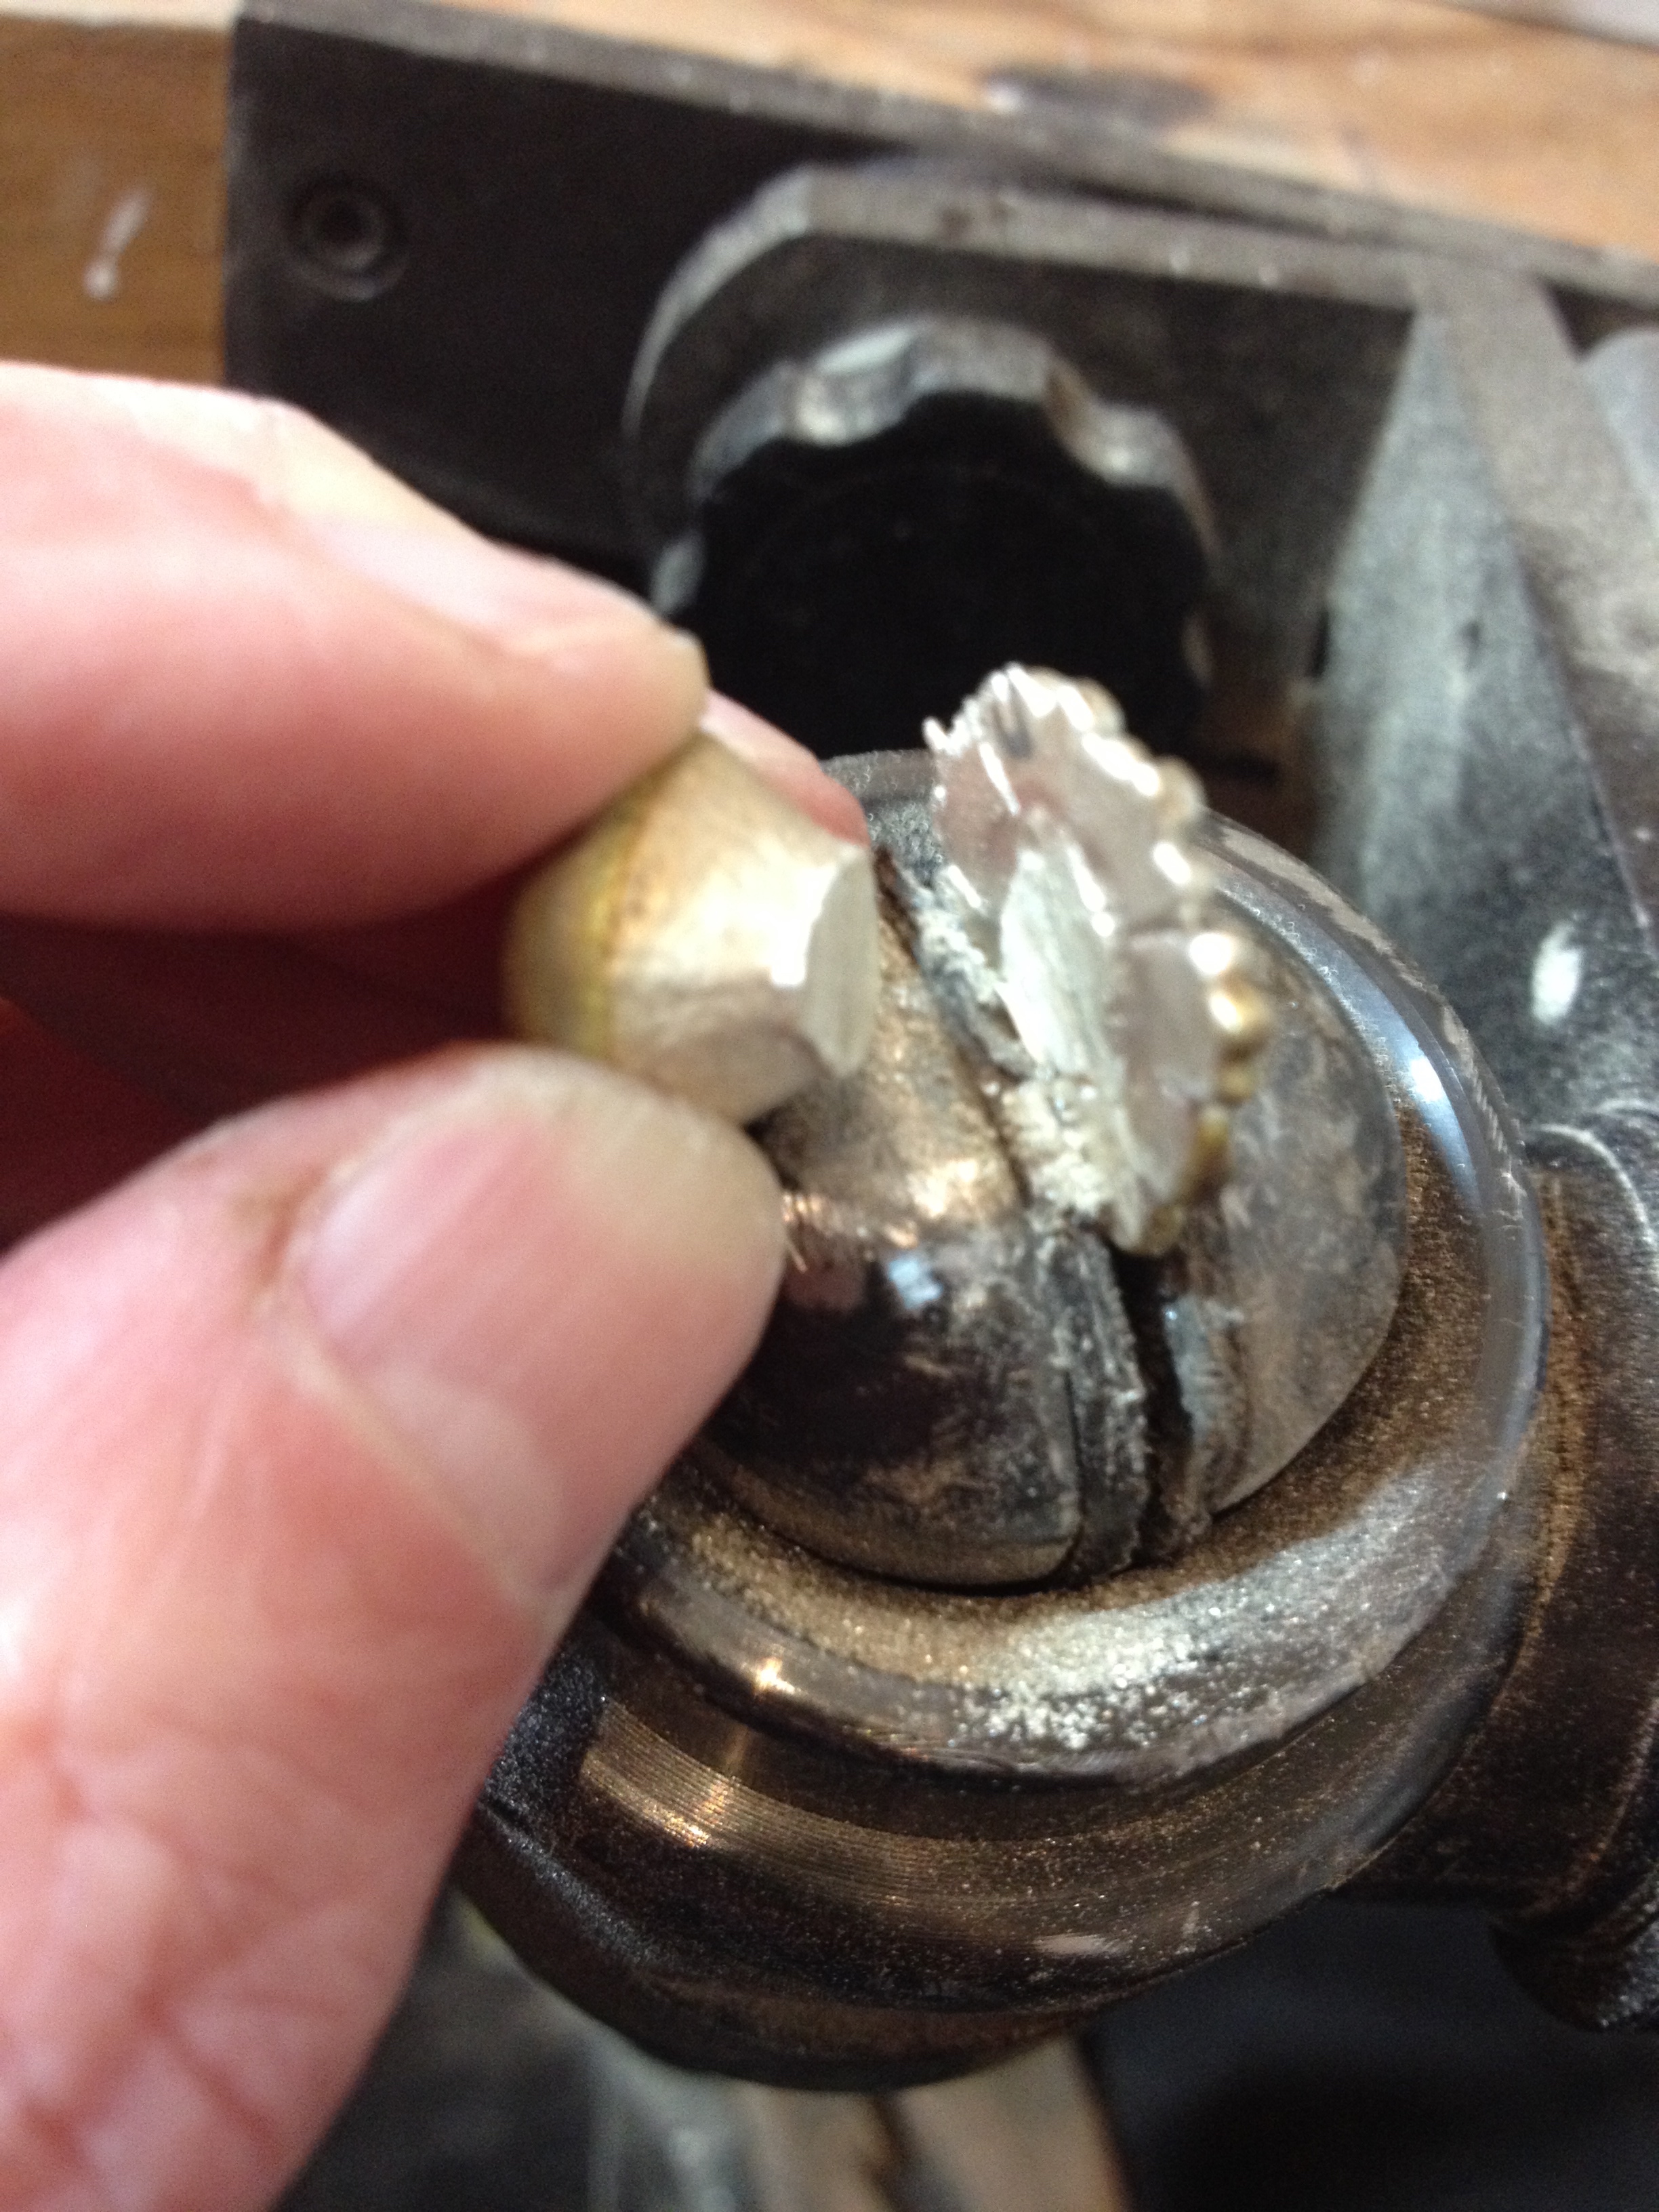
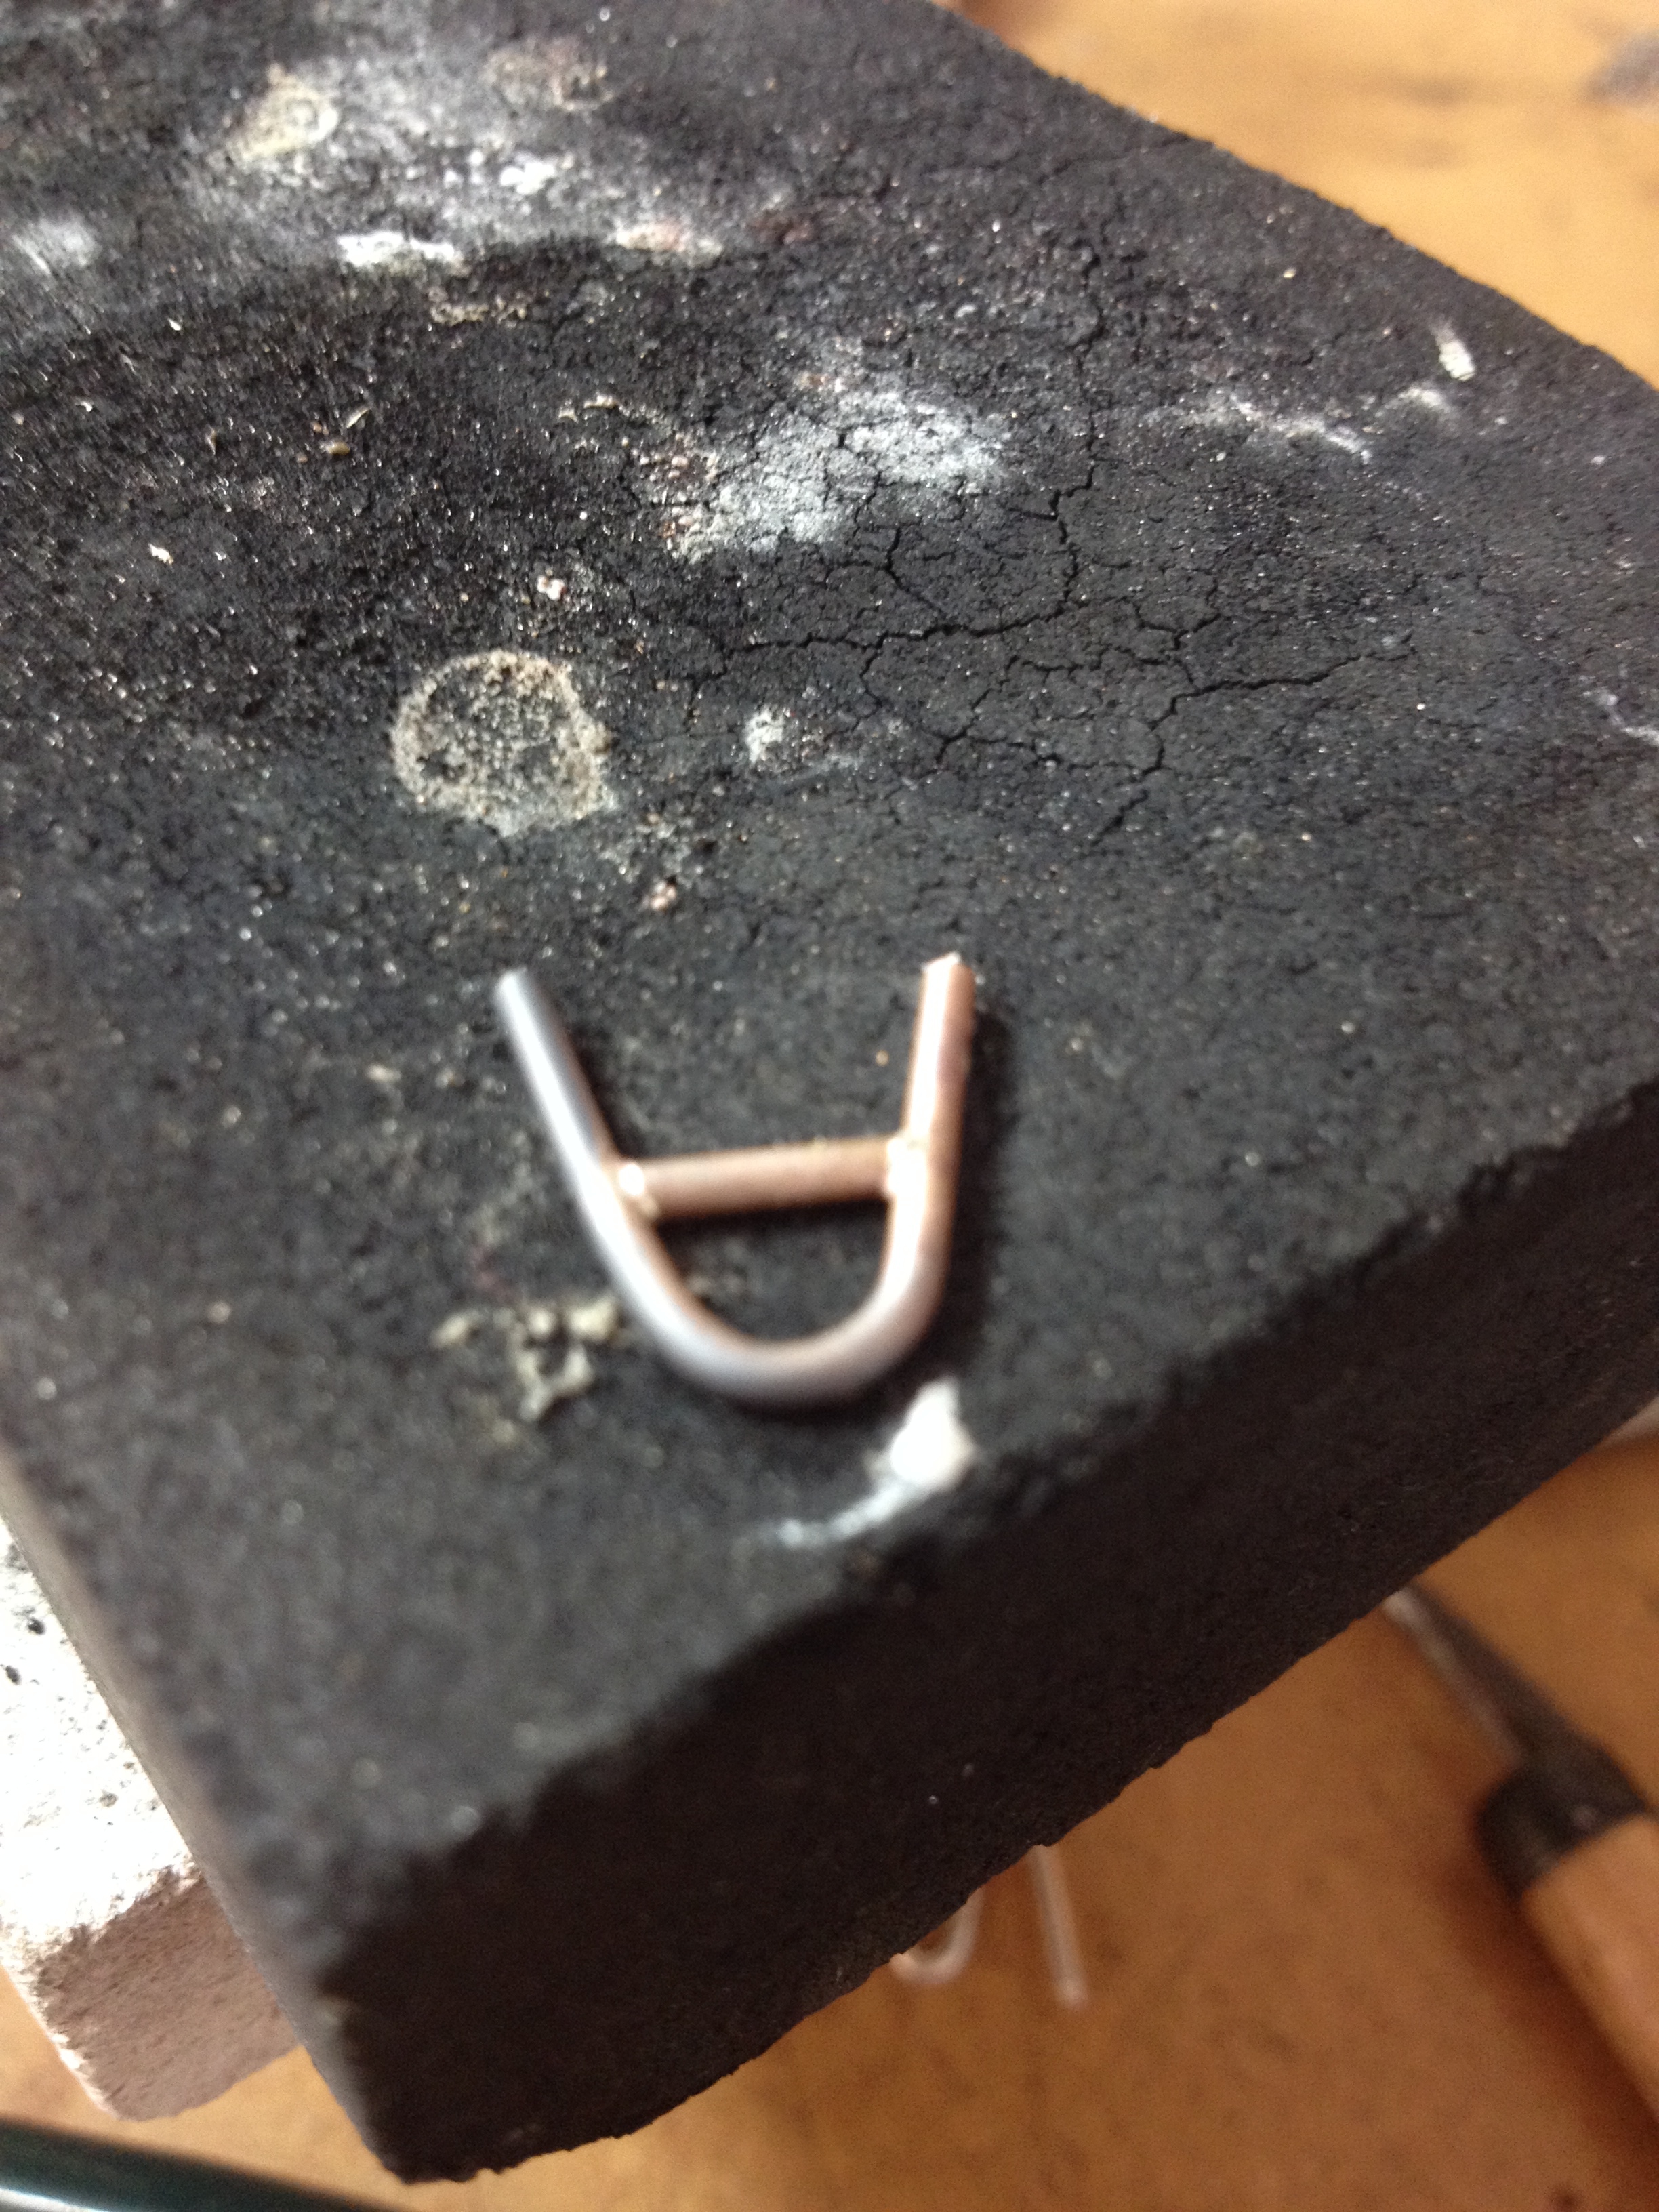
I didn’t have any 0.5mm sheet so I decided to make do with 0.8mm and file the edge down. First thing was to make the walls of the bezel. Fitting the strip firmly round the stone I bent it until it fitted snugly. This took quite a while as the fit is really important. The photo shows a gap between the stone and the silver. There should be no gap.


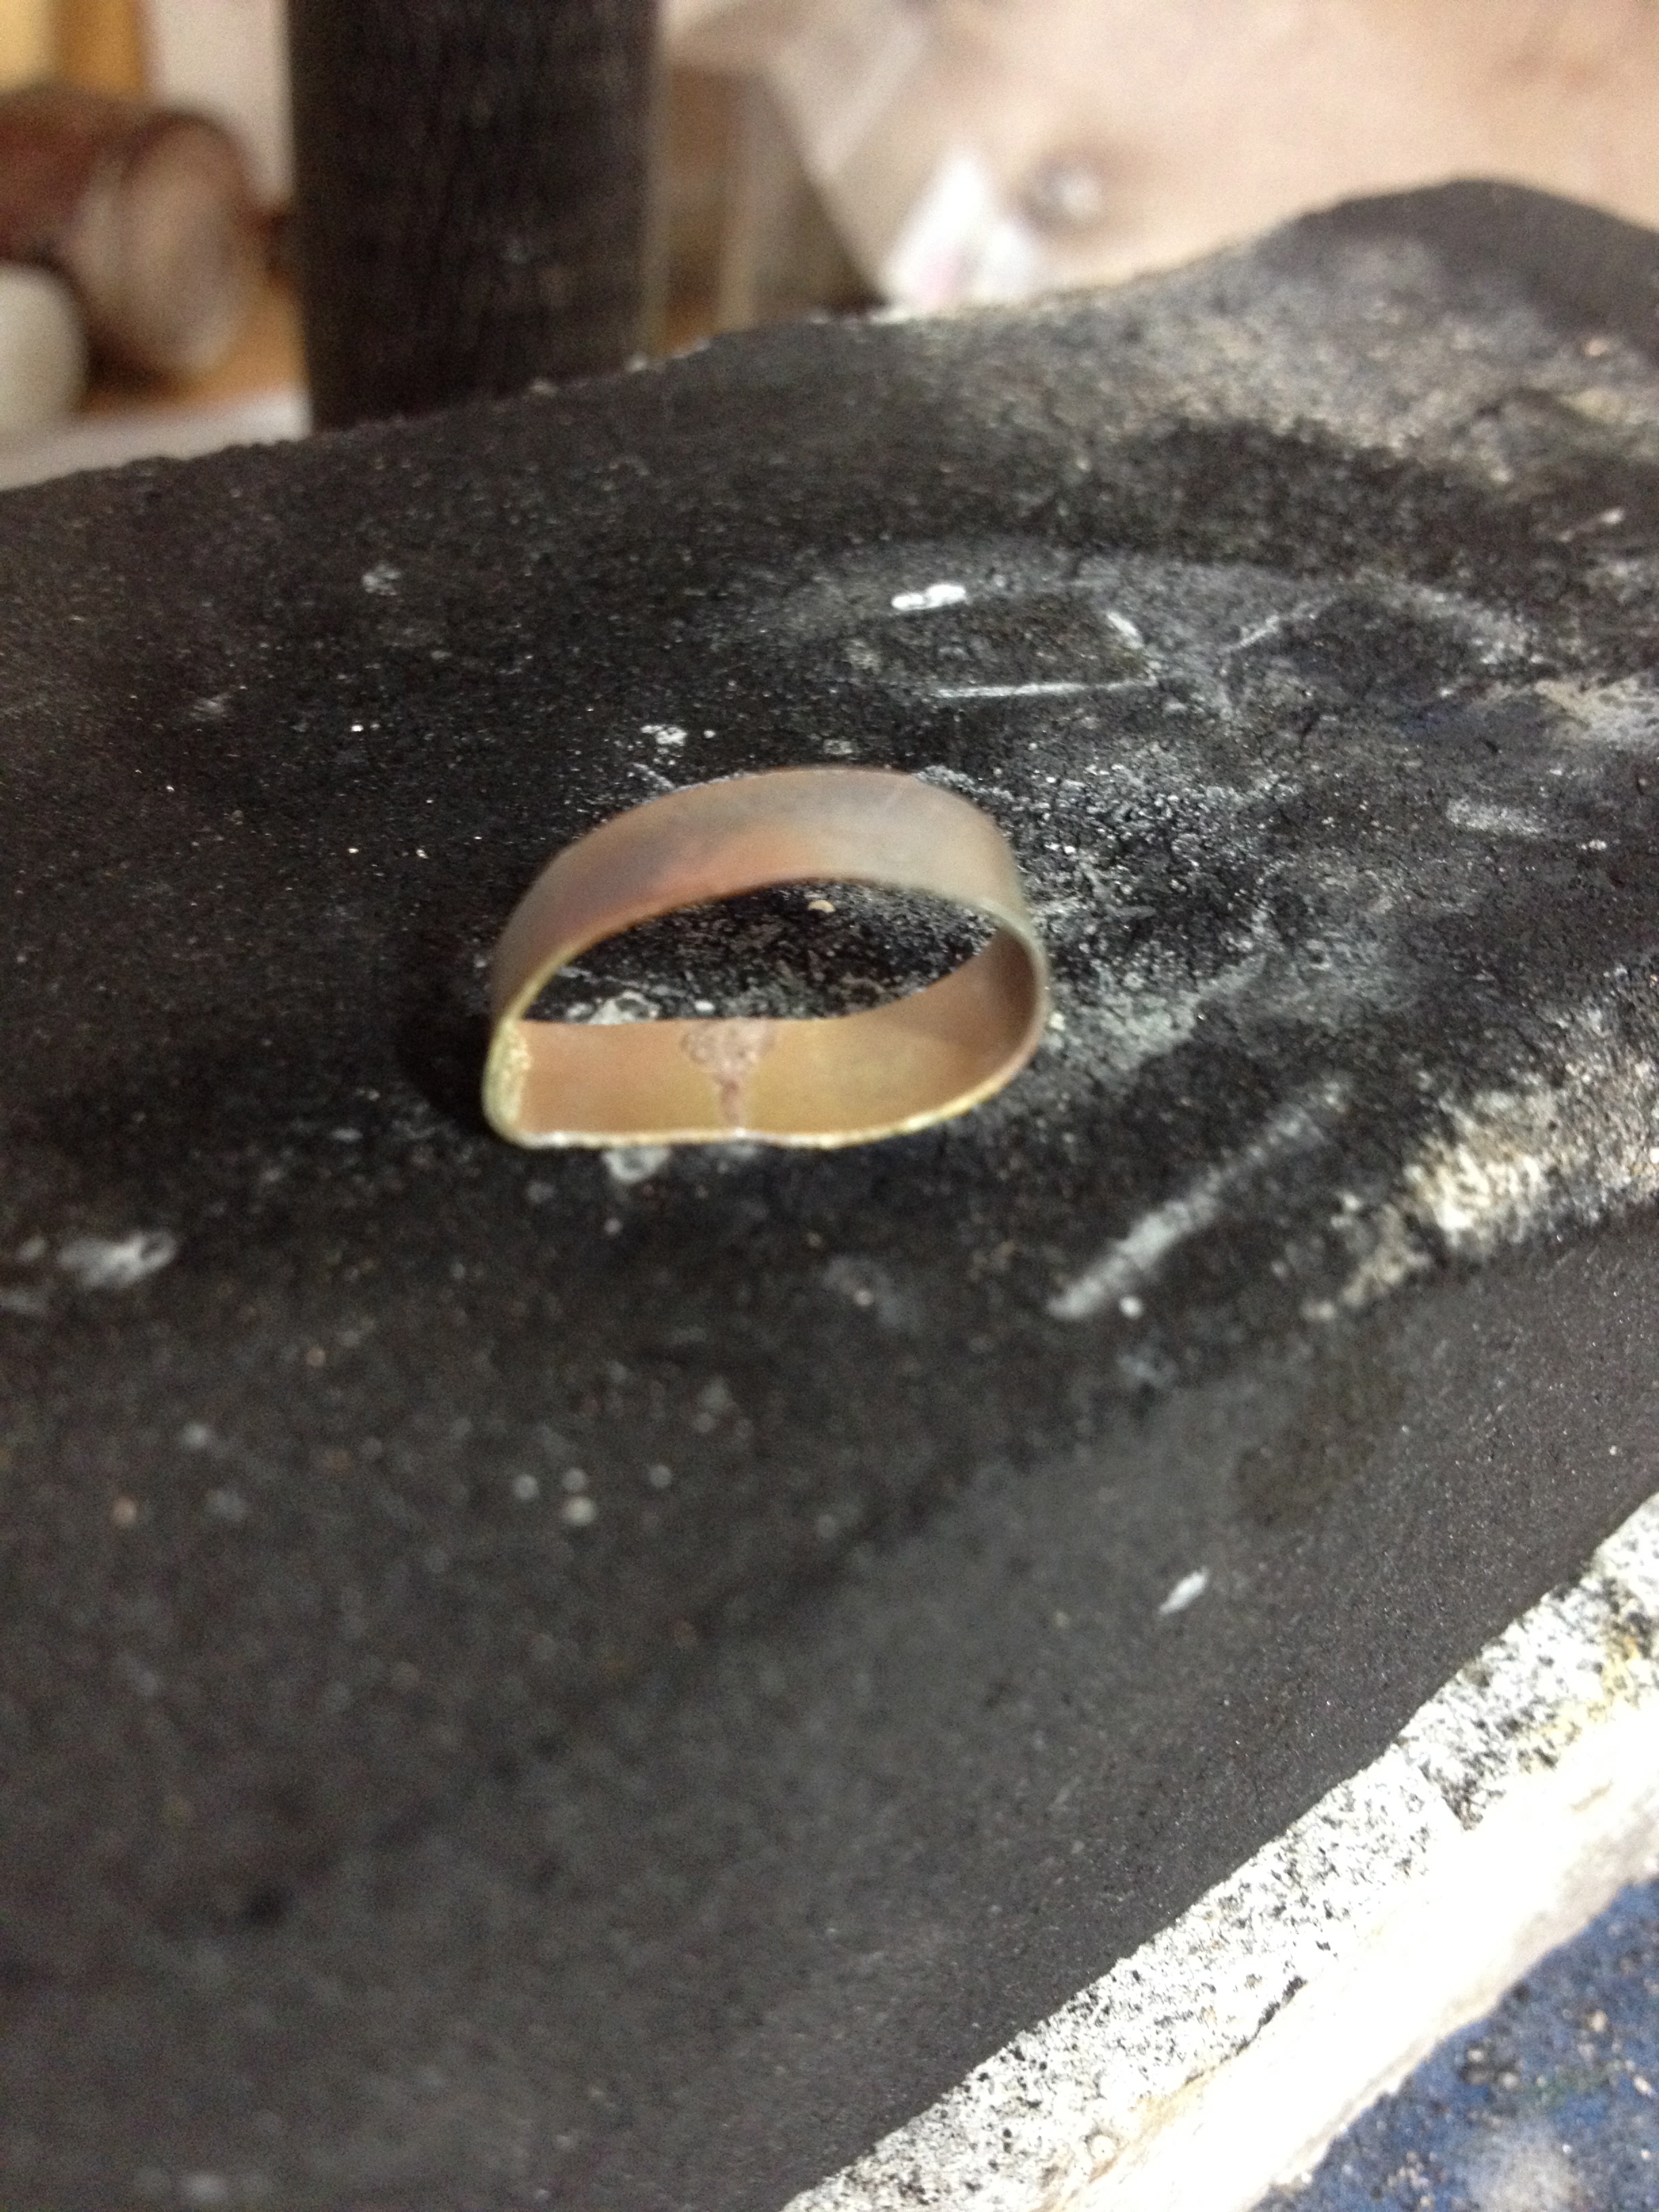
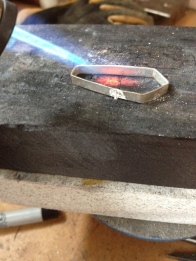
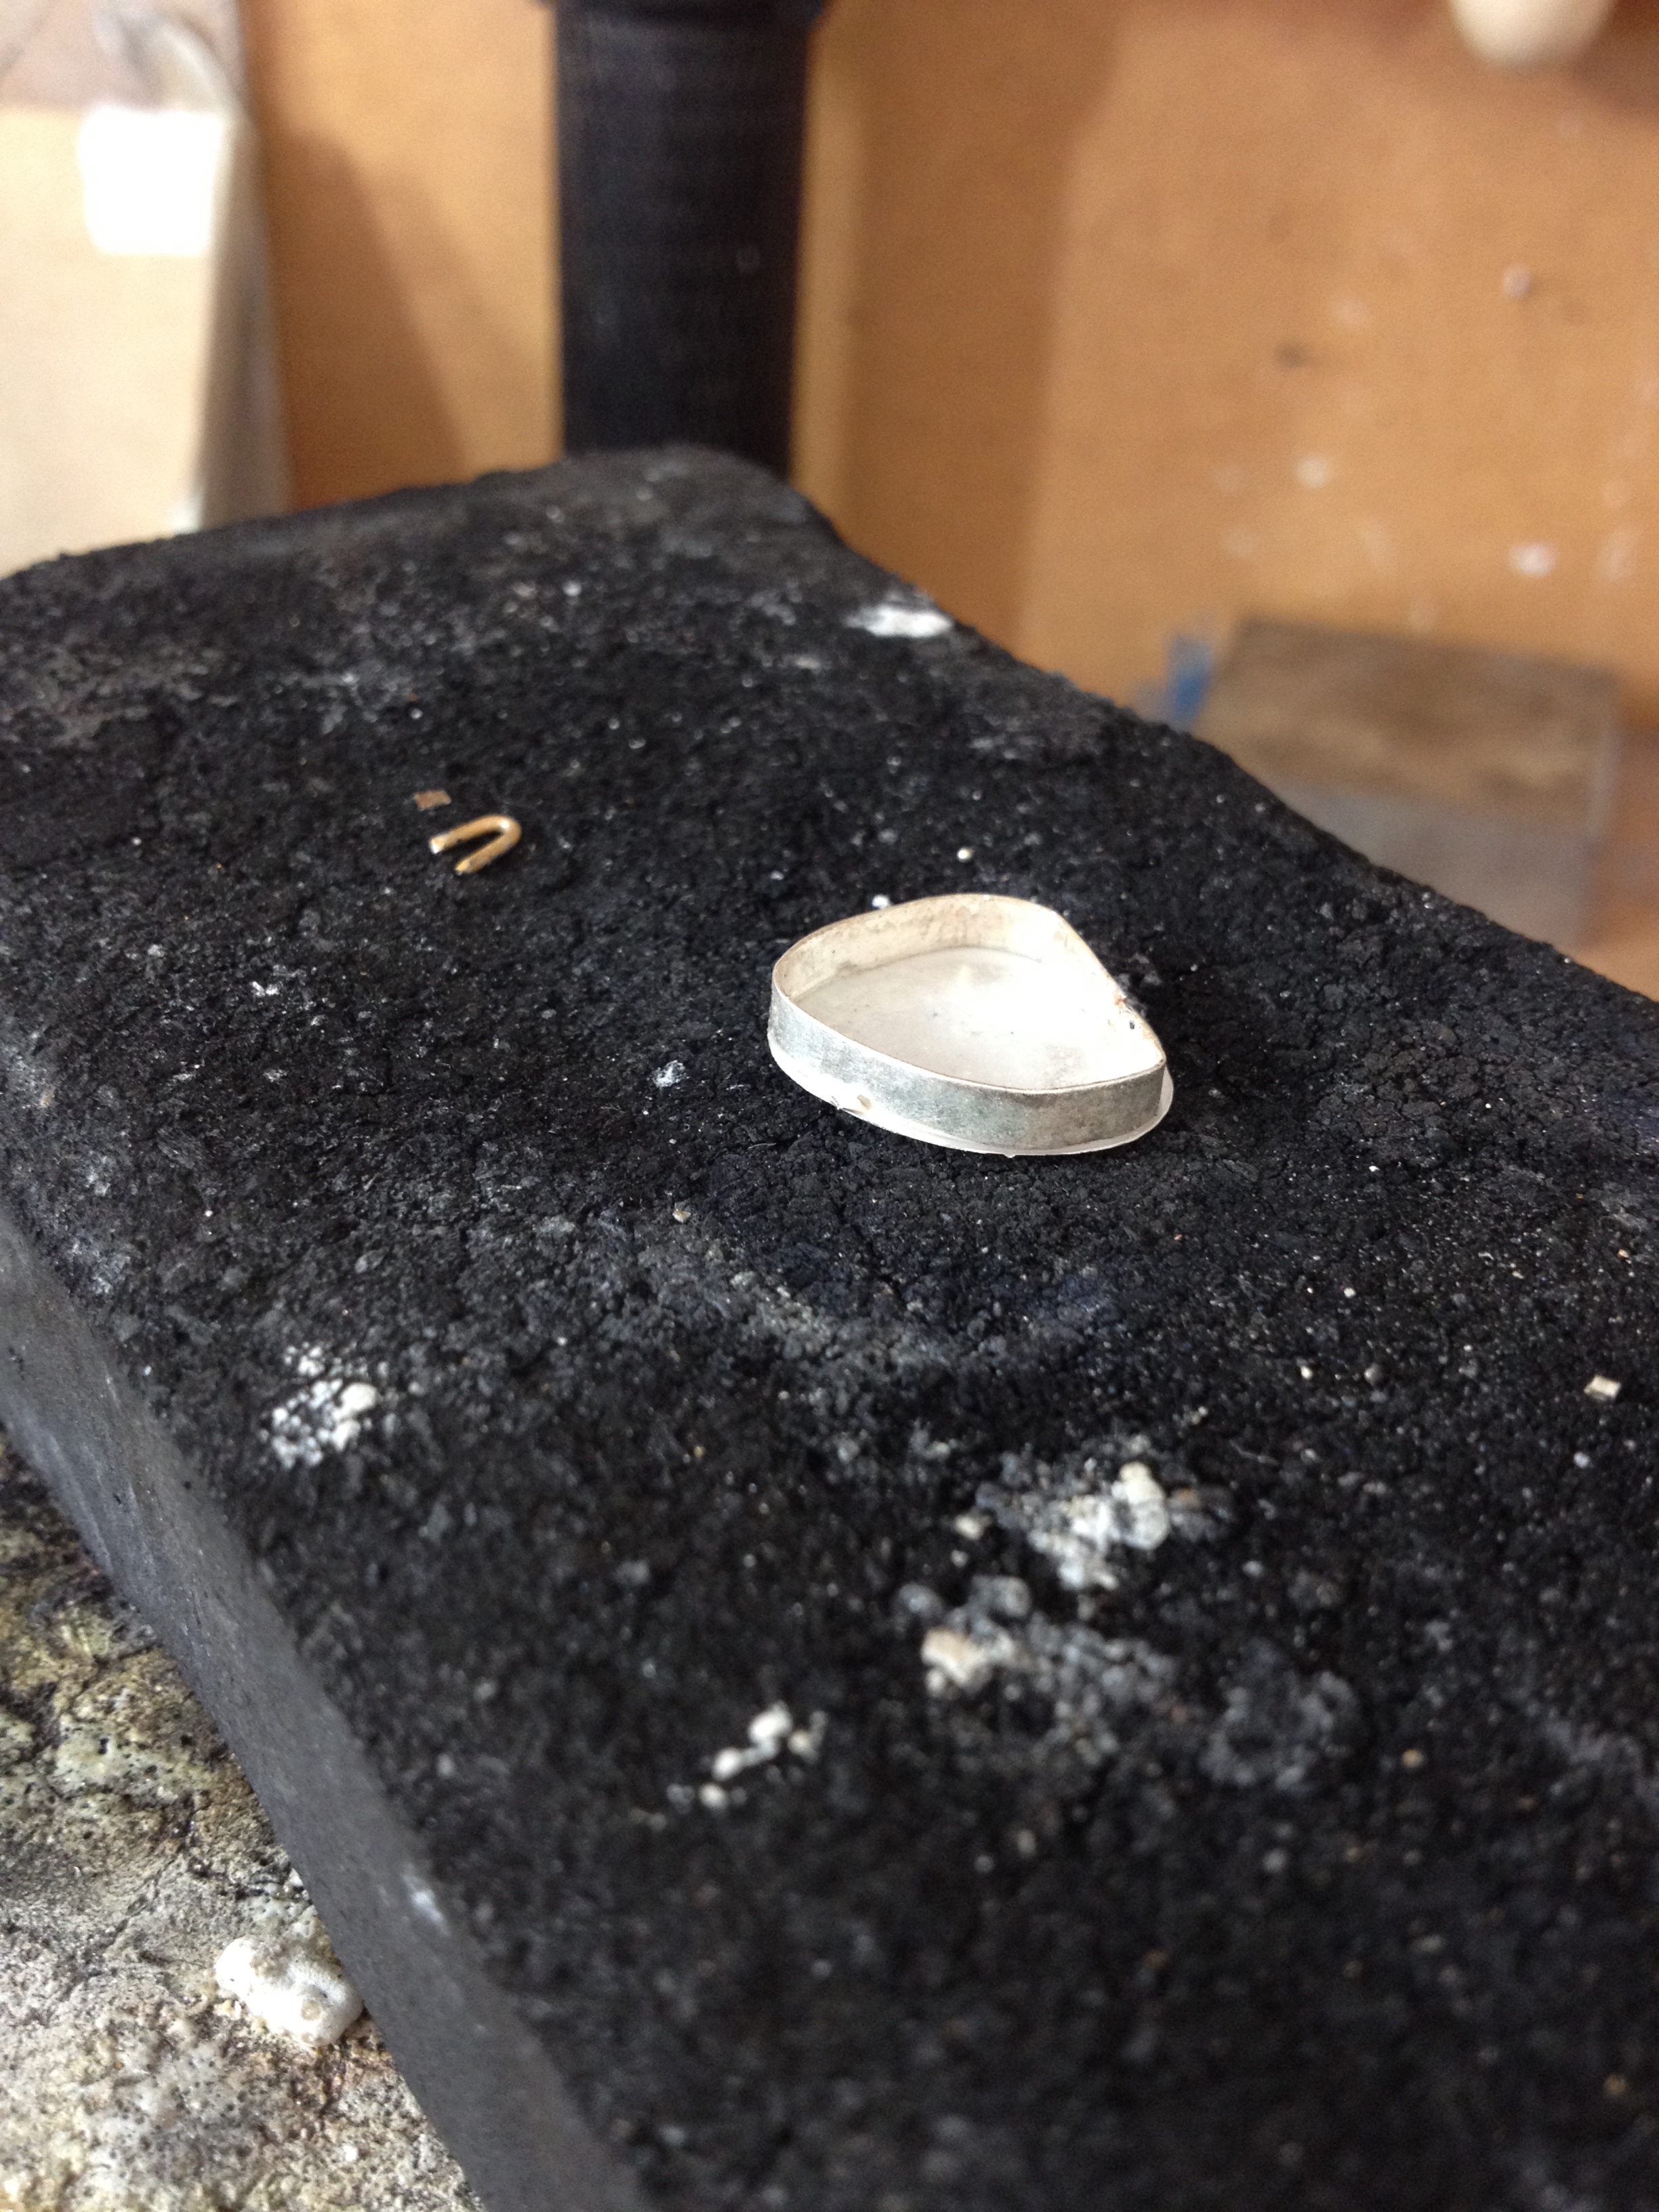
The next step was to solder the ends together. This is fiddly because the two ends have to perfectly align or there will be a gap in the bezel. File it too much and you will end up with a bezel that’s too tight. Finally got it right and put it on the charcoal block for soldering. Sit the join over a tiny pallion of hard solder and then heat all around the bezel until the solder flows.

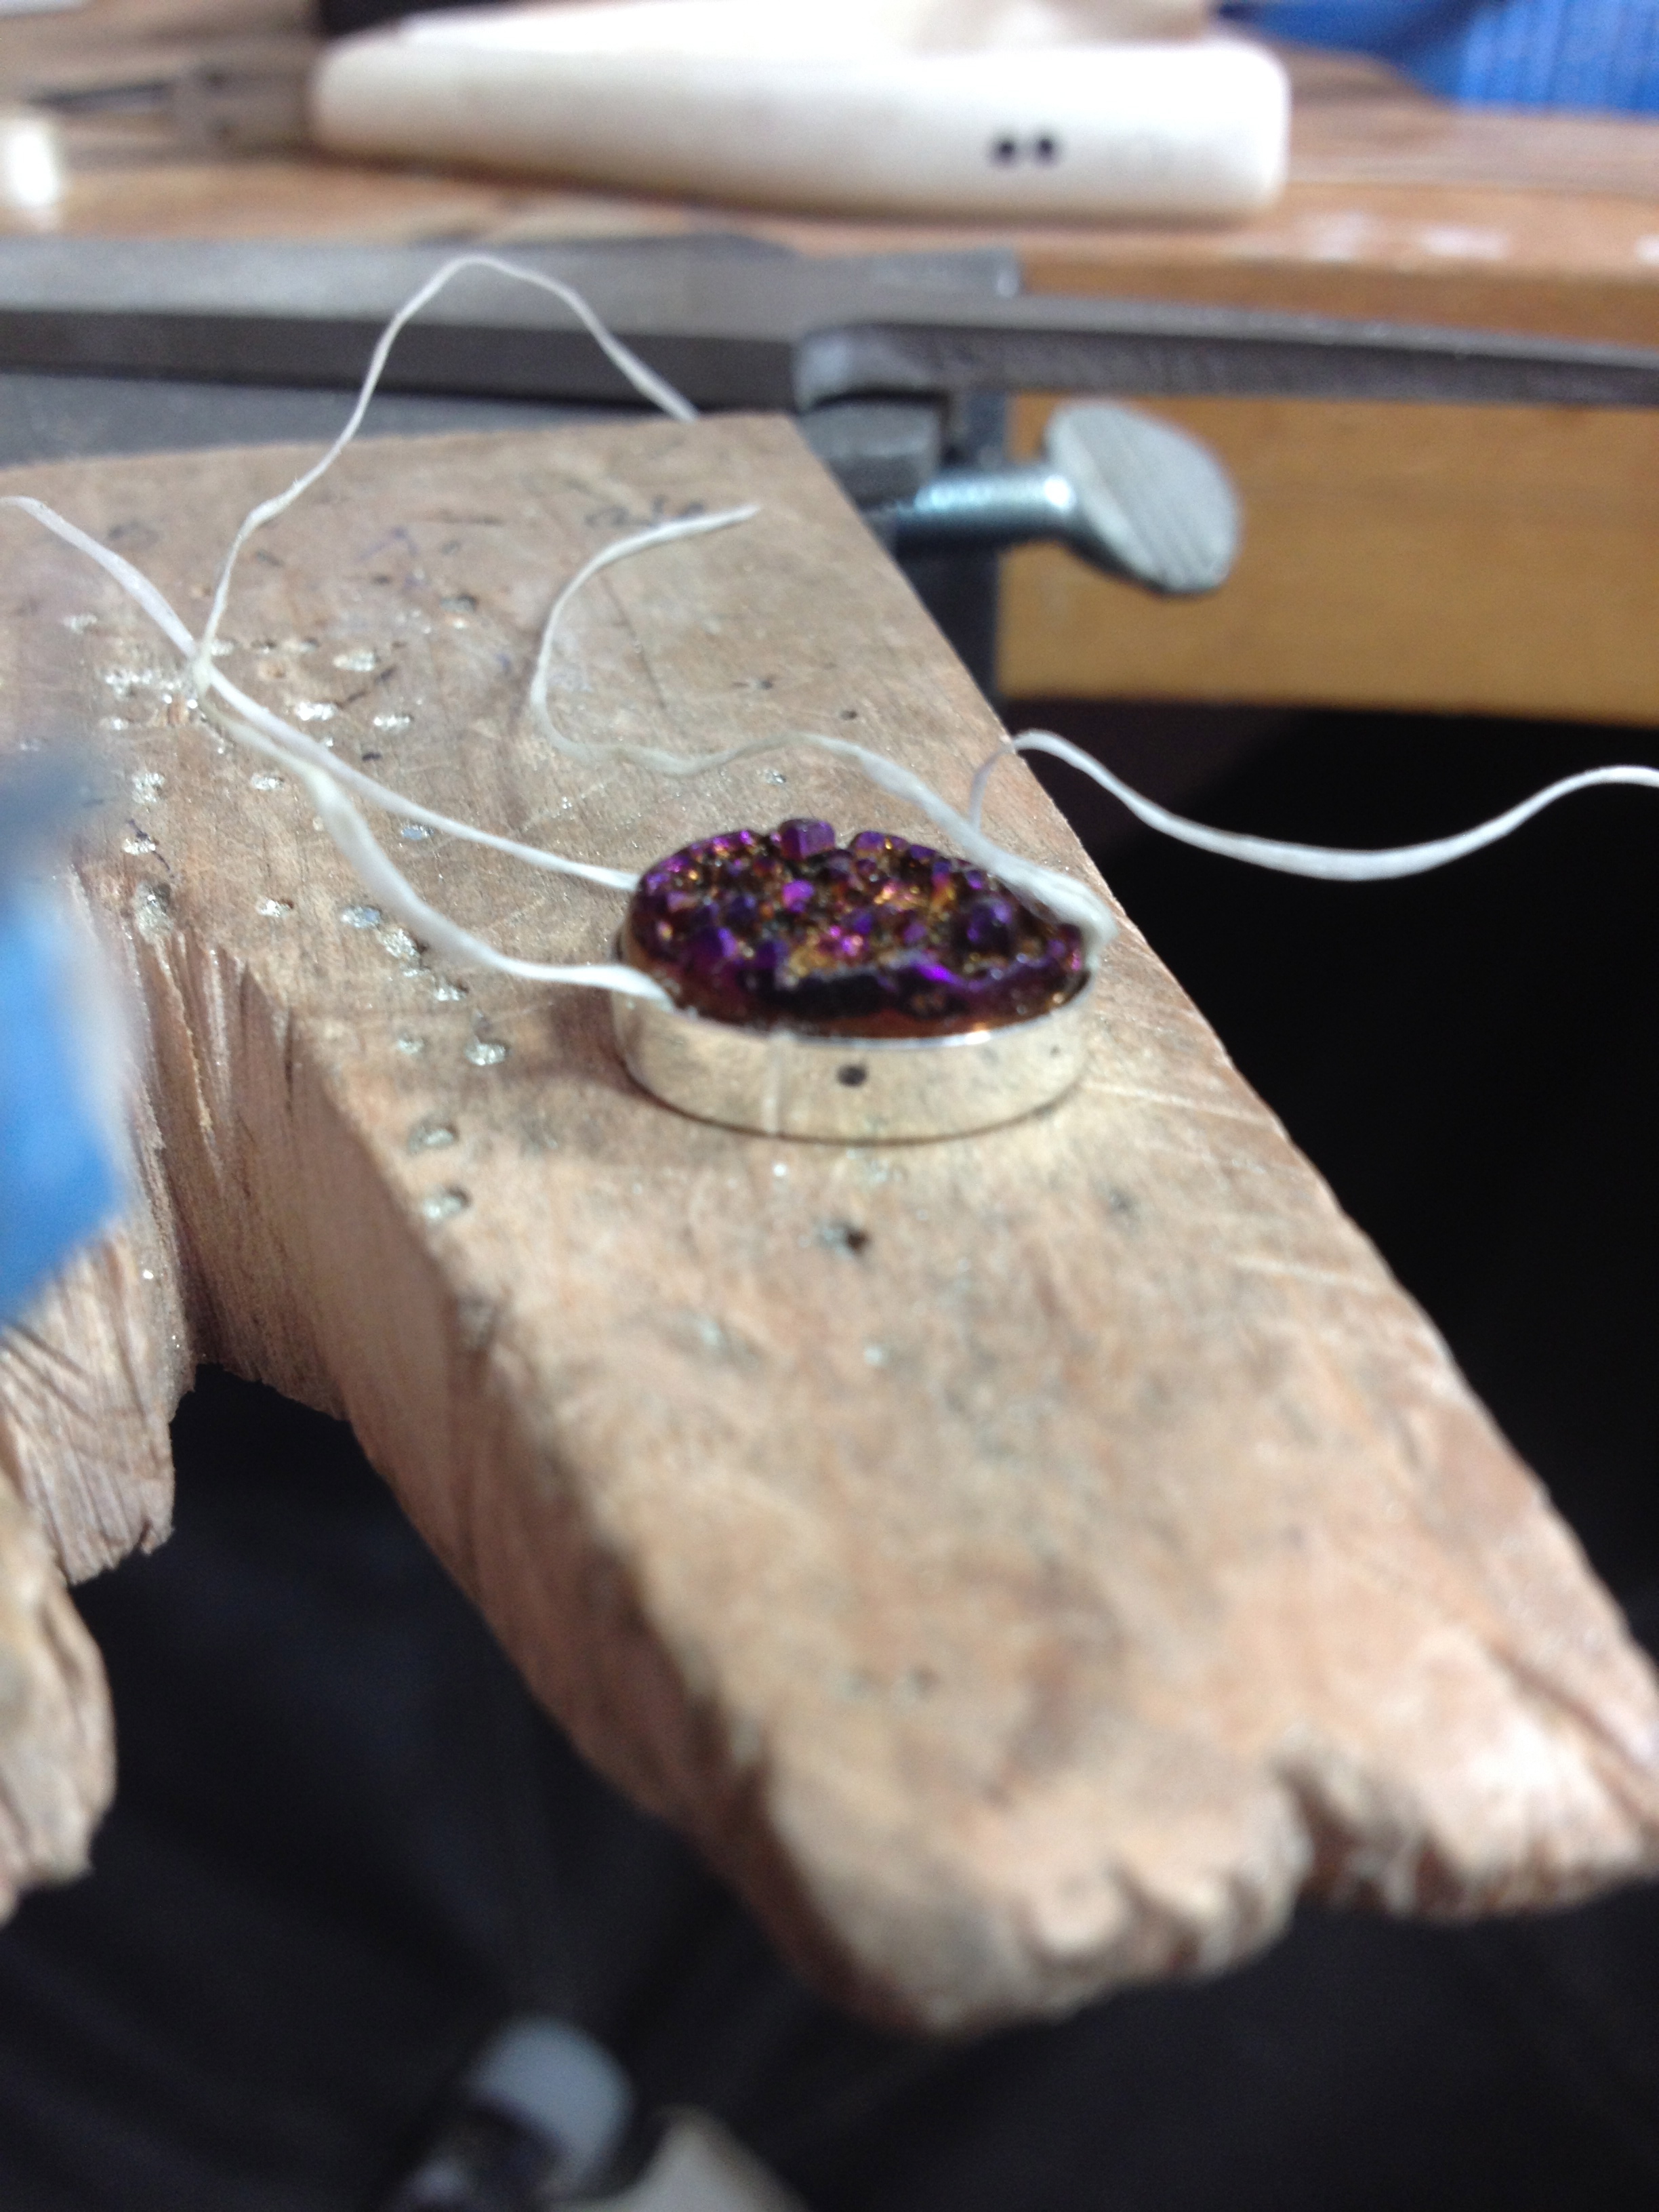
Check for fit. Mmm not bad. I needed to do a bit of fettling to make it perfect.

Bezels have be completely flat so that all parts will solder to the base plate. This one definitely isn’t! To make it level I hold it flat on a file and run it back and forth until the entire surface is shiny and level. Rubbing it on sandpaper will dull the surface so when it filed you can easily see which bits the file is missing because they will remain dull.


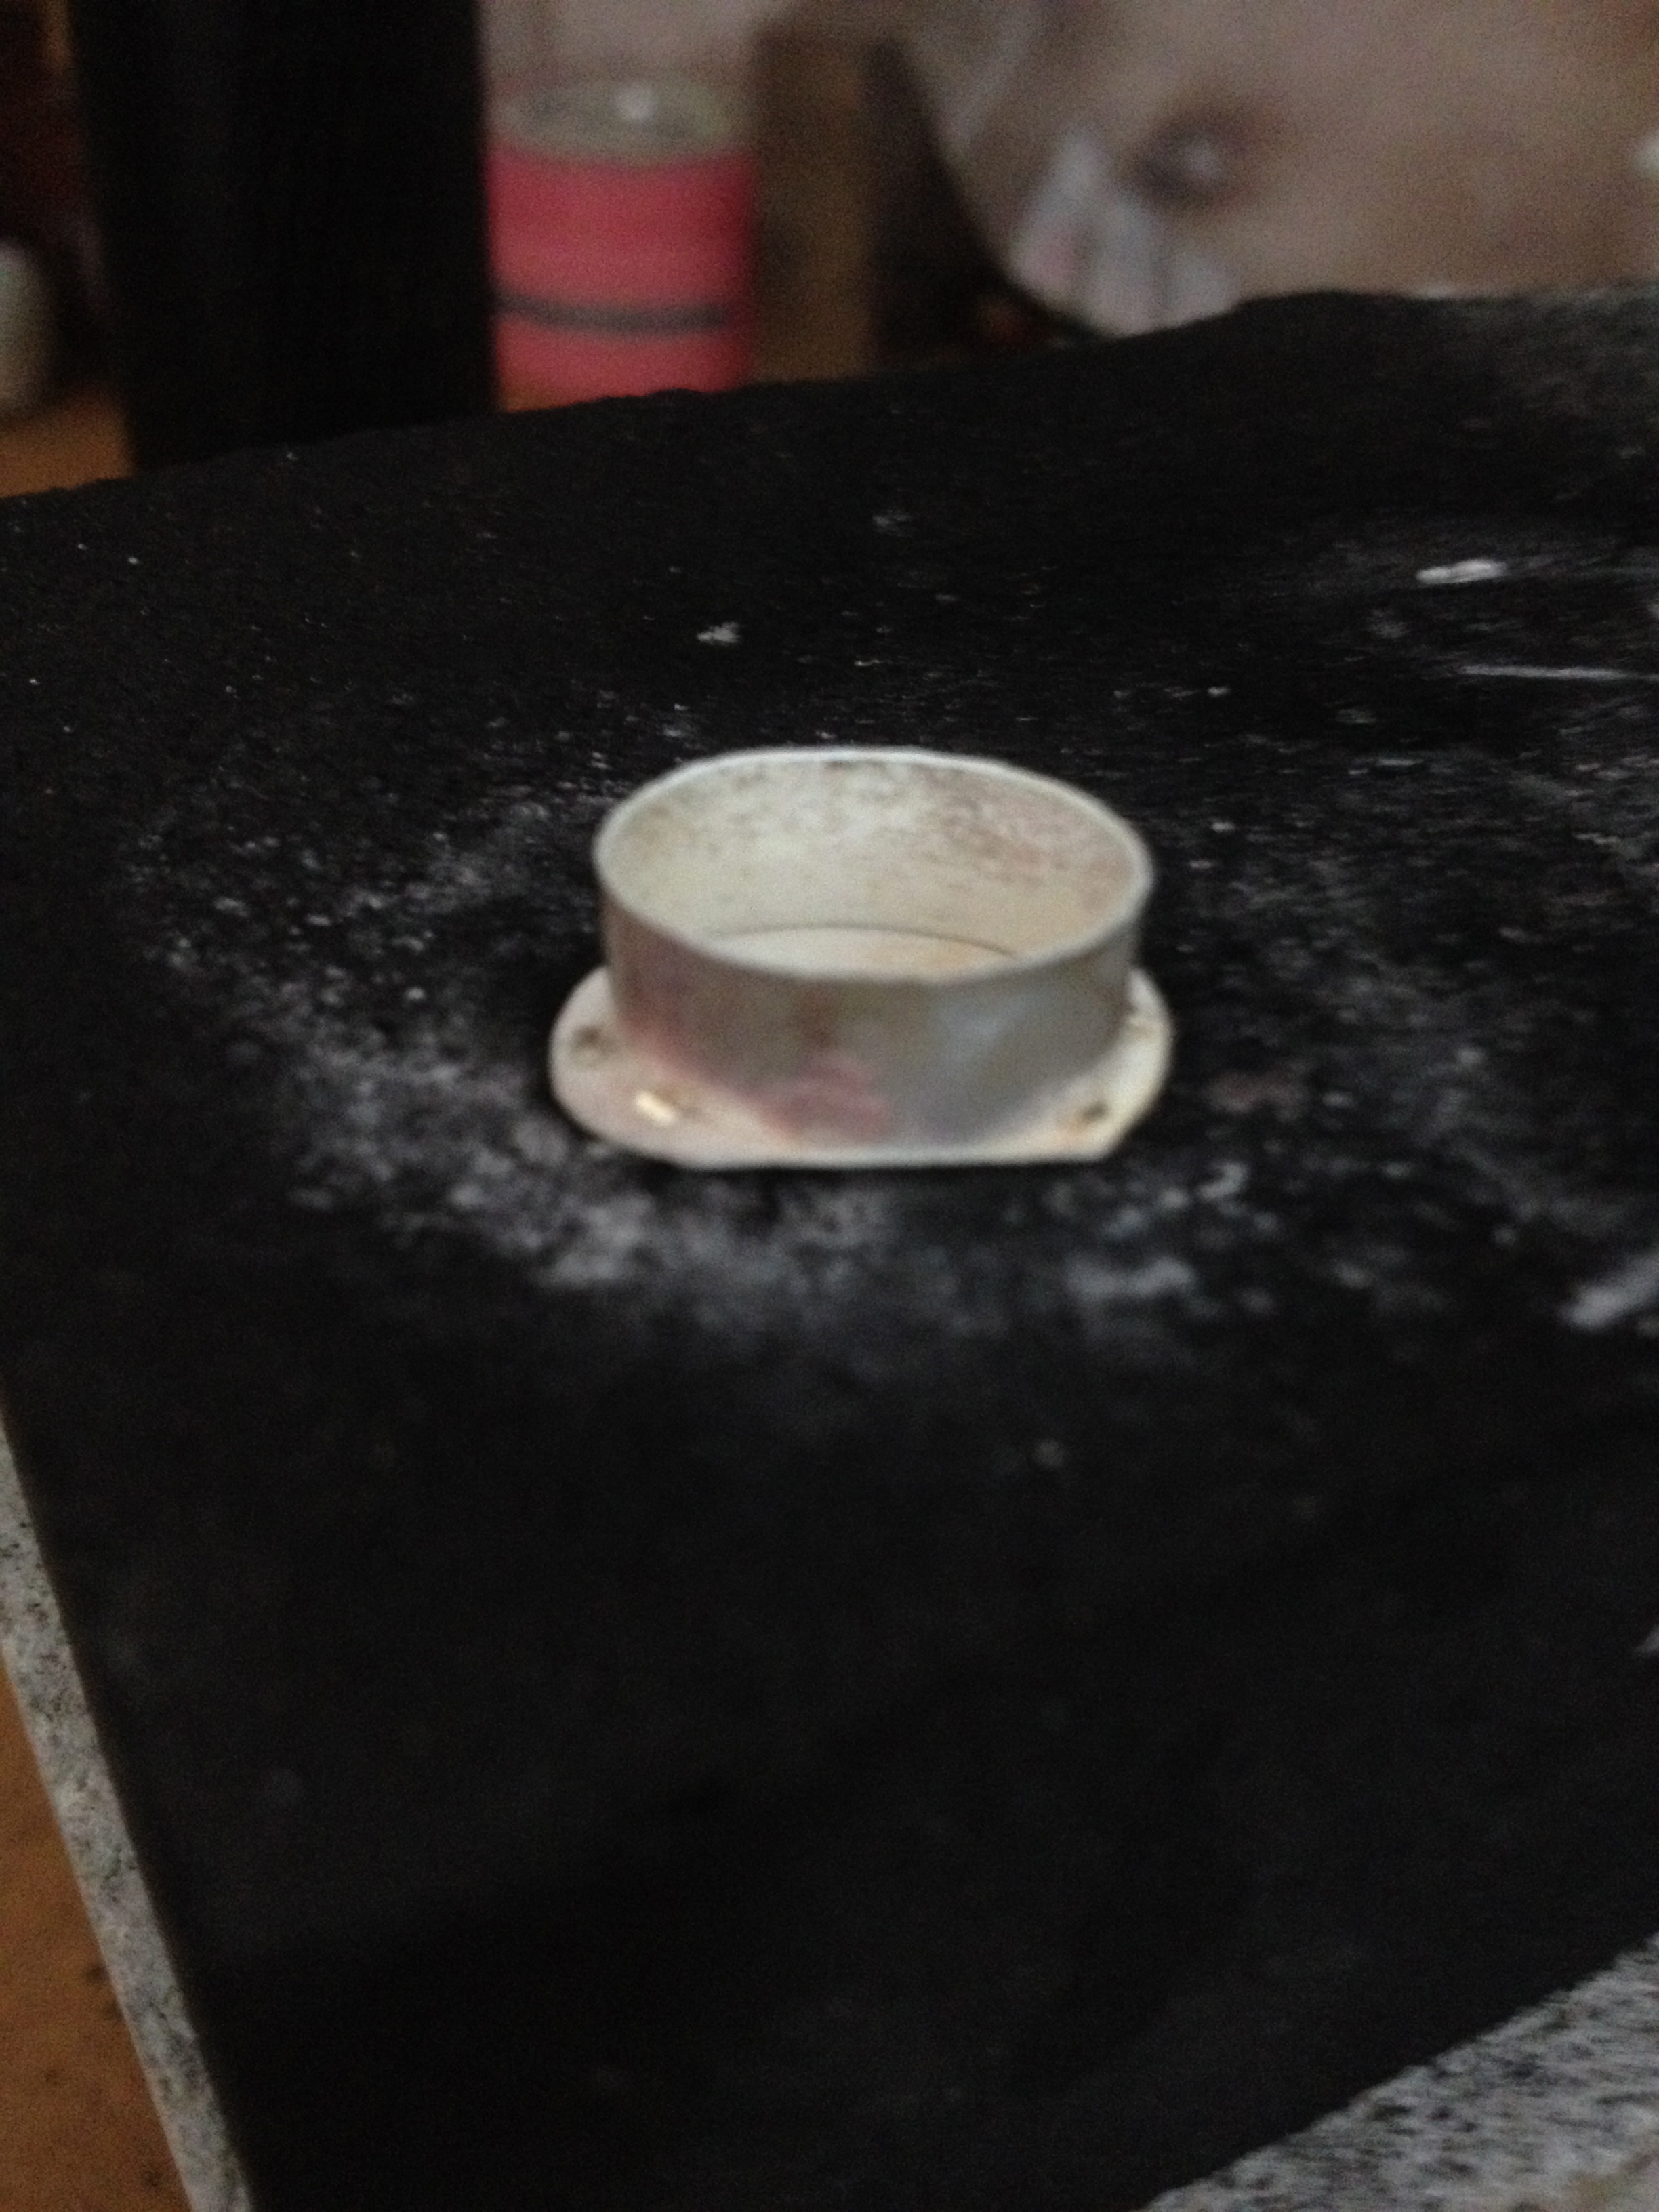
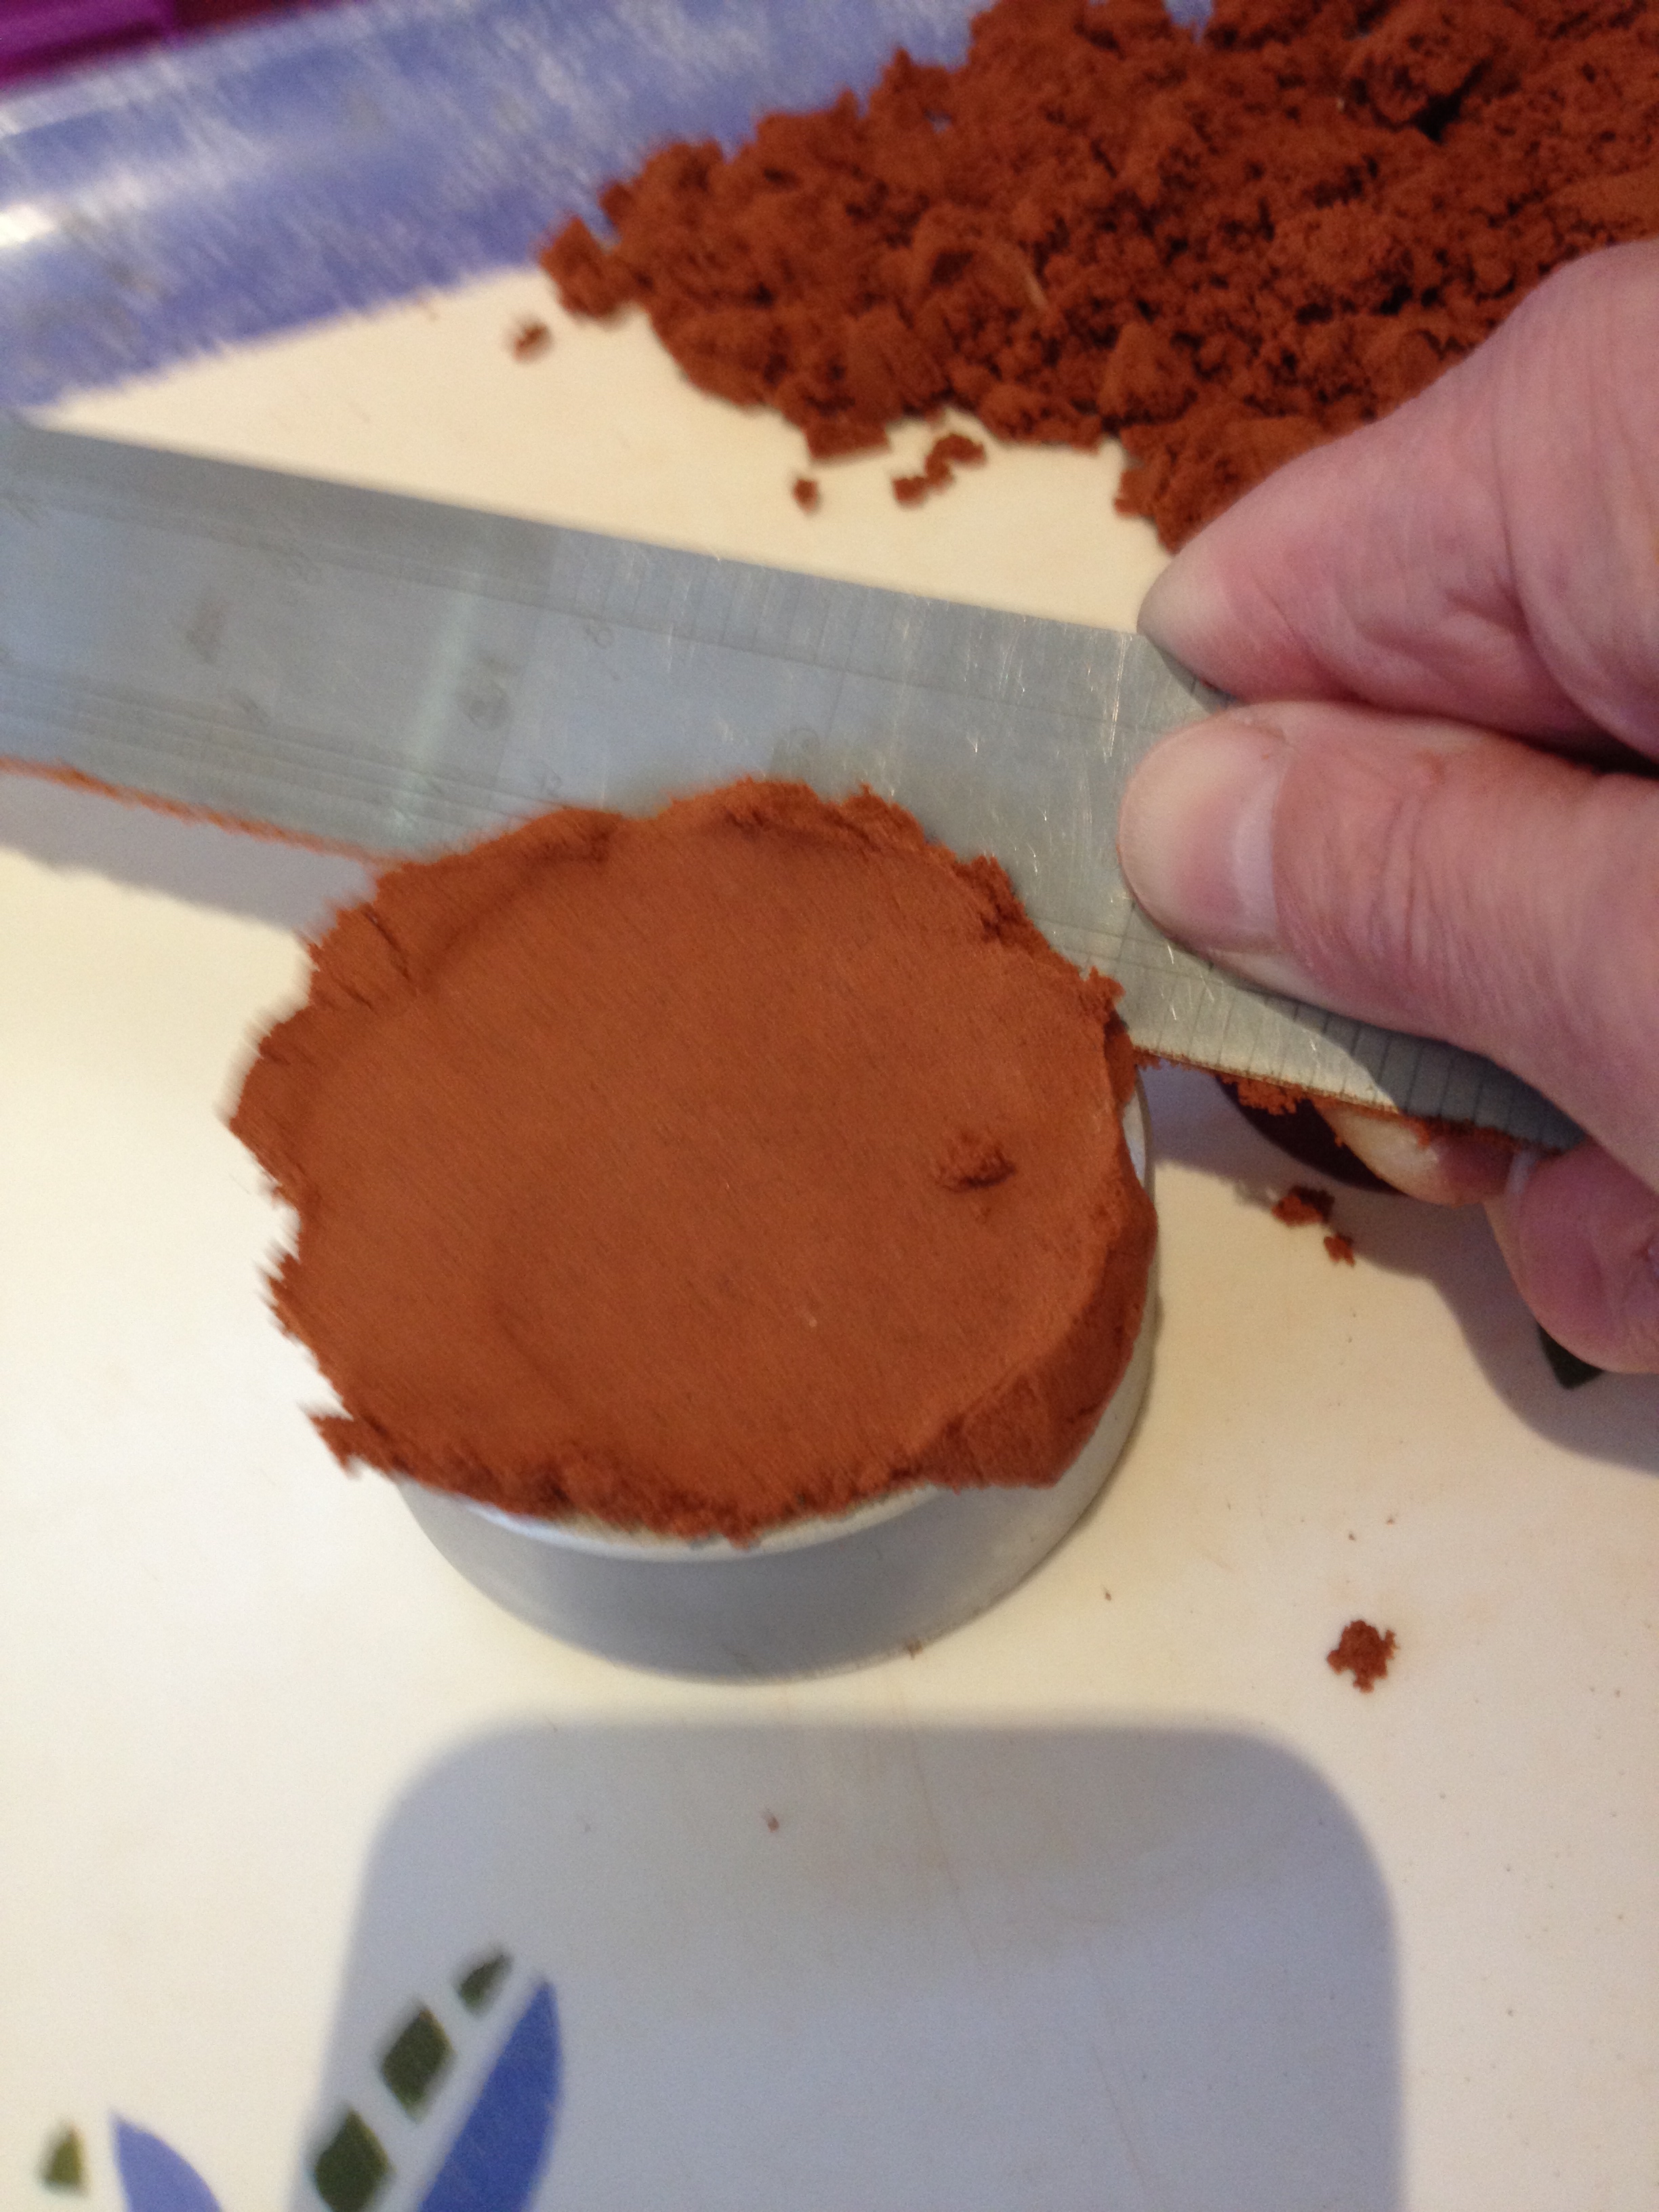
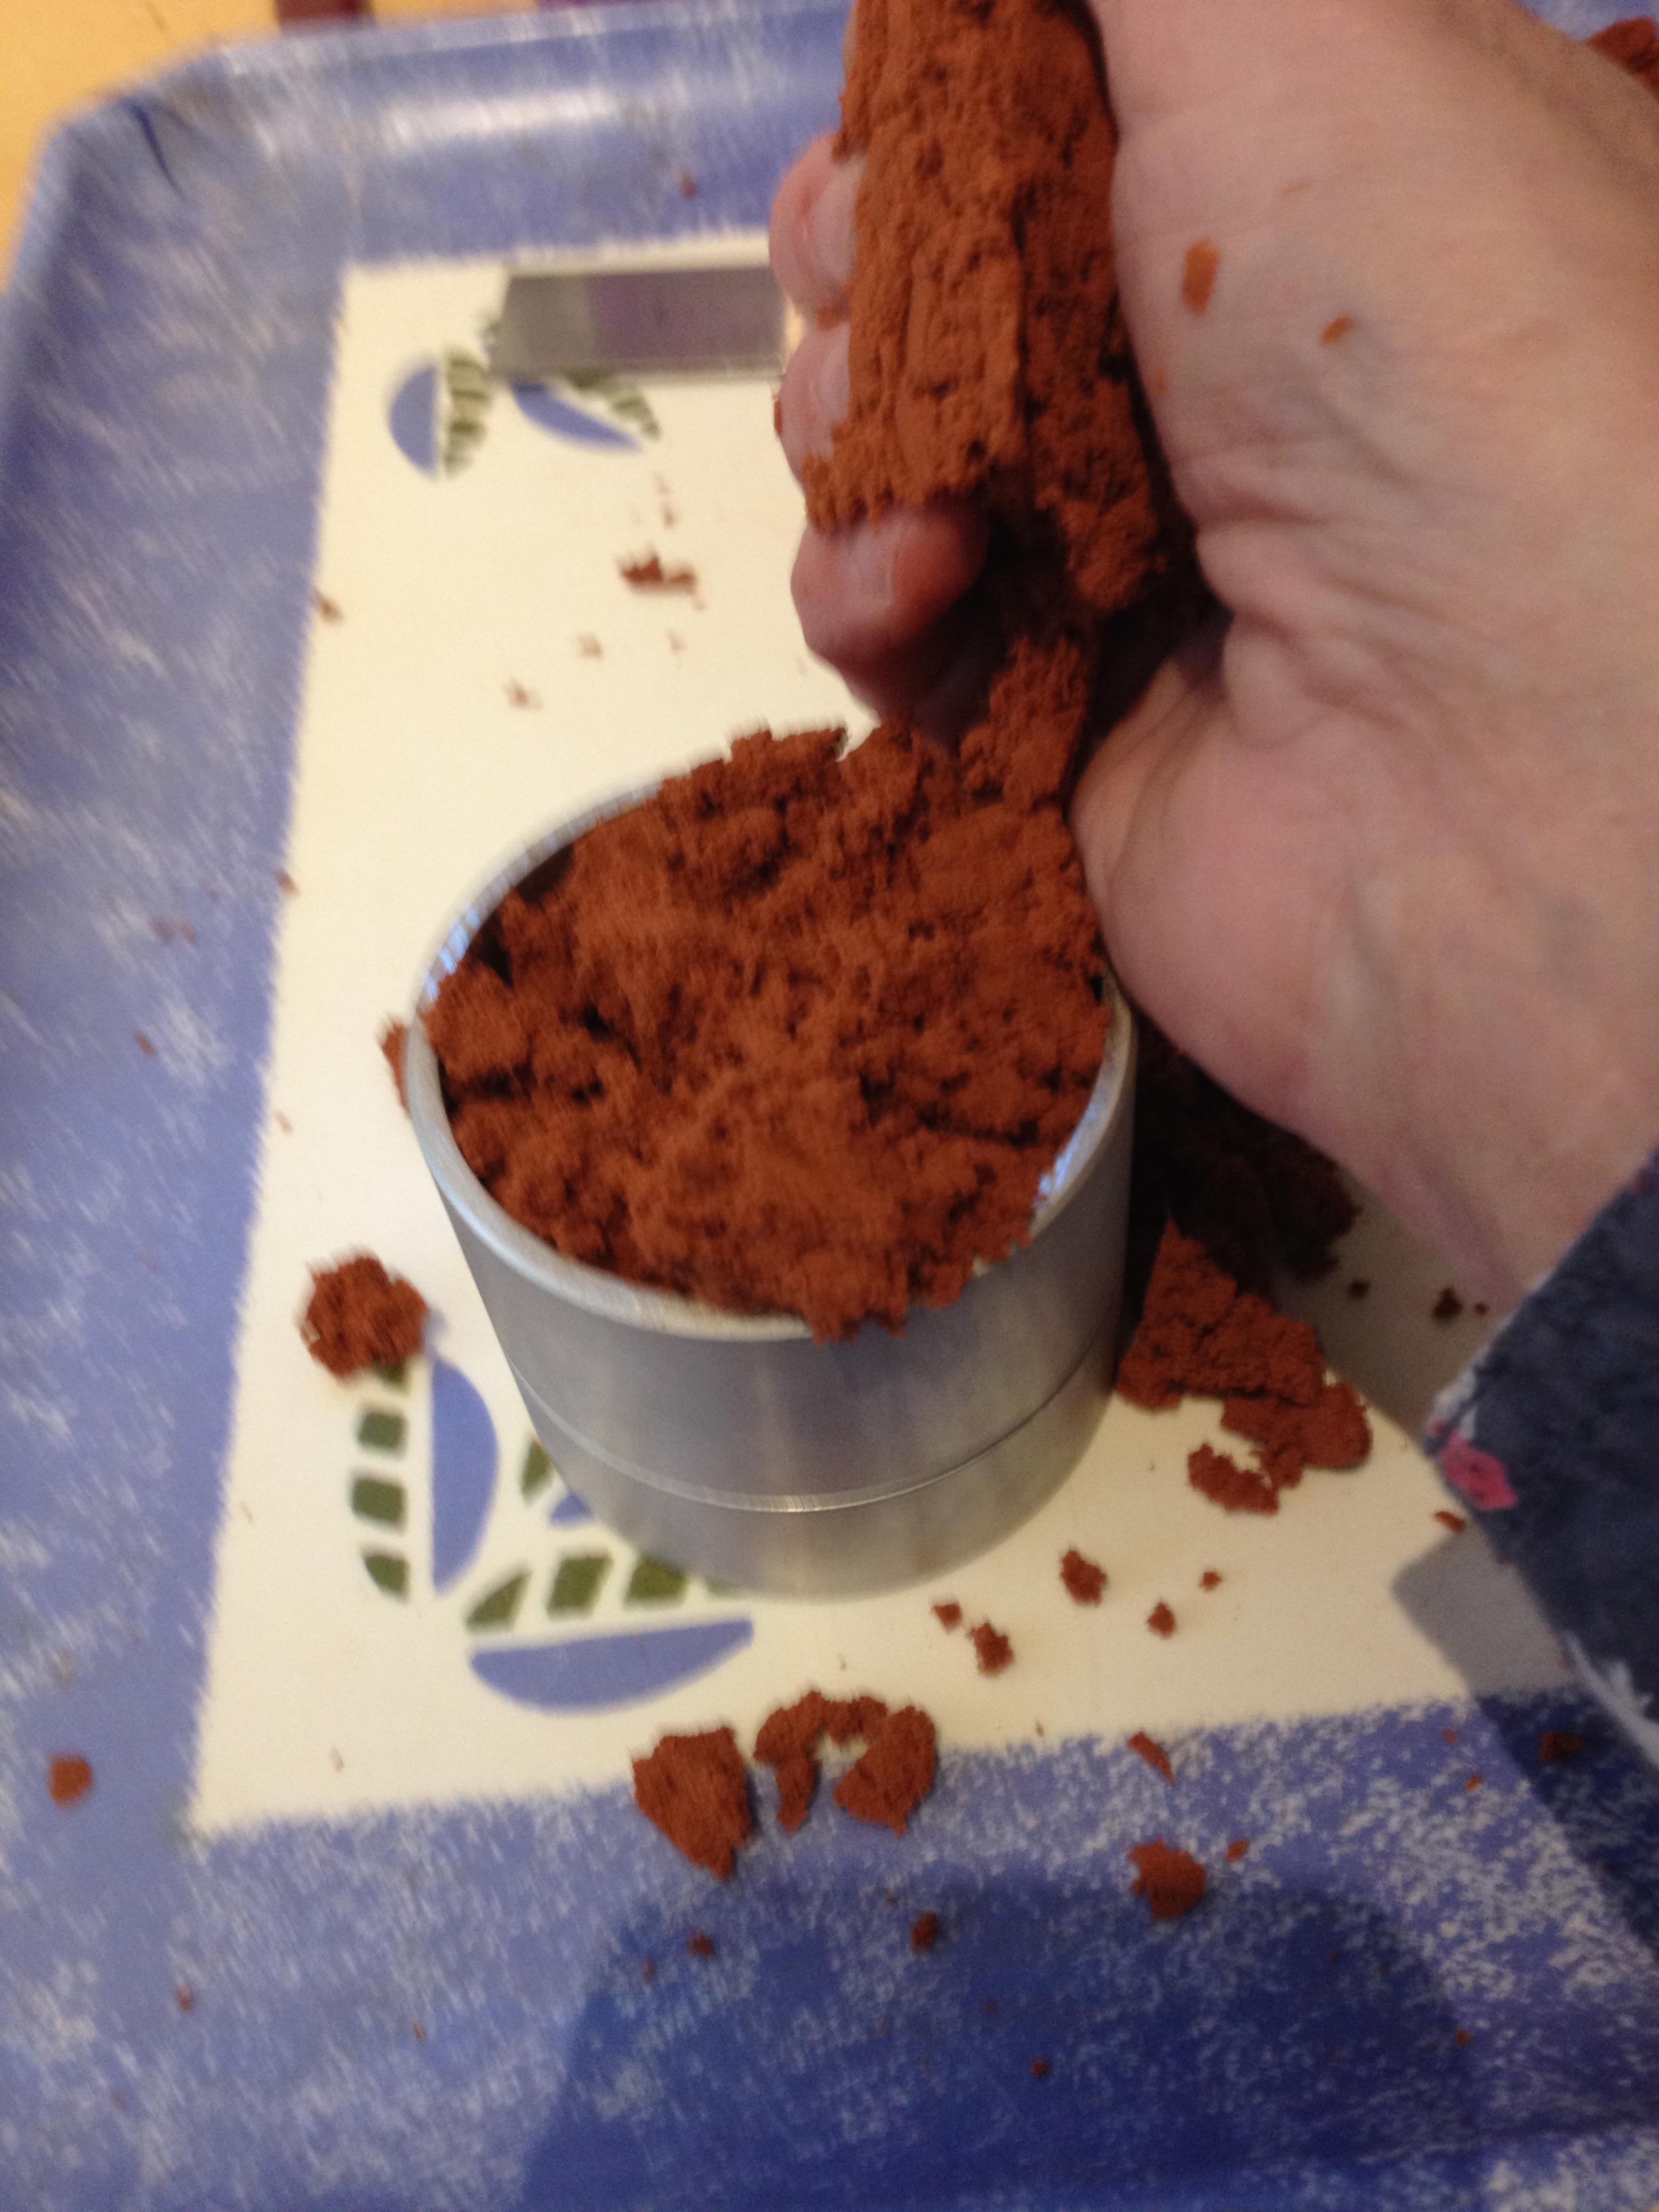
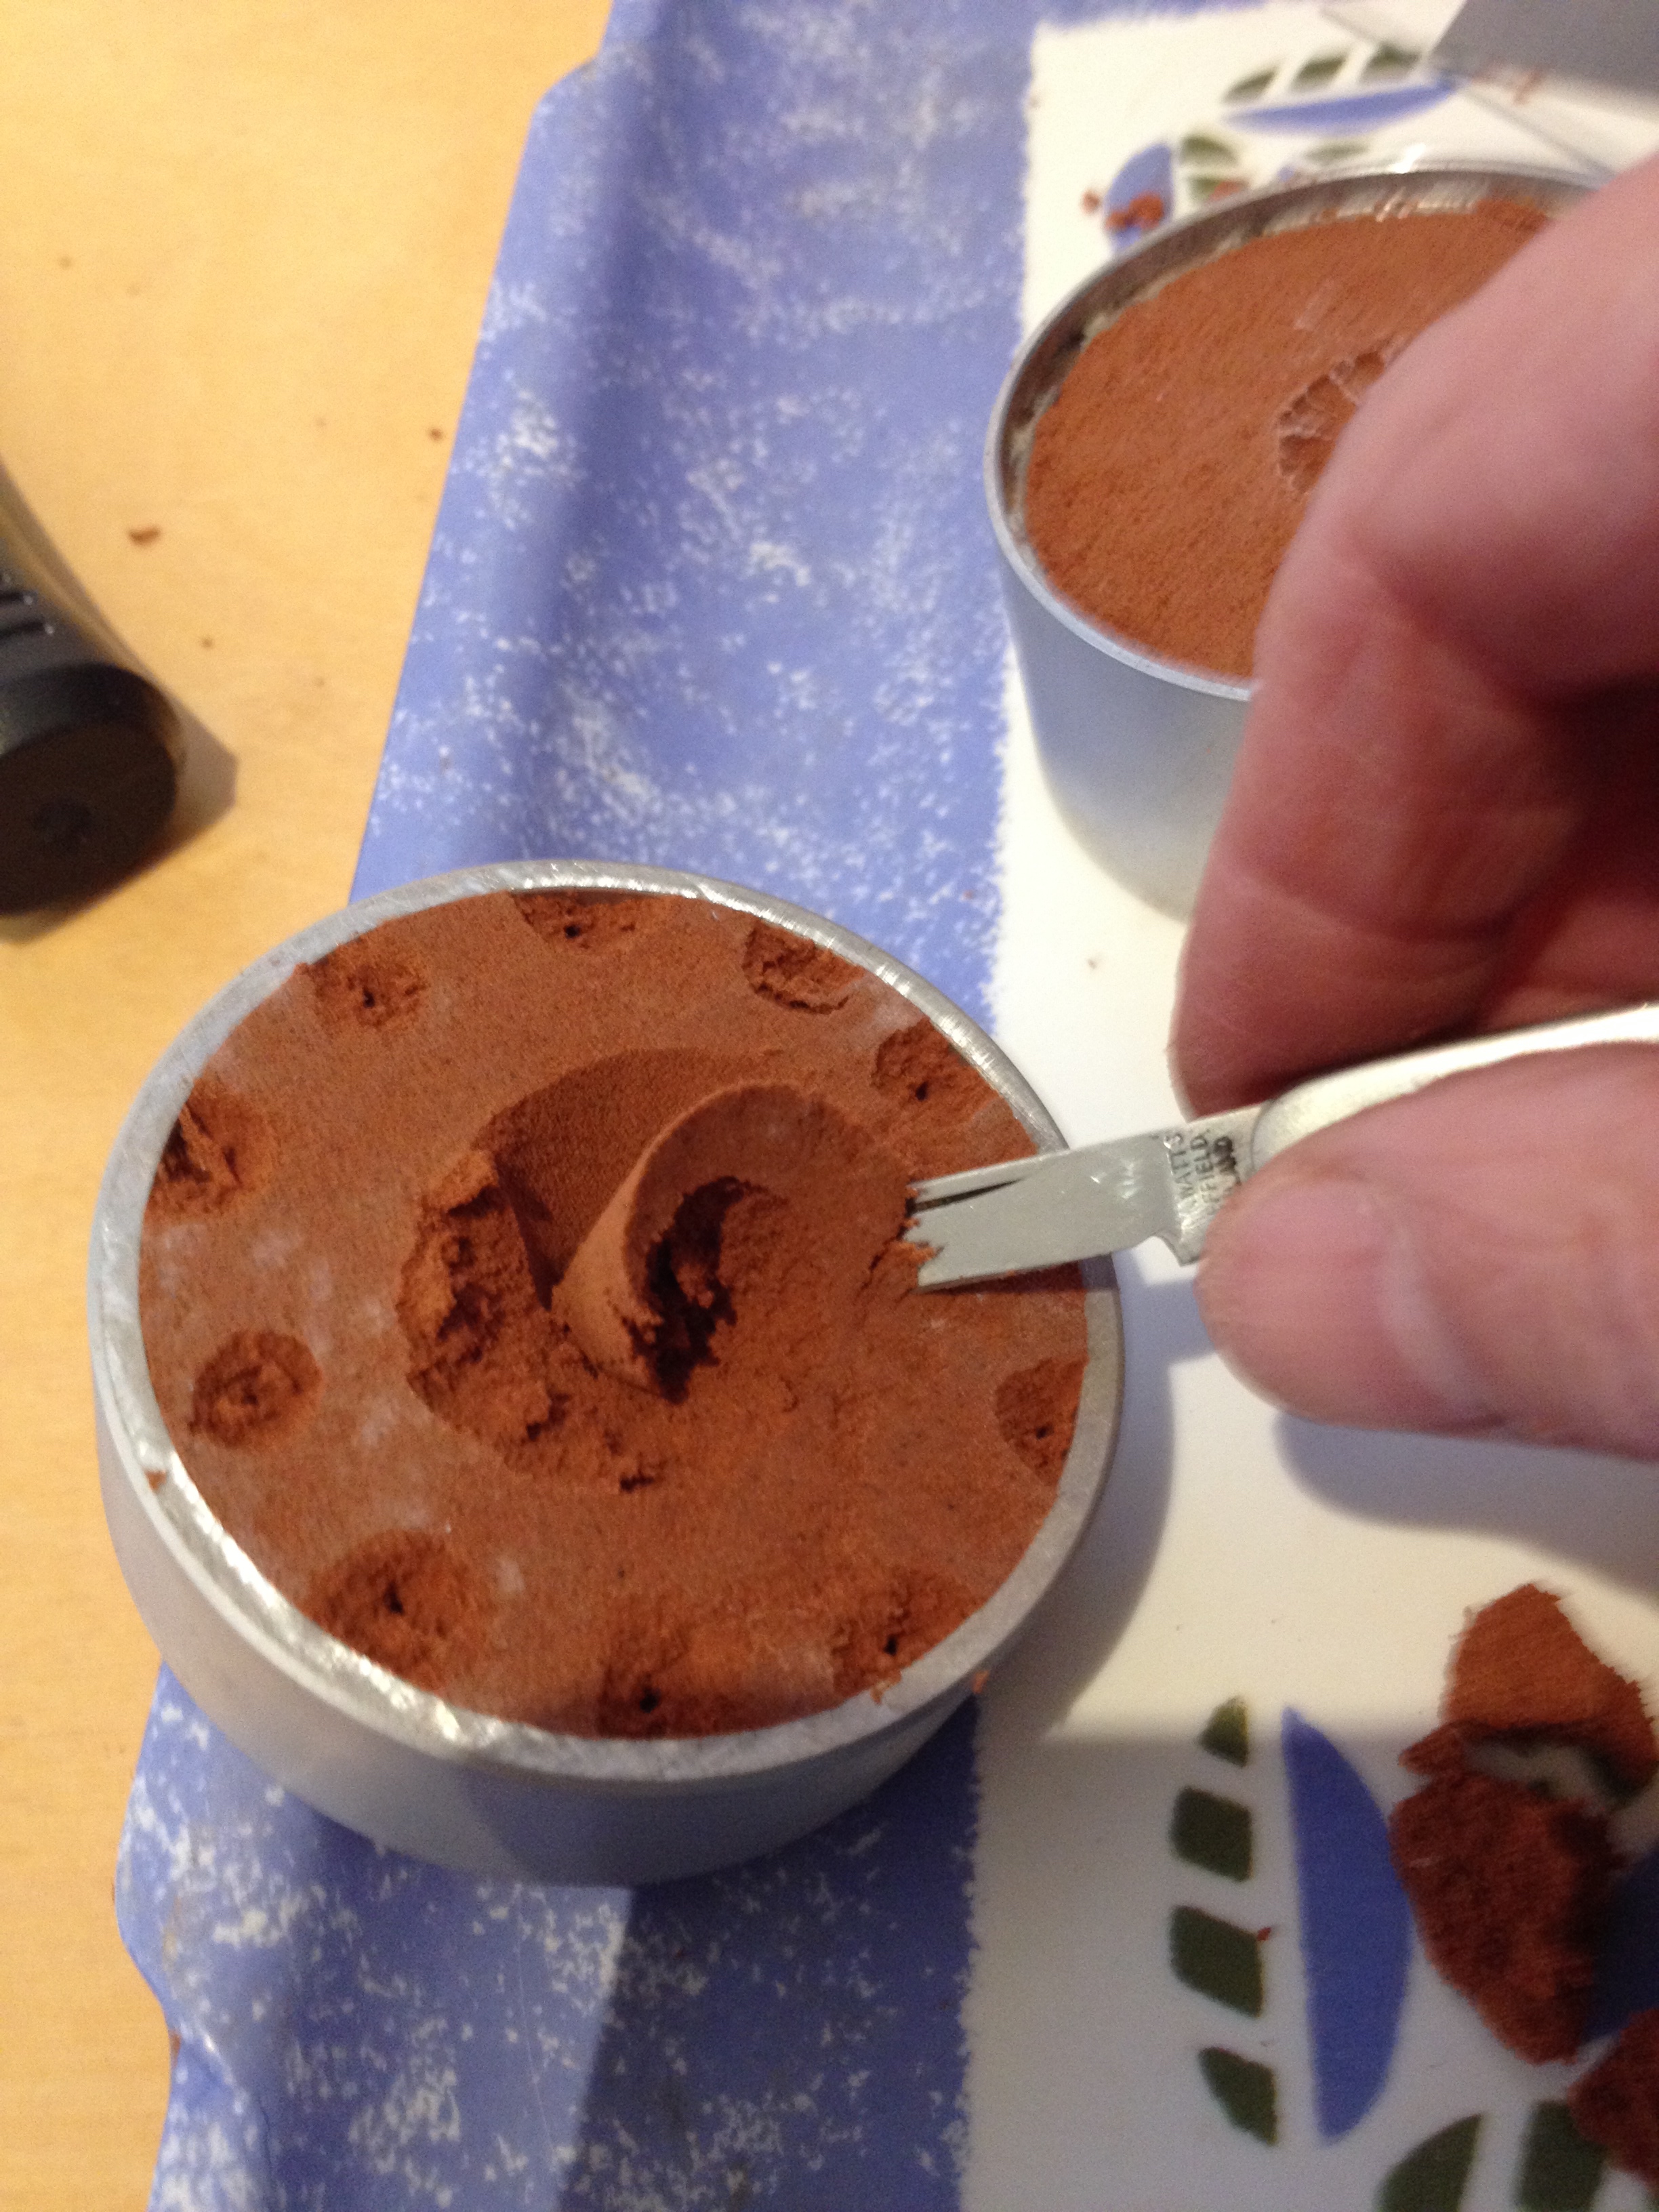
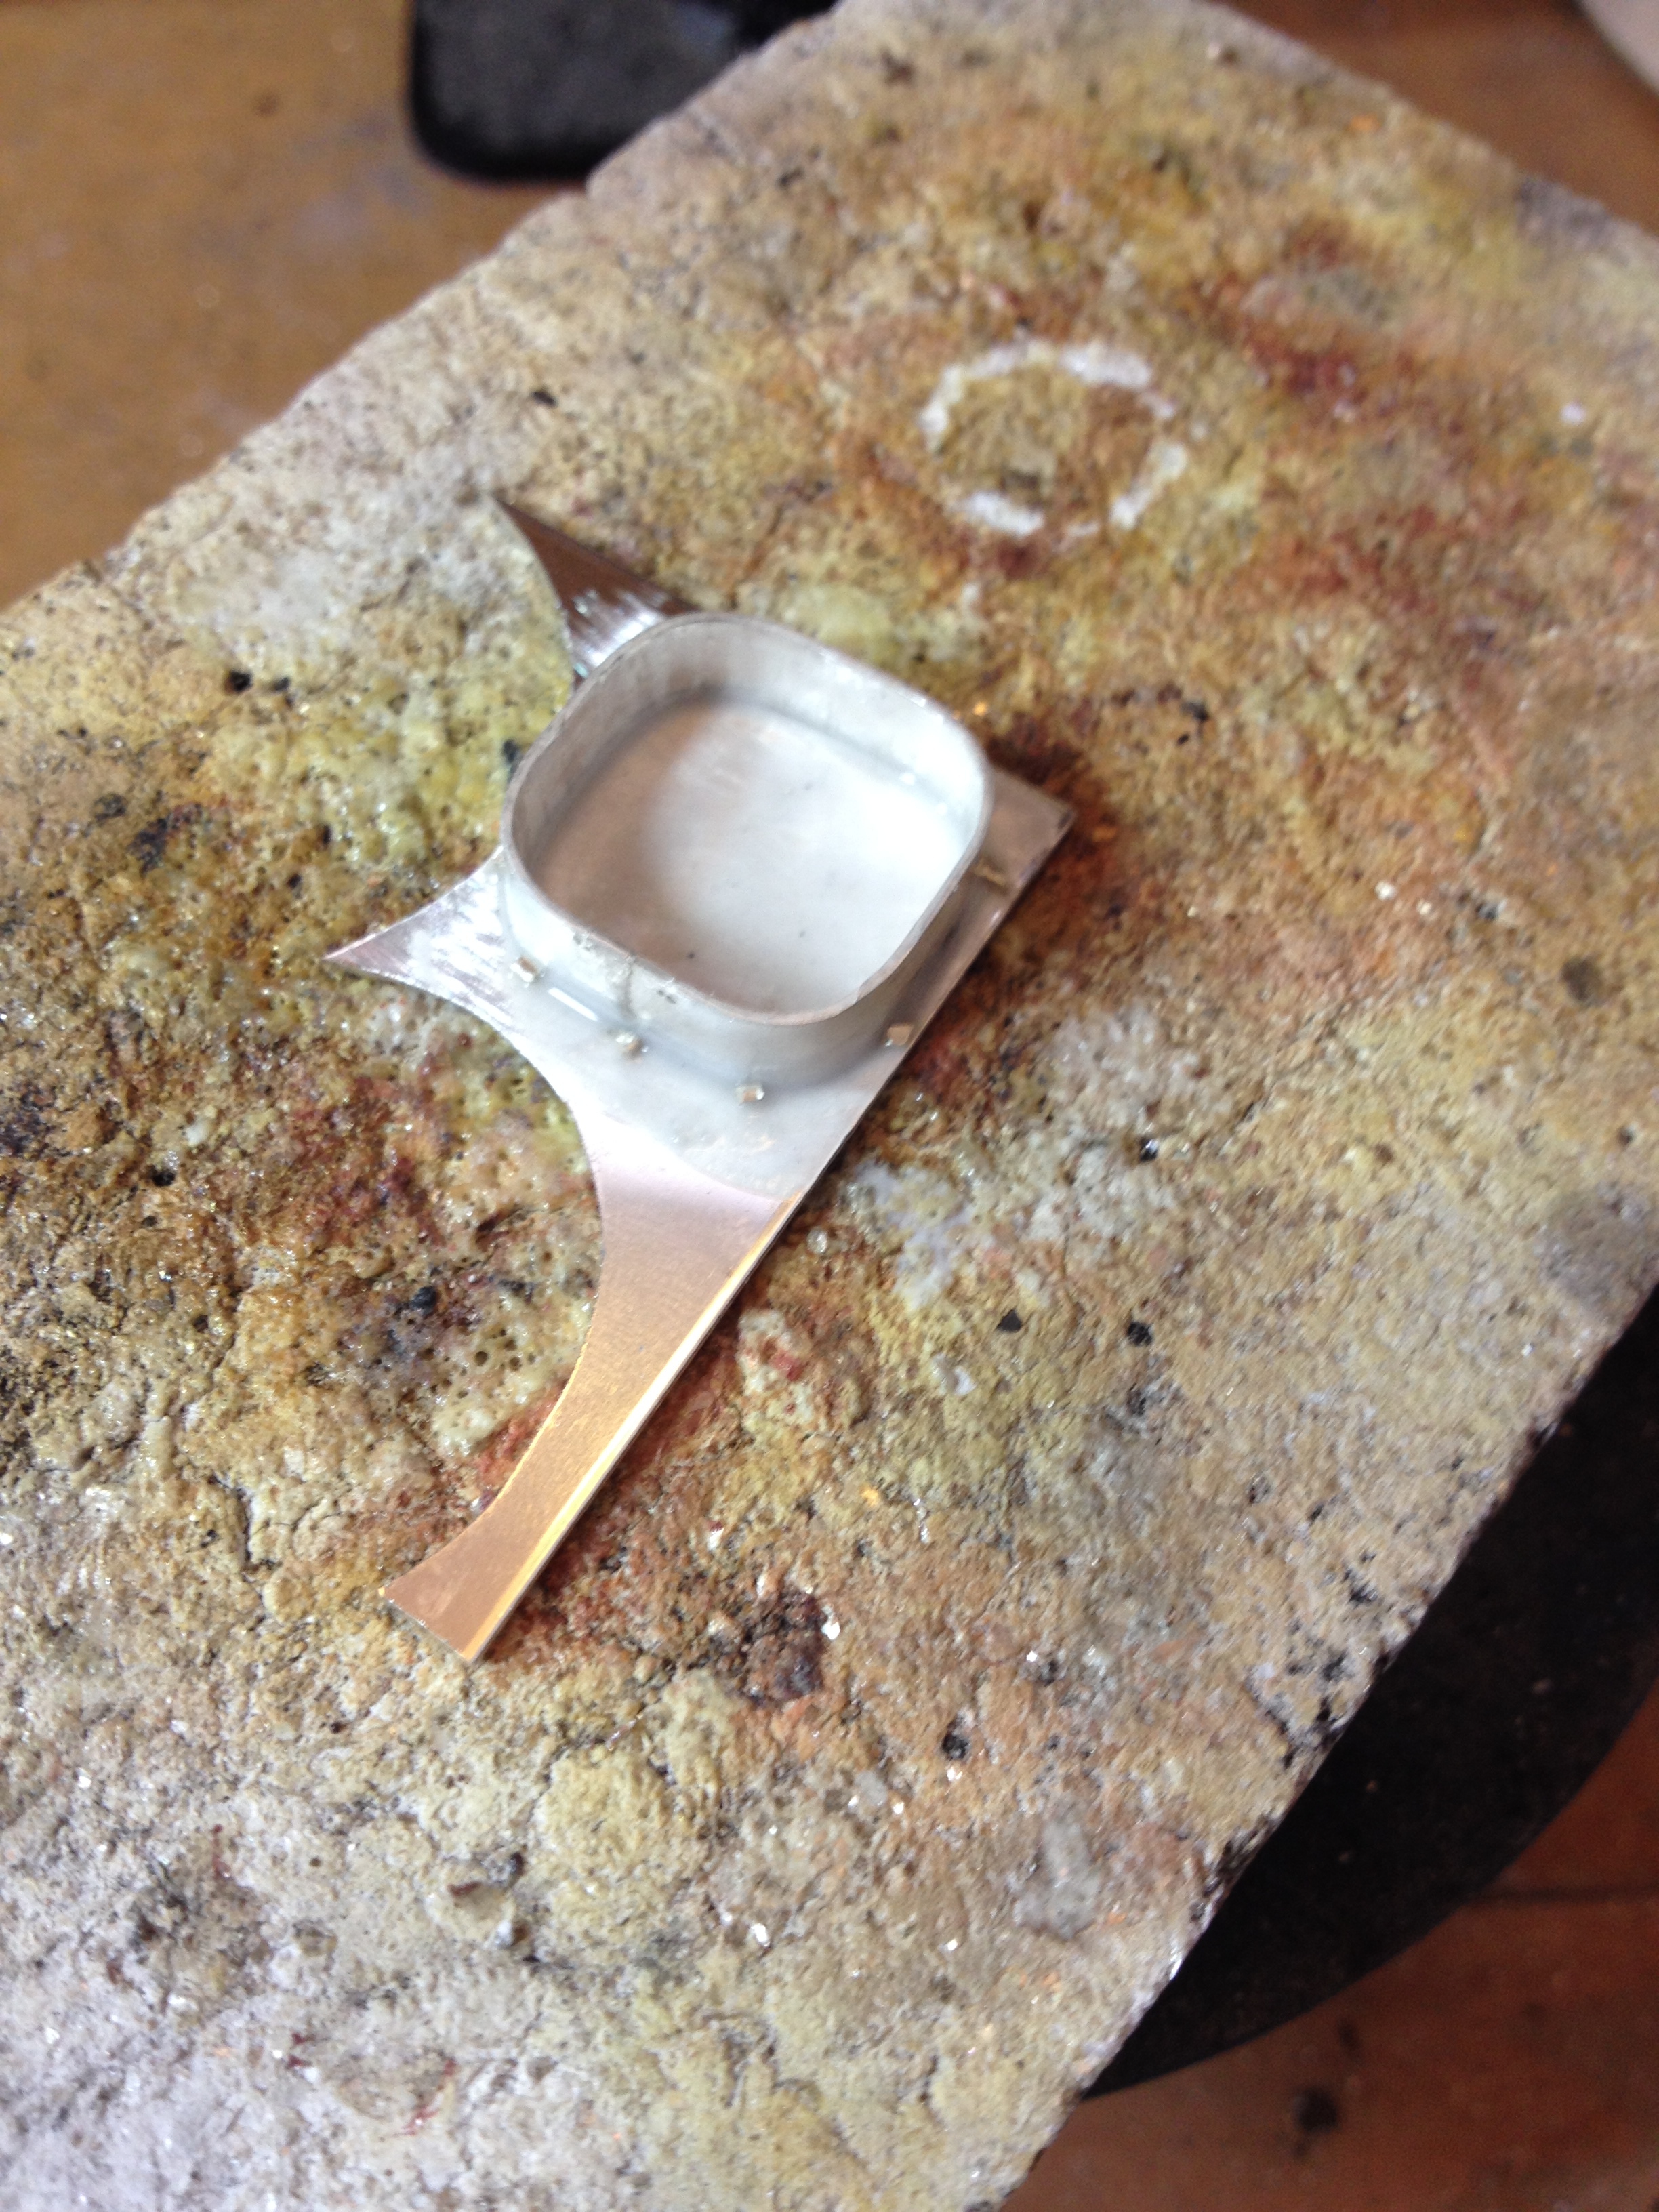
Ok. Now to fit it to the base plate. All components have to be spotlessly clean so I rub damp pumice powder over the base plate and rinse it off with fresh water. Lay the base plate on the charcoal block and flood it with flux. I’ve started using Auflux solder because it’s cleaner than borax but as far as performance is concerned I don’t think there’s much difference.

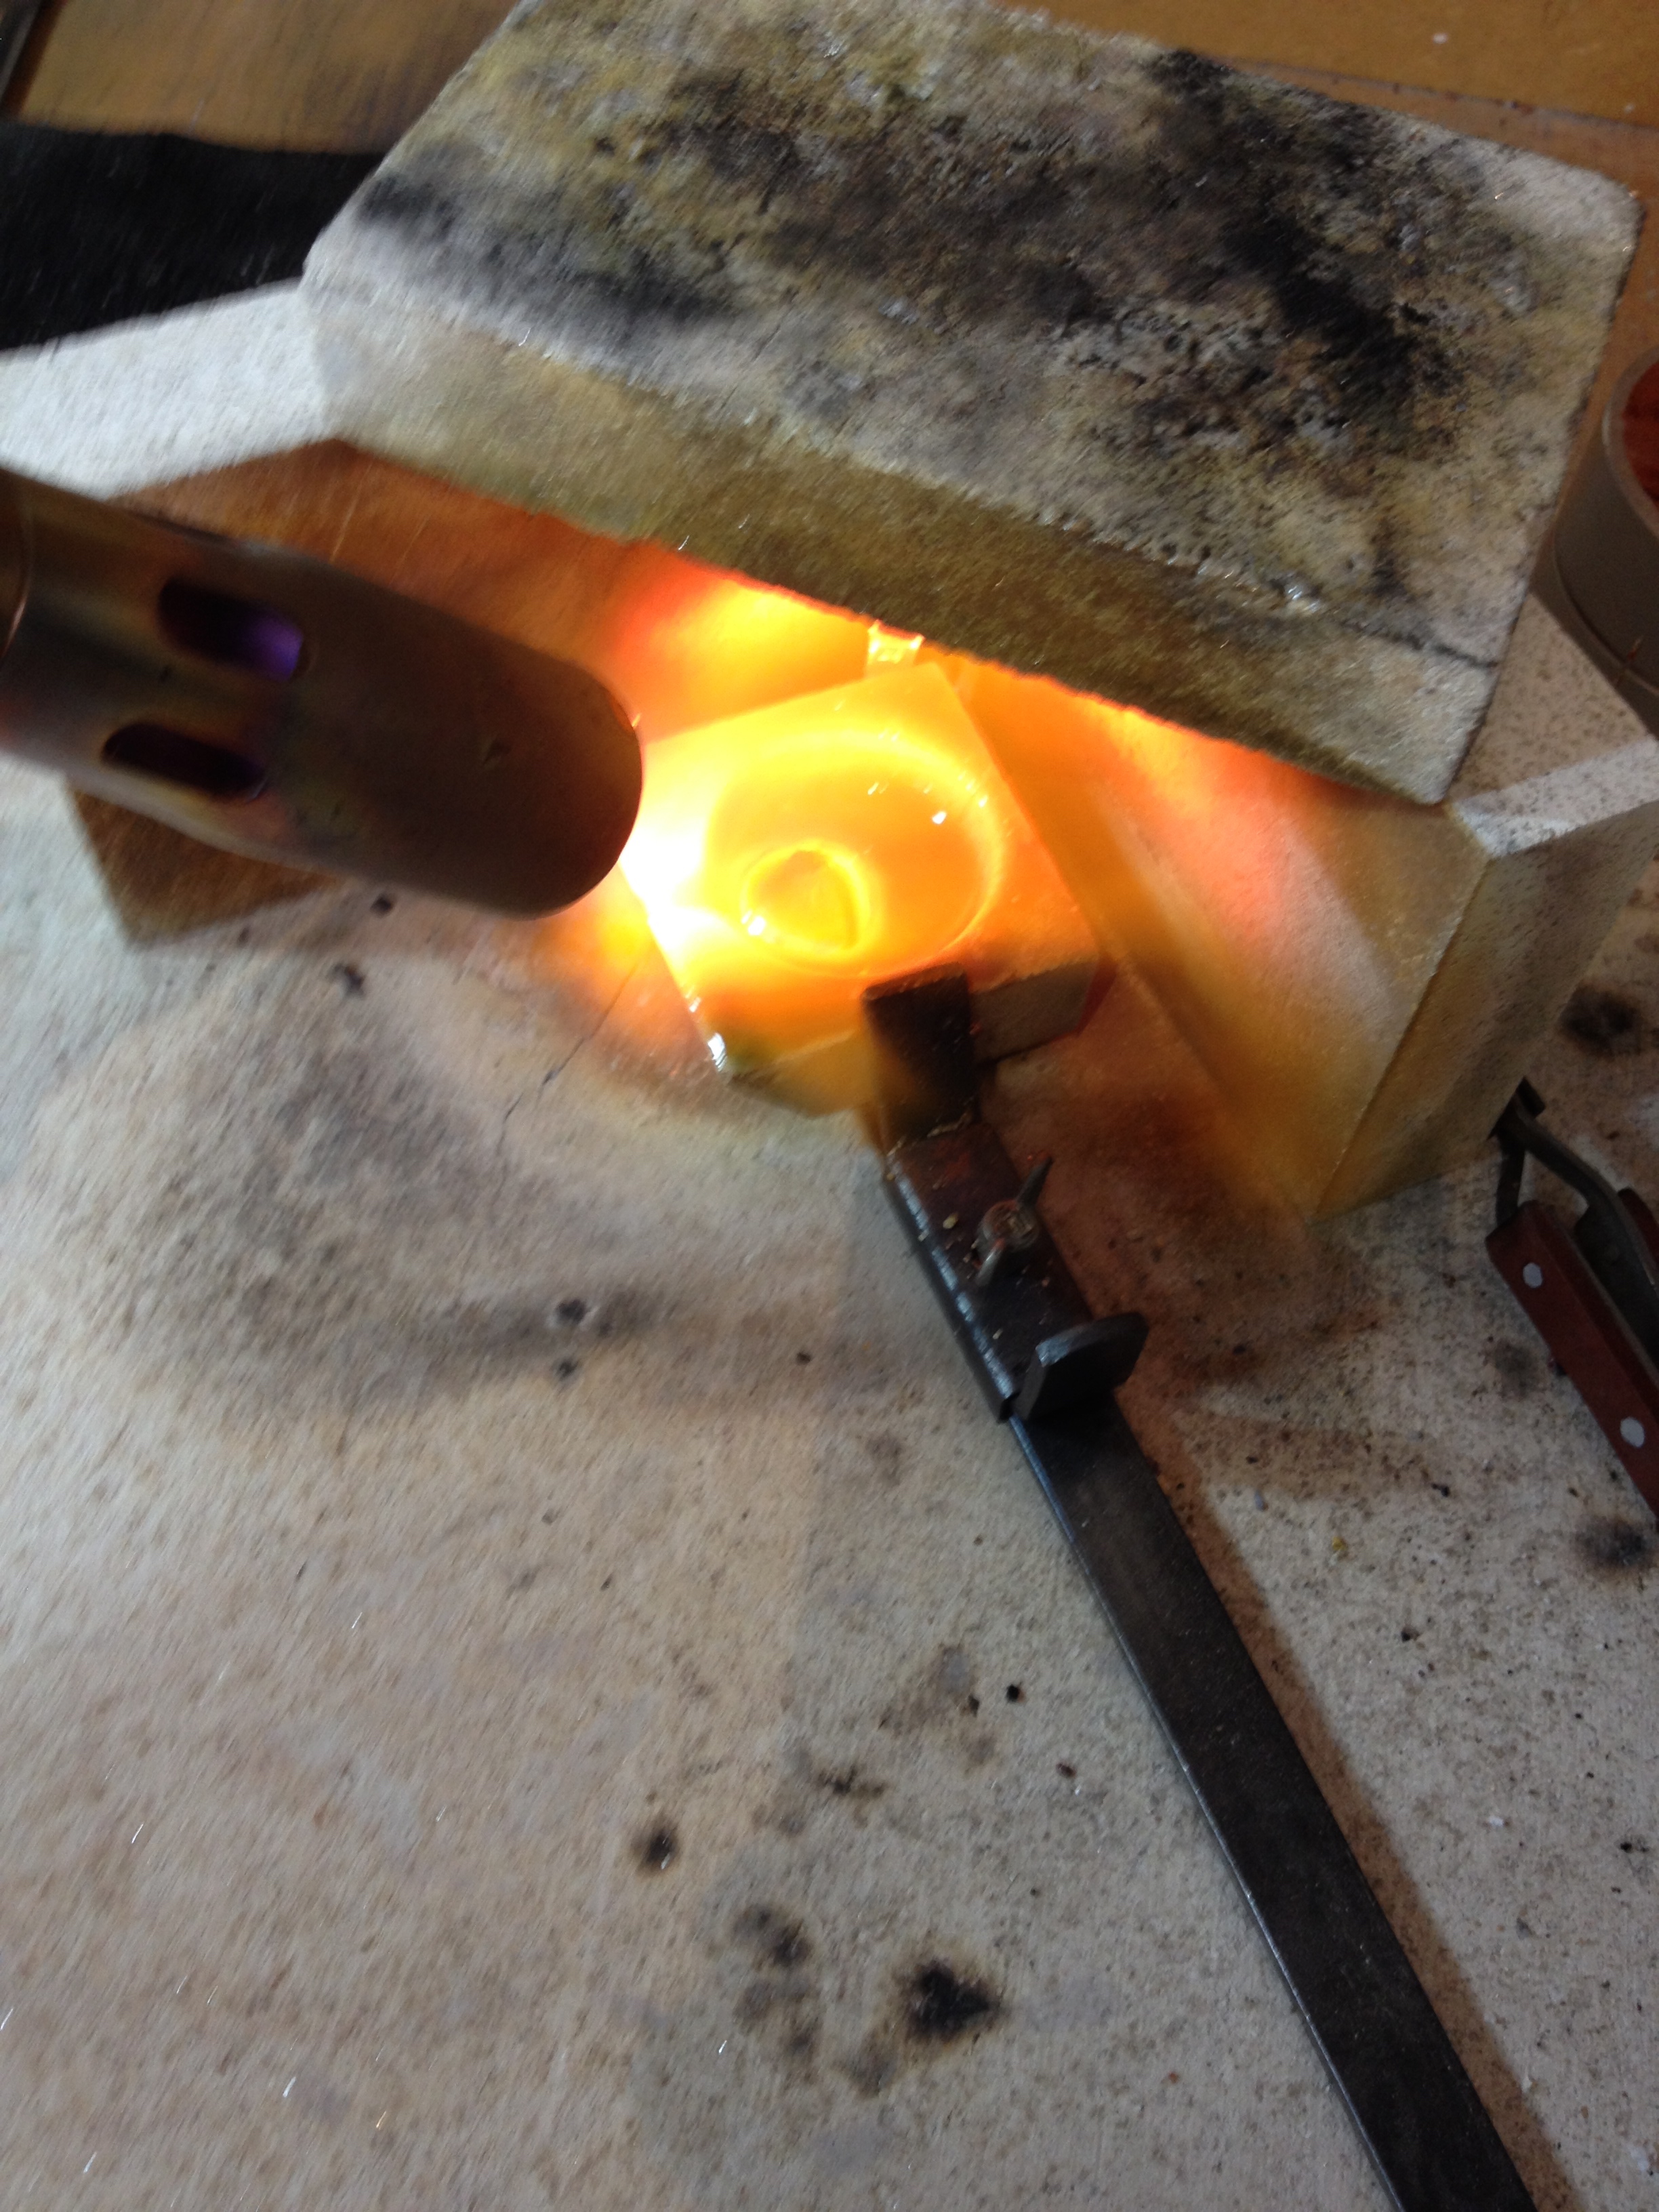
Then place pallions of hard solder all around the outside. You don’t want to put it on the inside because the bulk of the solder will stop the stone fitting snugly and, take it from me, it’s a bugger to get filed away! Heat the entire piece until it reaches the right temperature and the solder will flash around the join. If there are gaps you can tease the solder along as it will flow towards the heat. You can see the solder as a bright line between the base and the side.


After soldering the piece needs to be pickled in warm dilute sulphuric acid solution to strip the copper oxide which will have gathered on the surface.
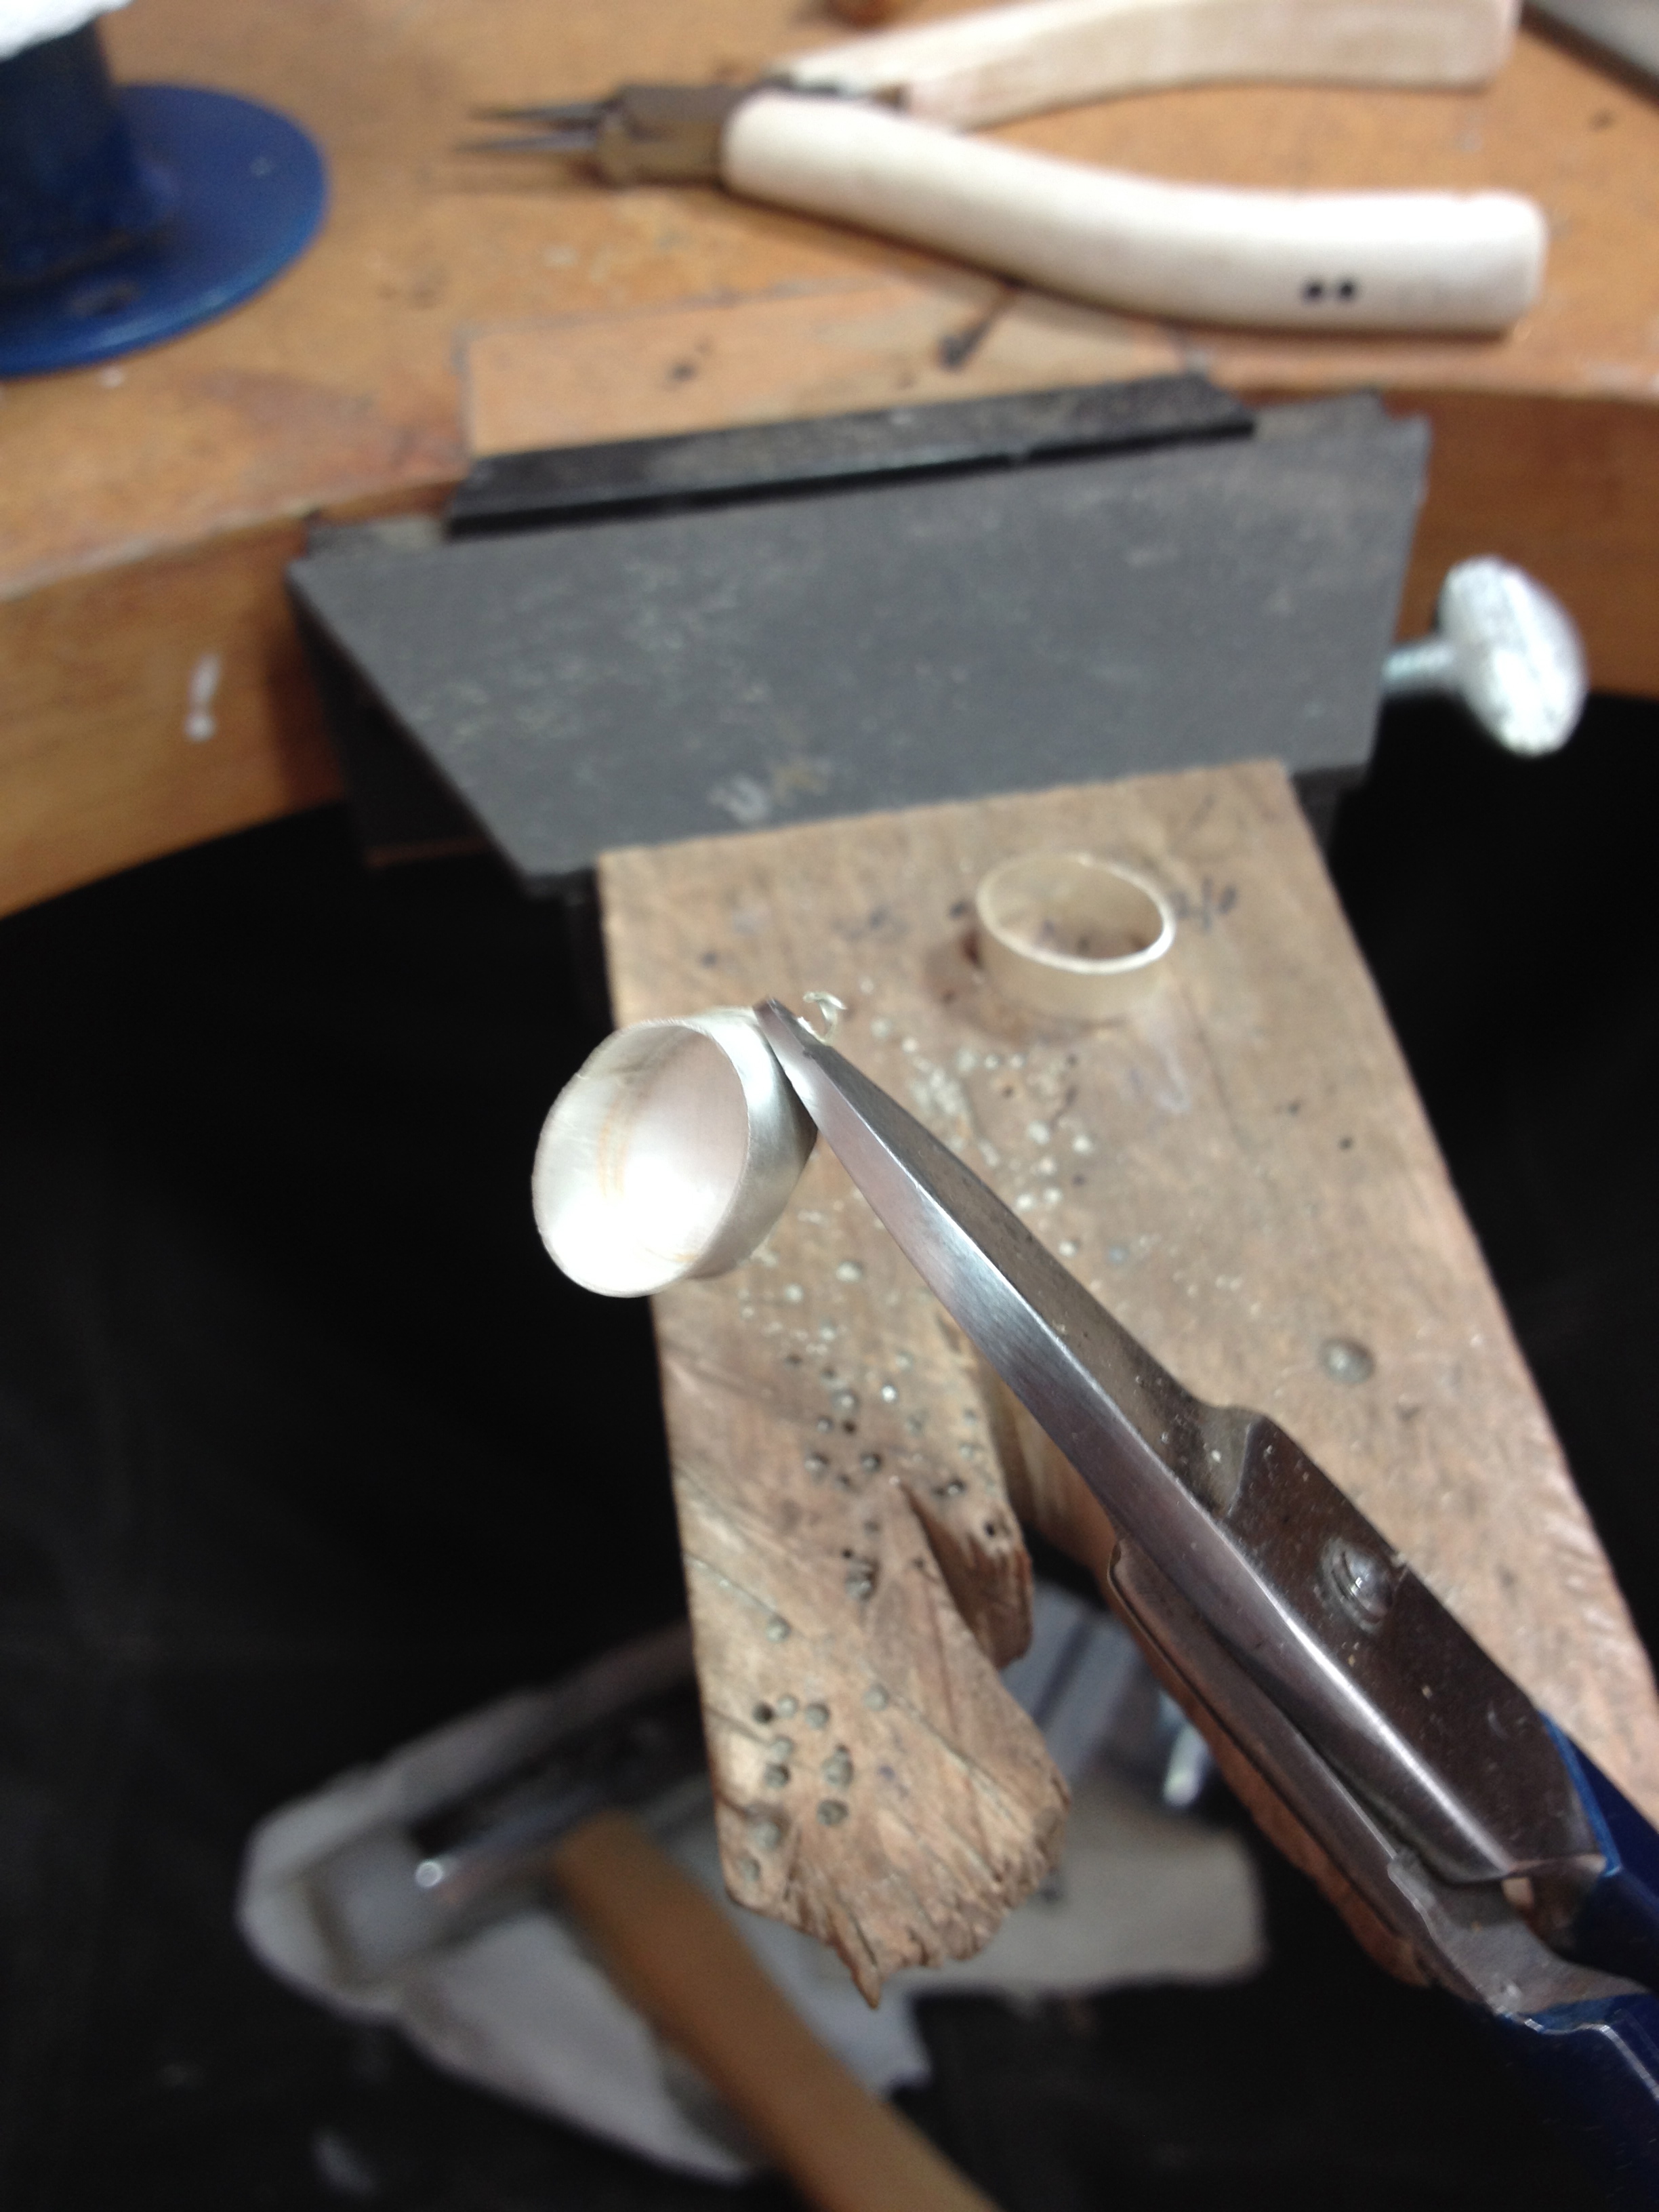
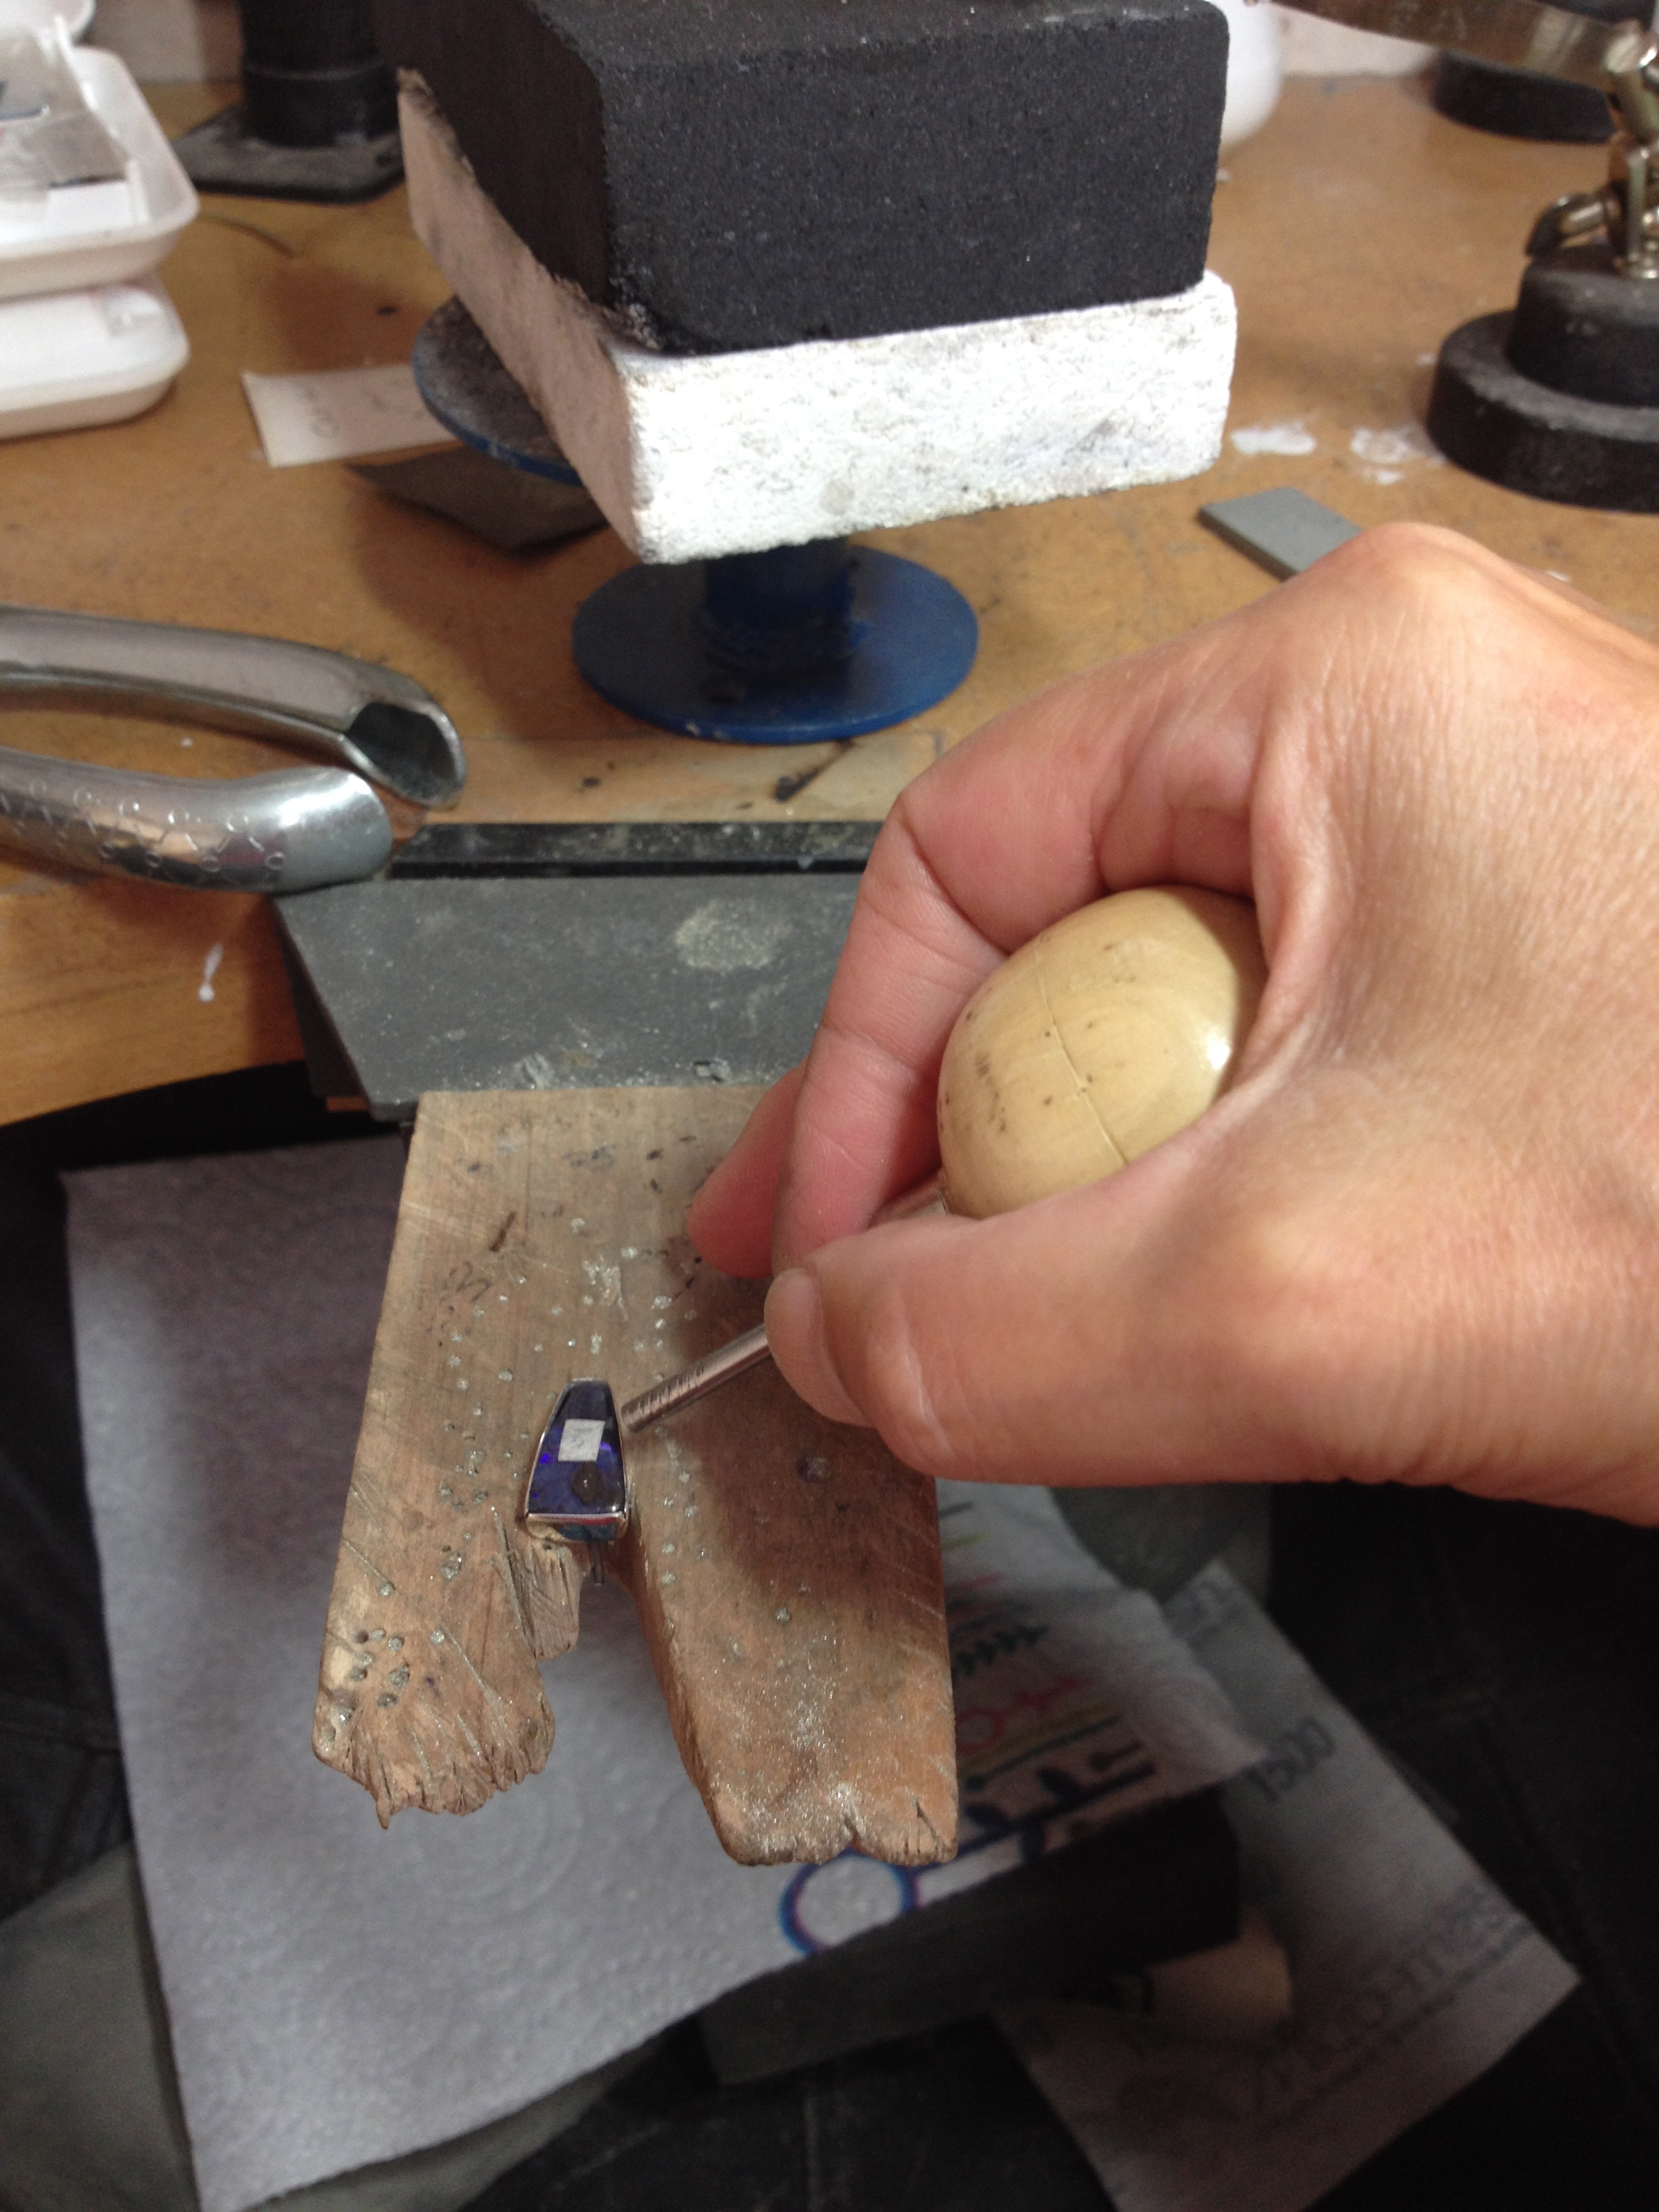
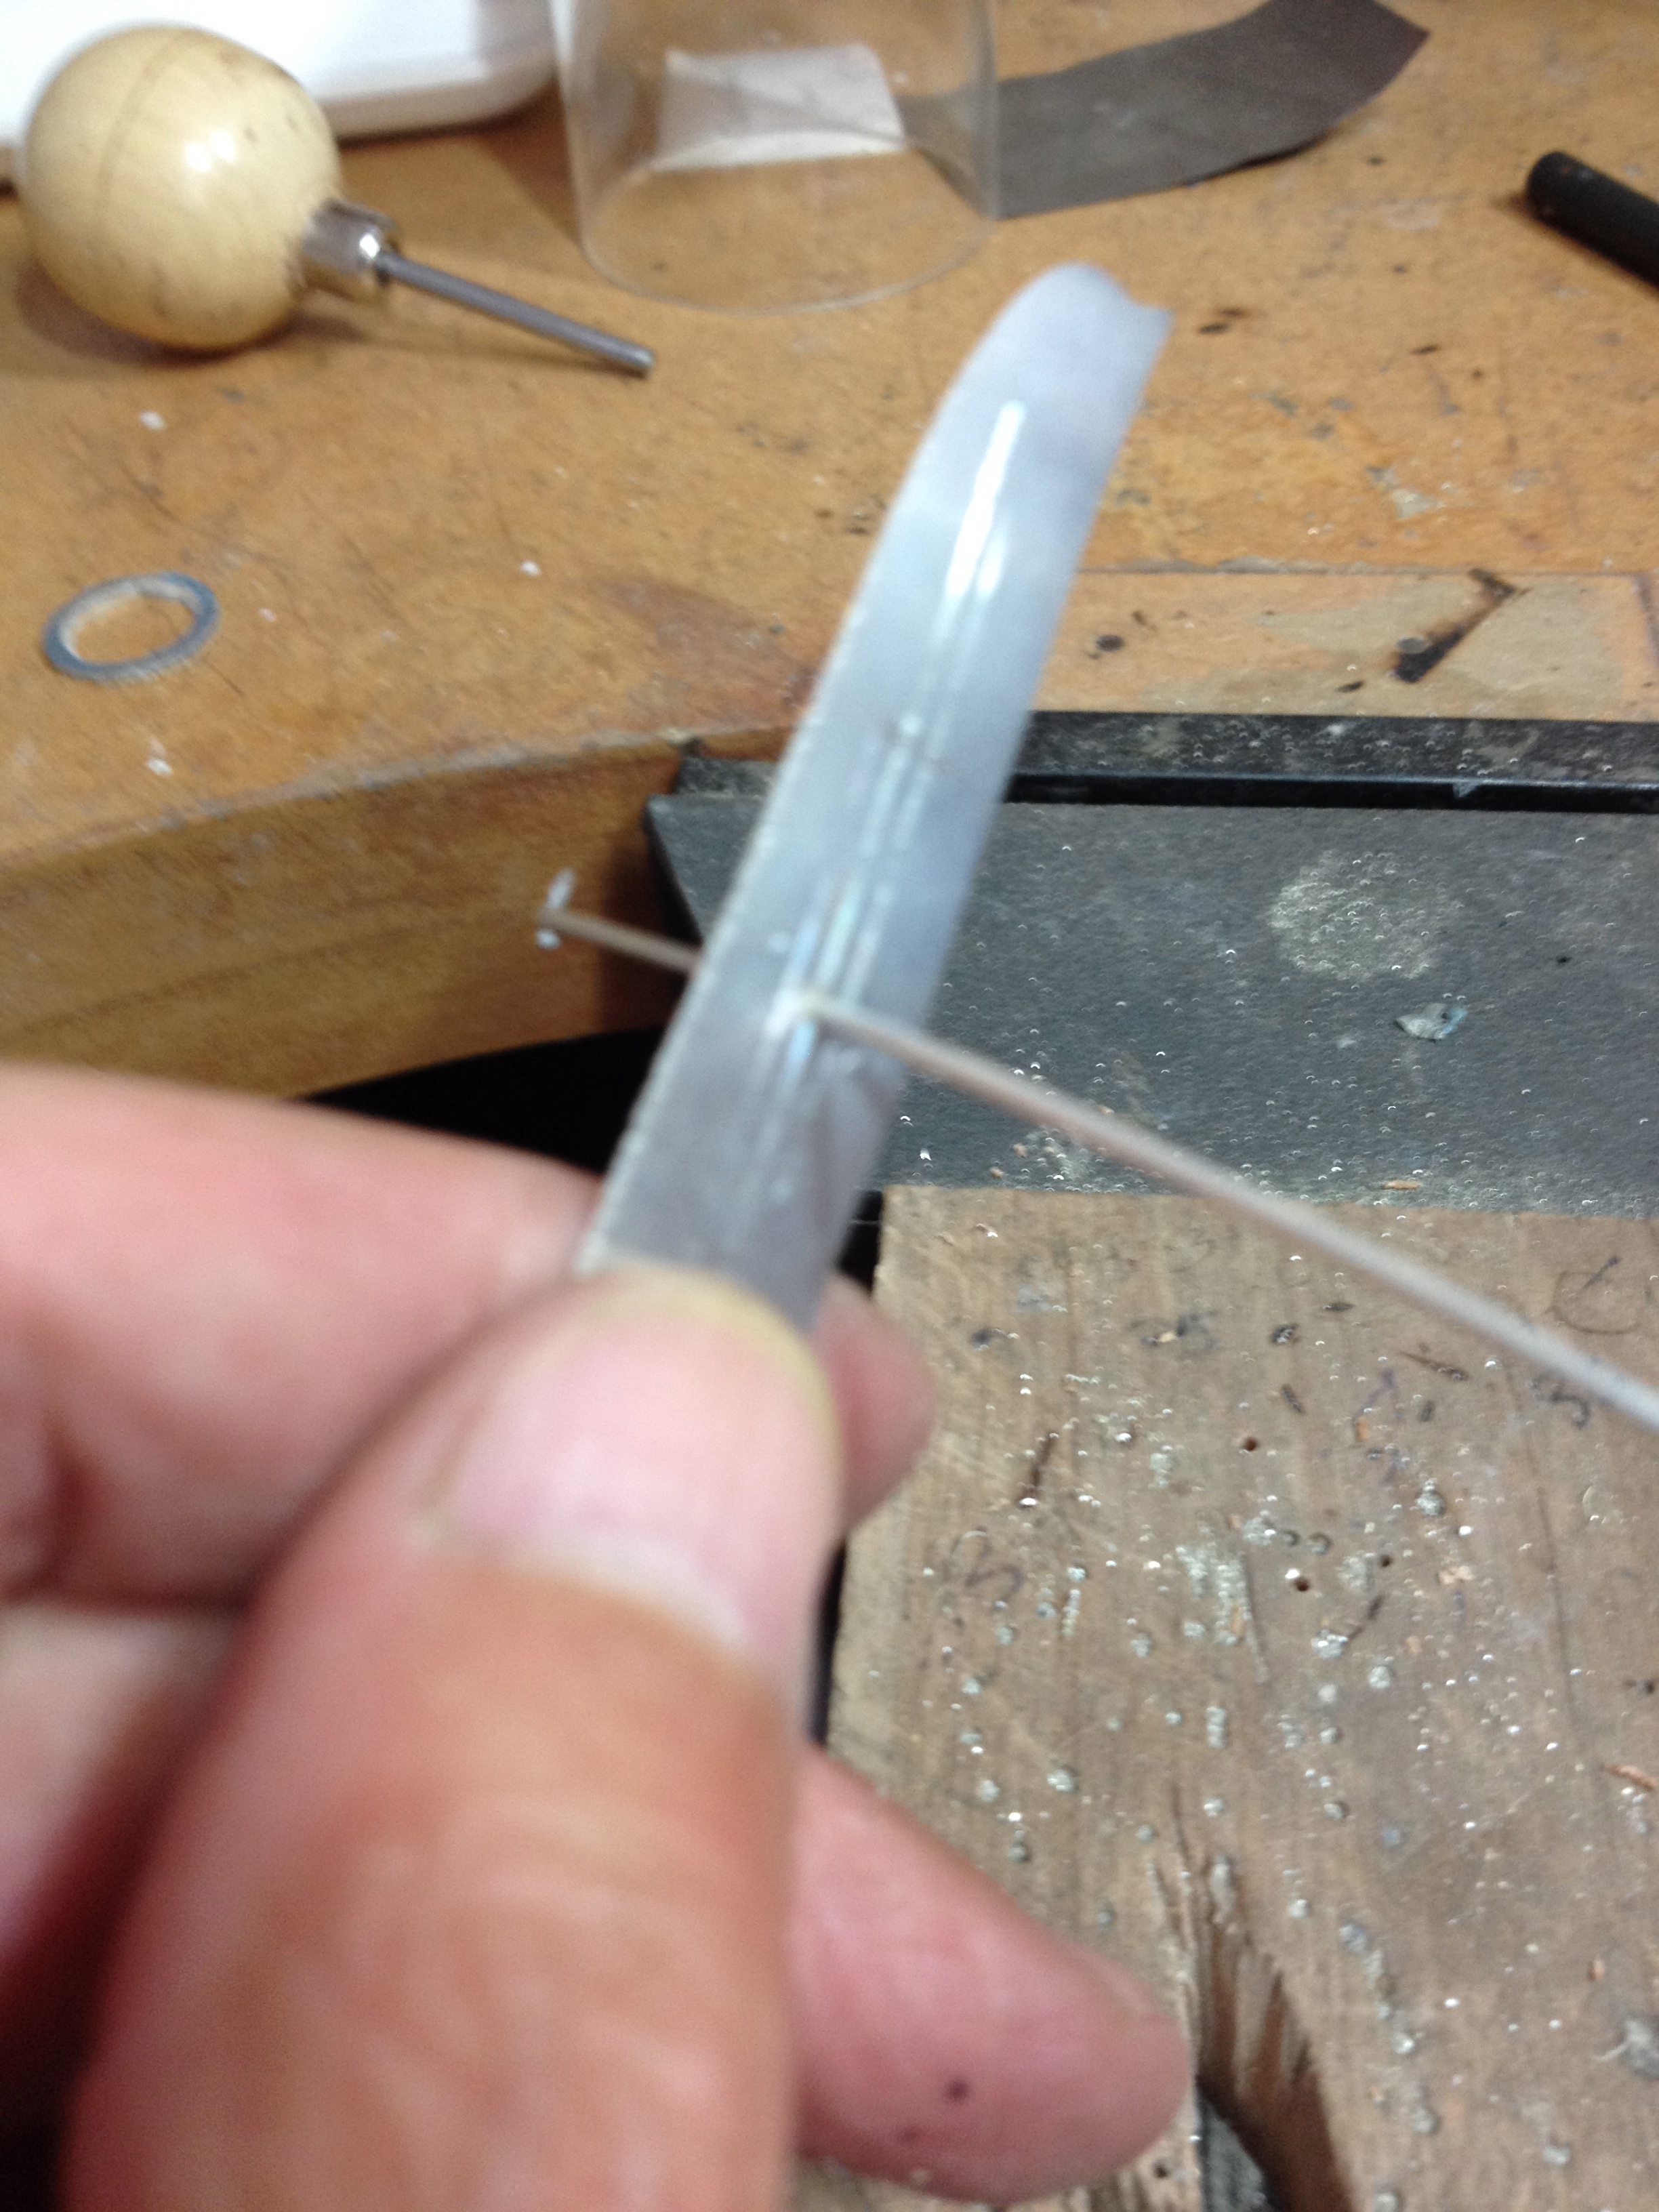
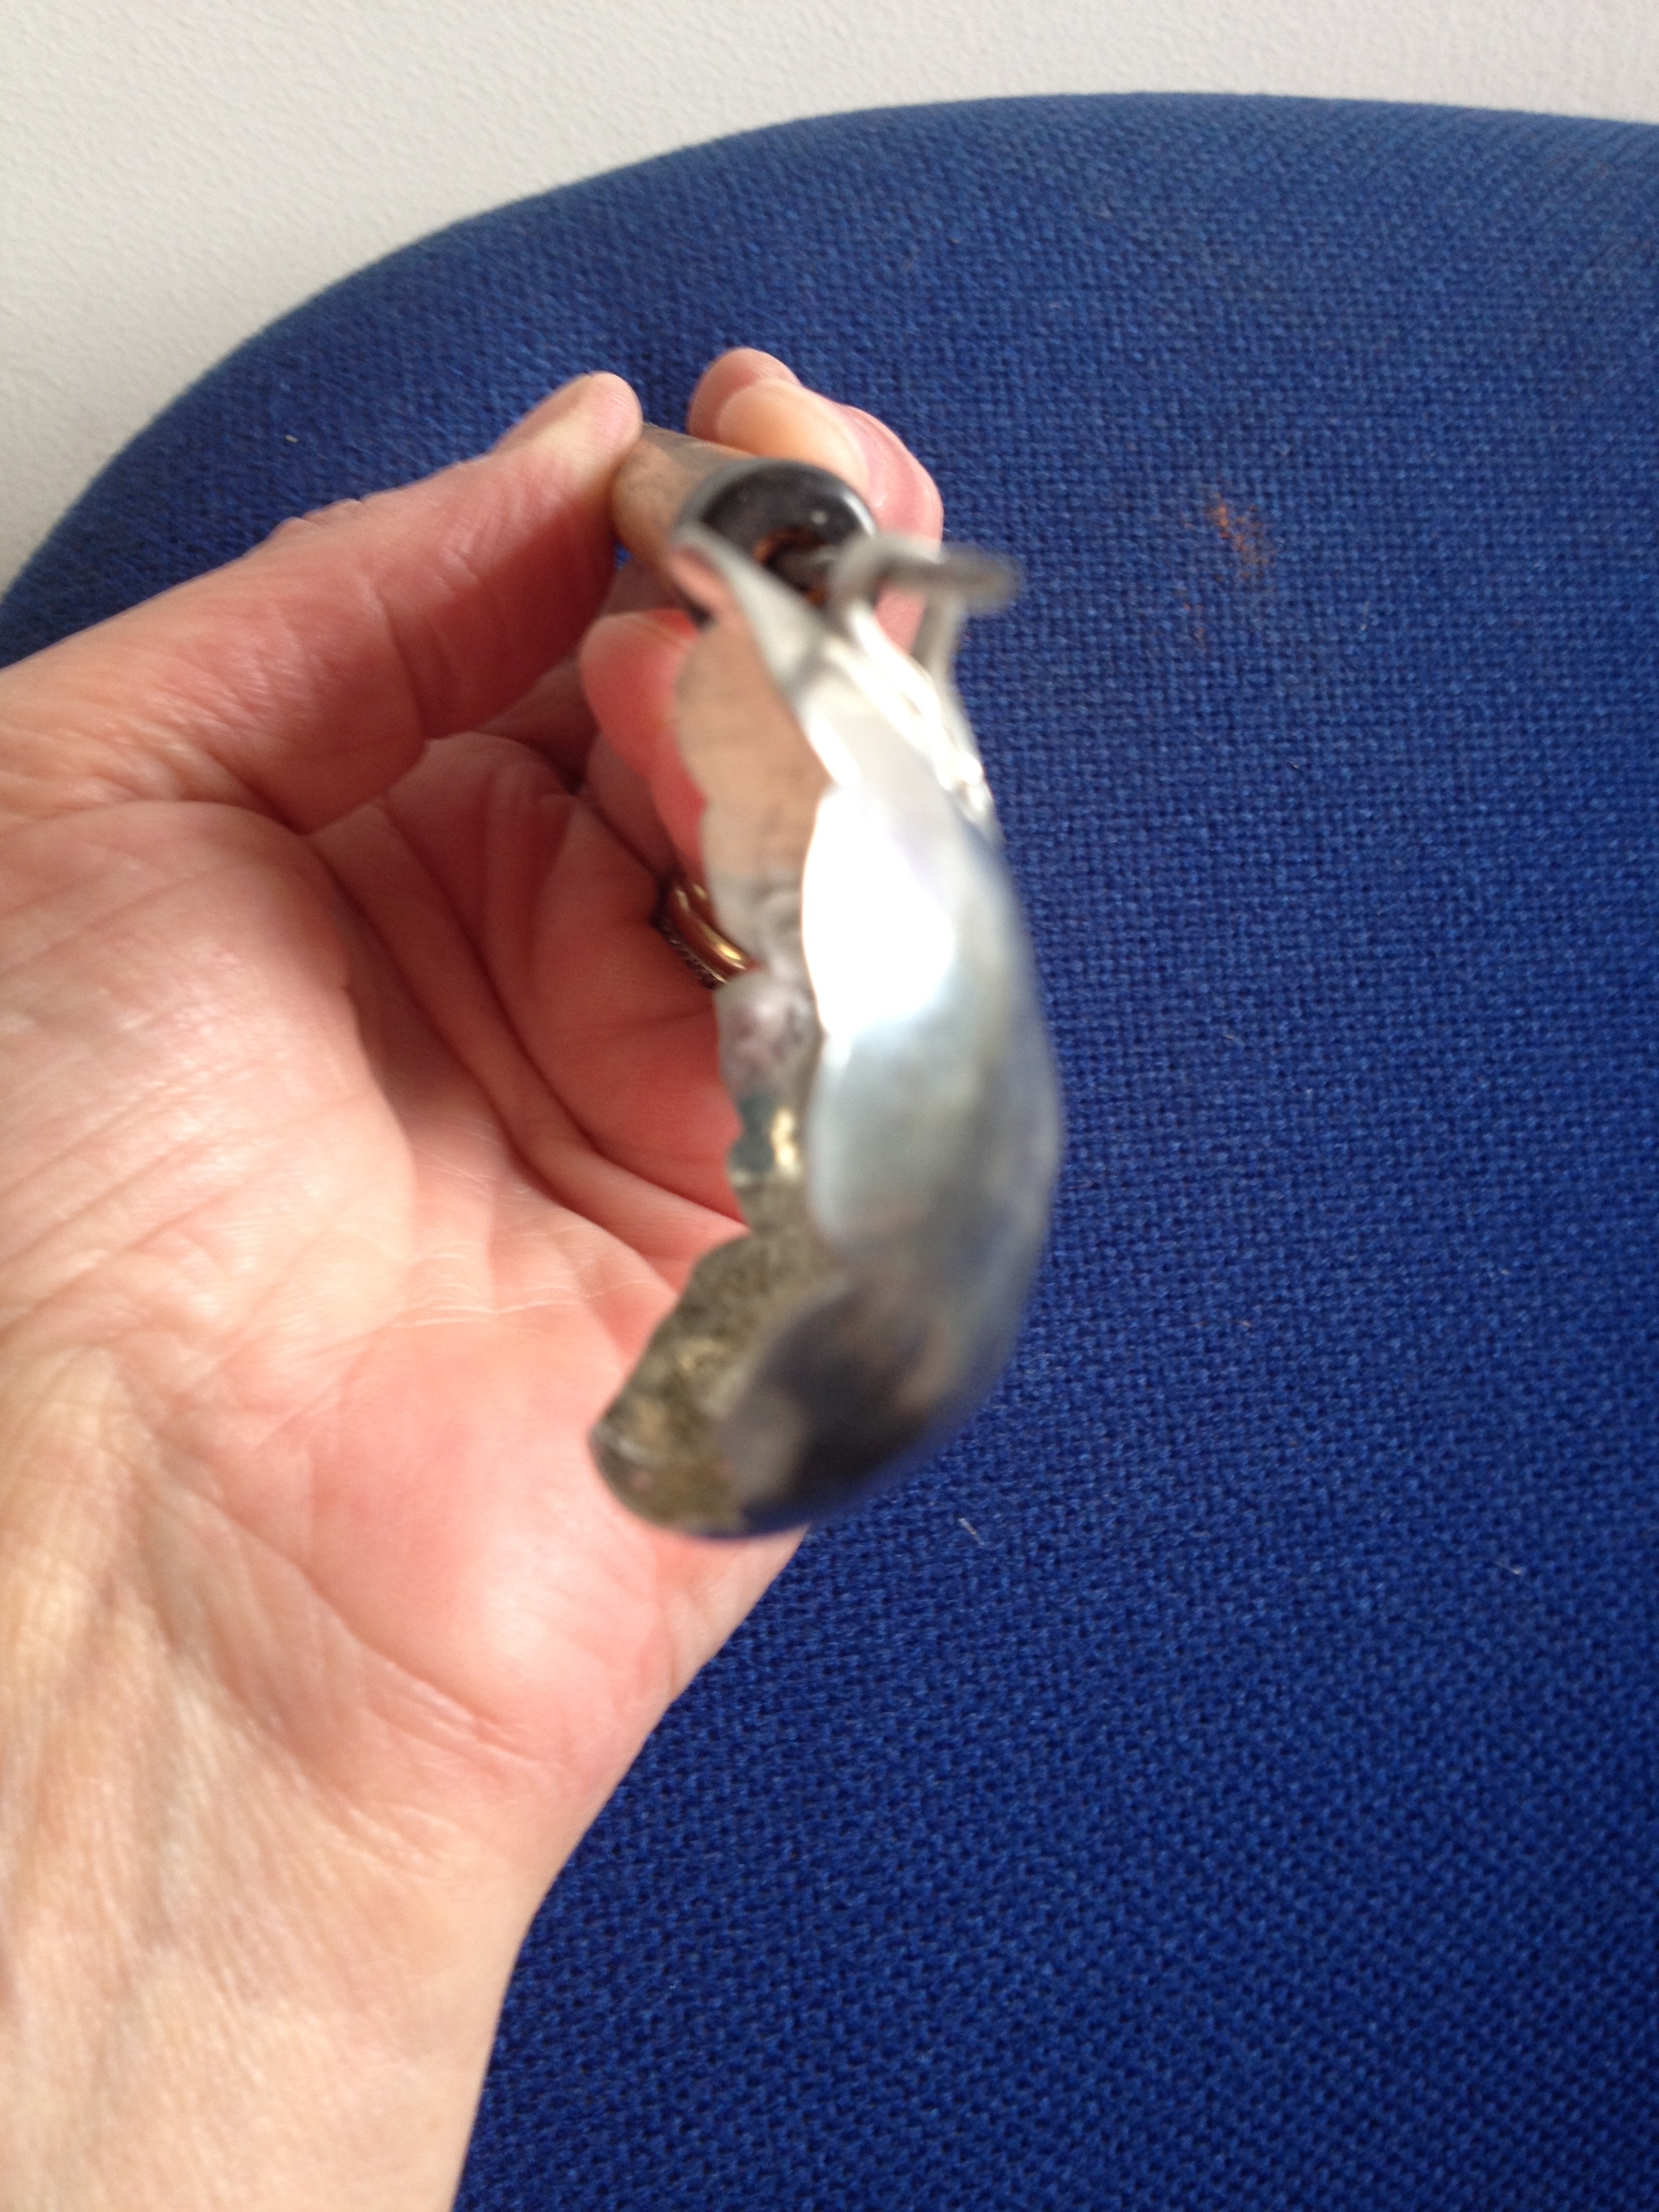
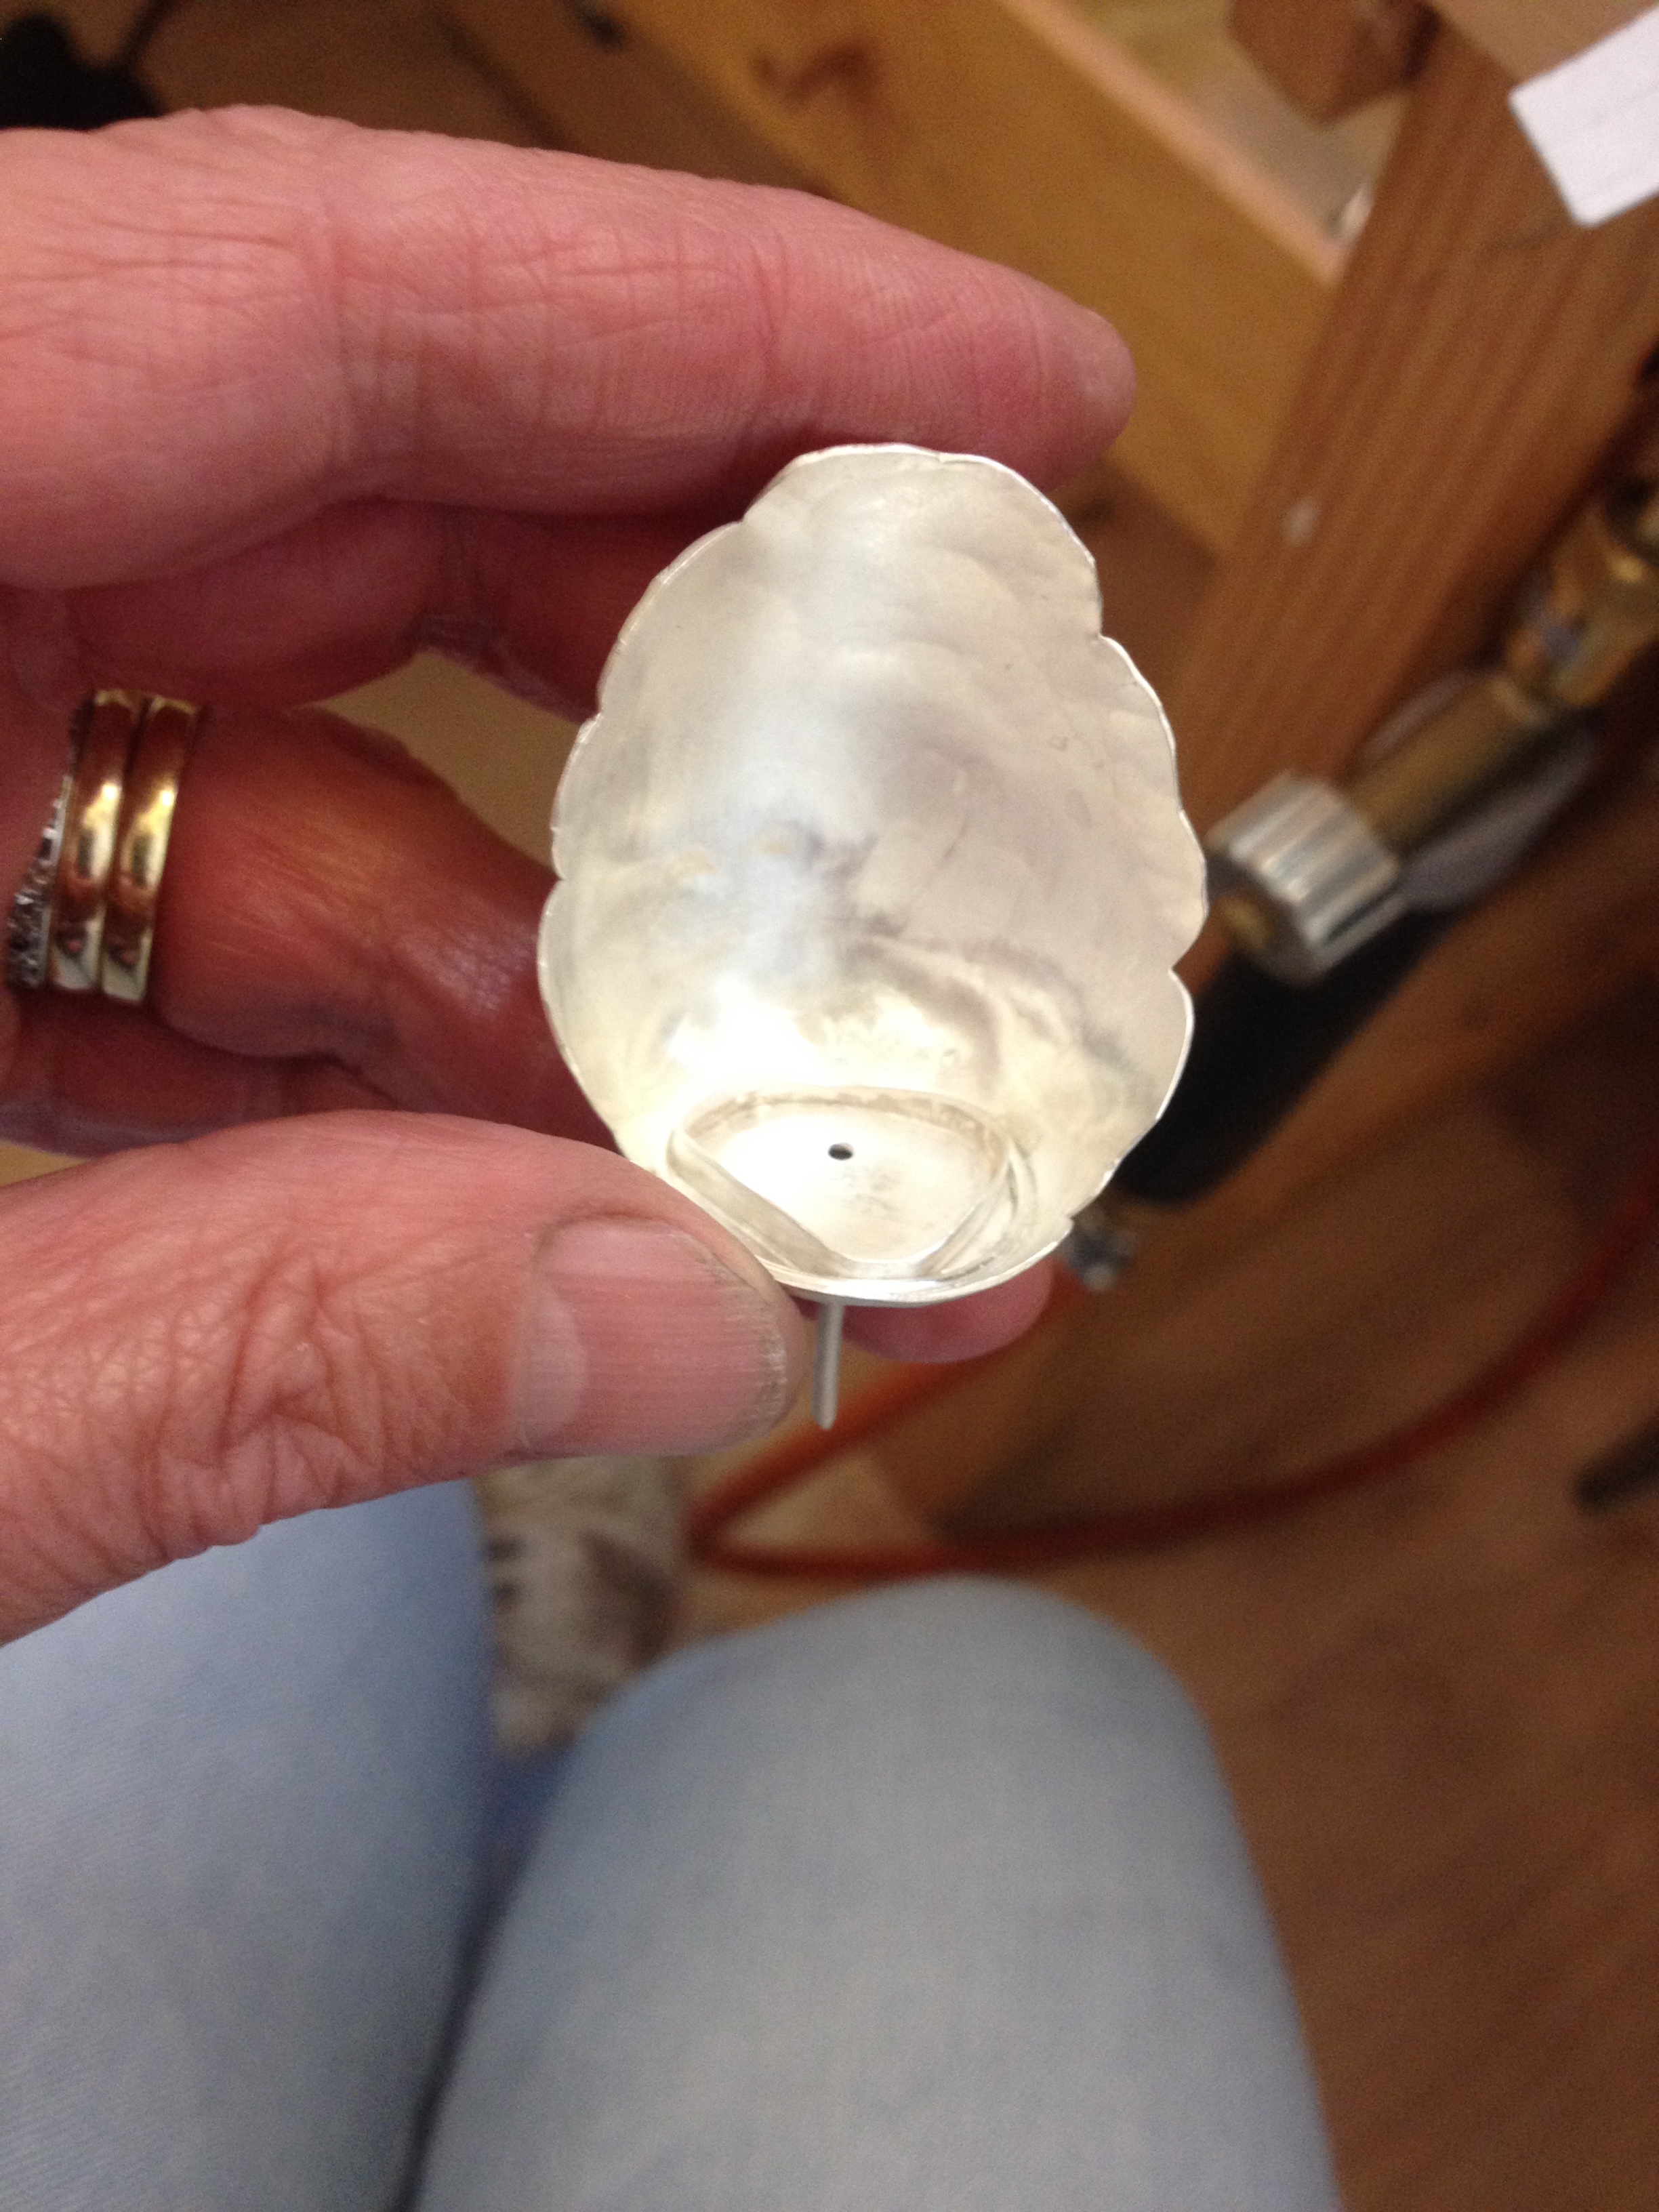
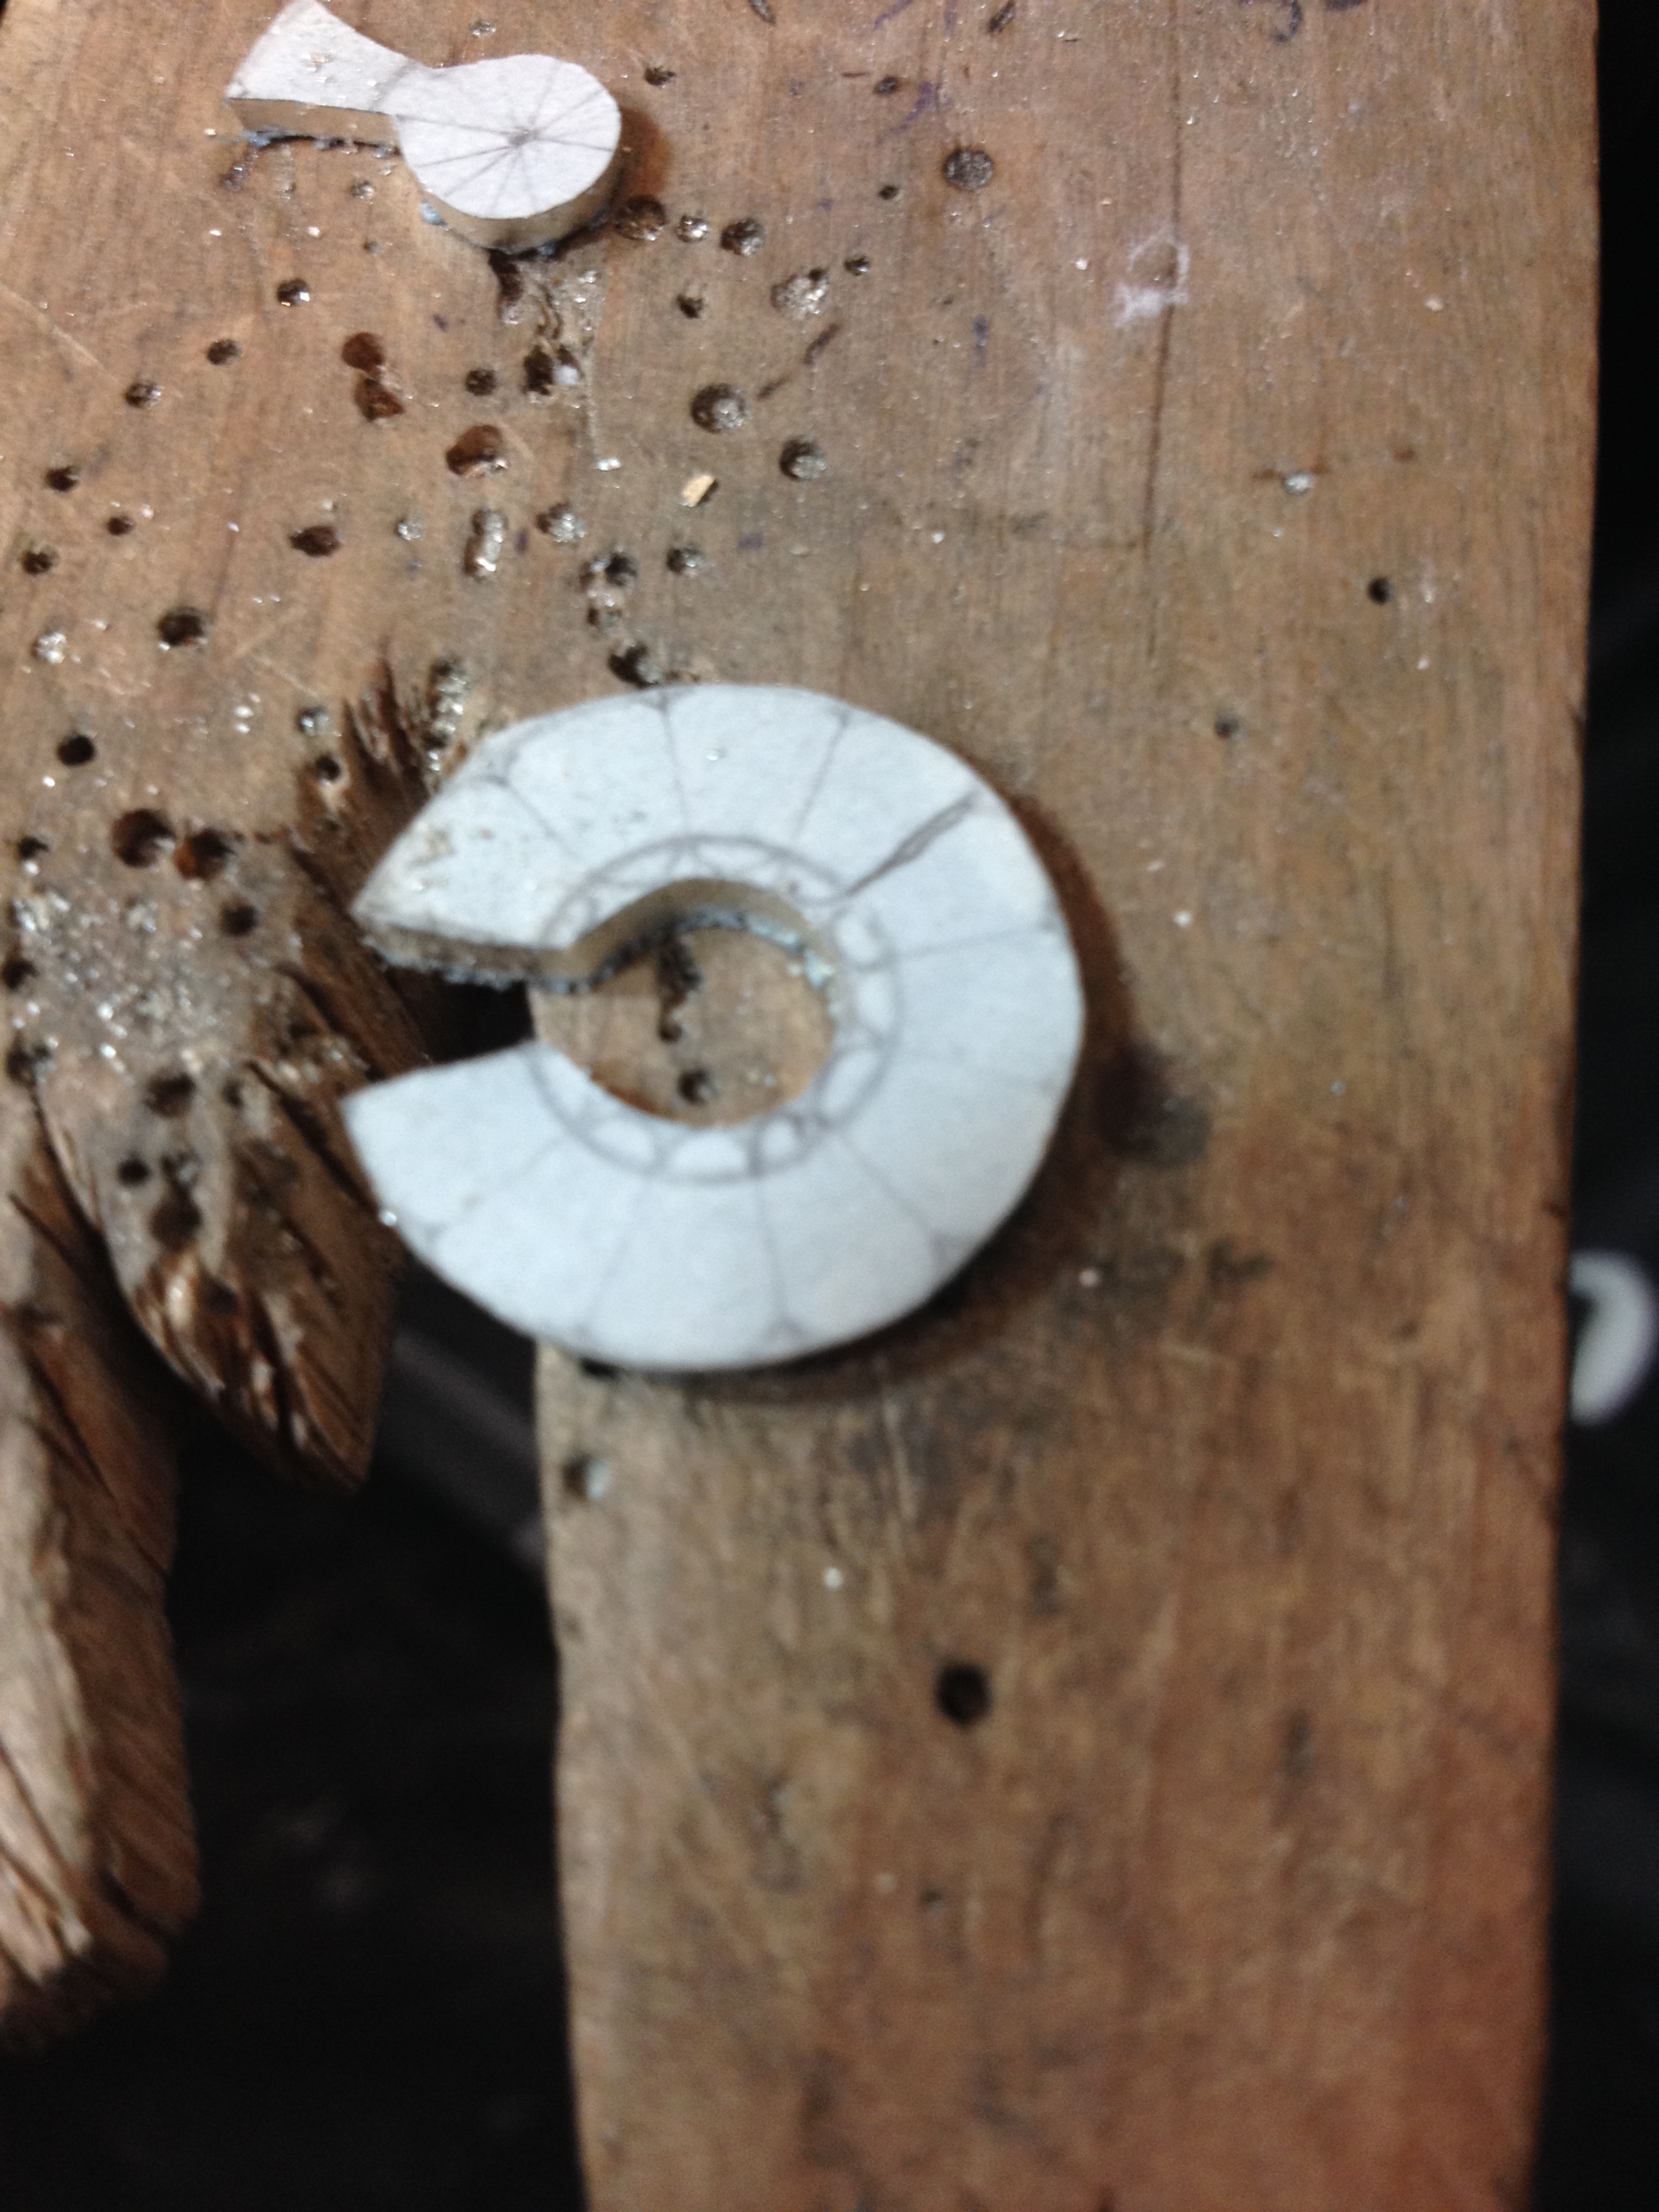
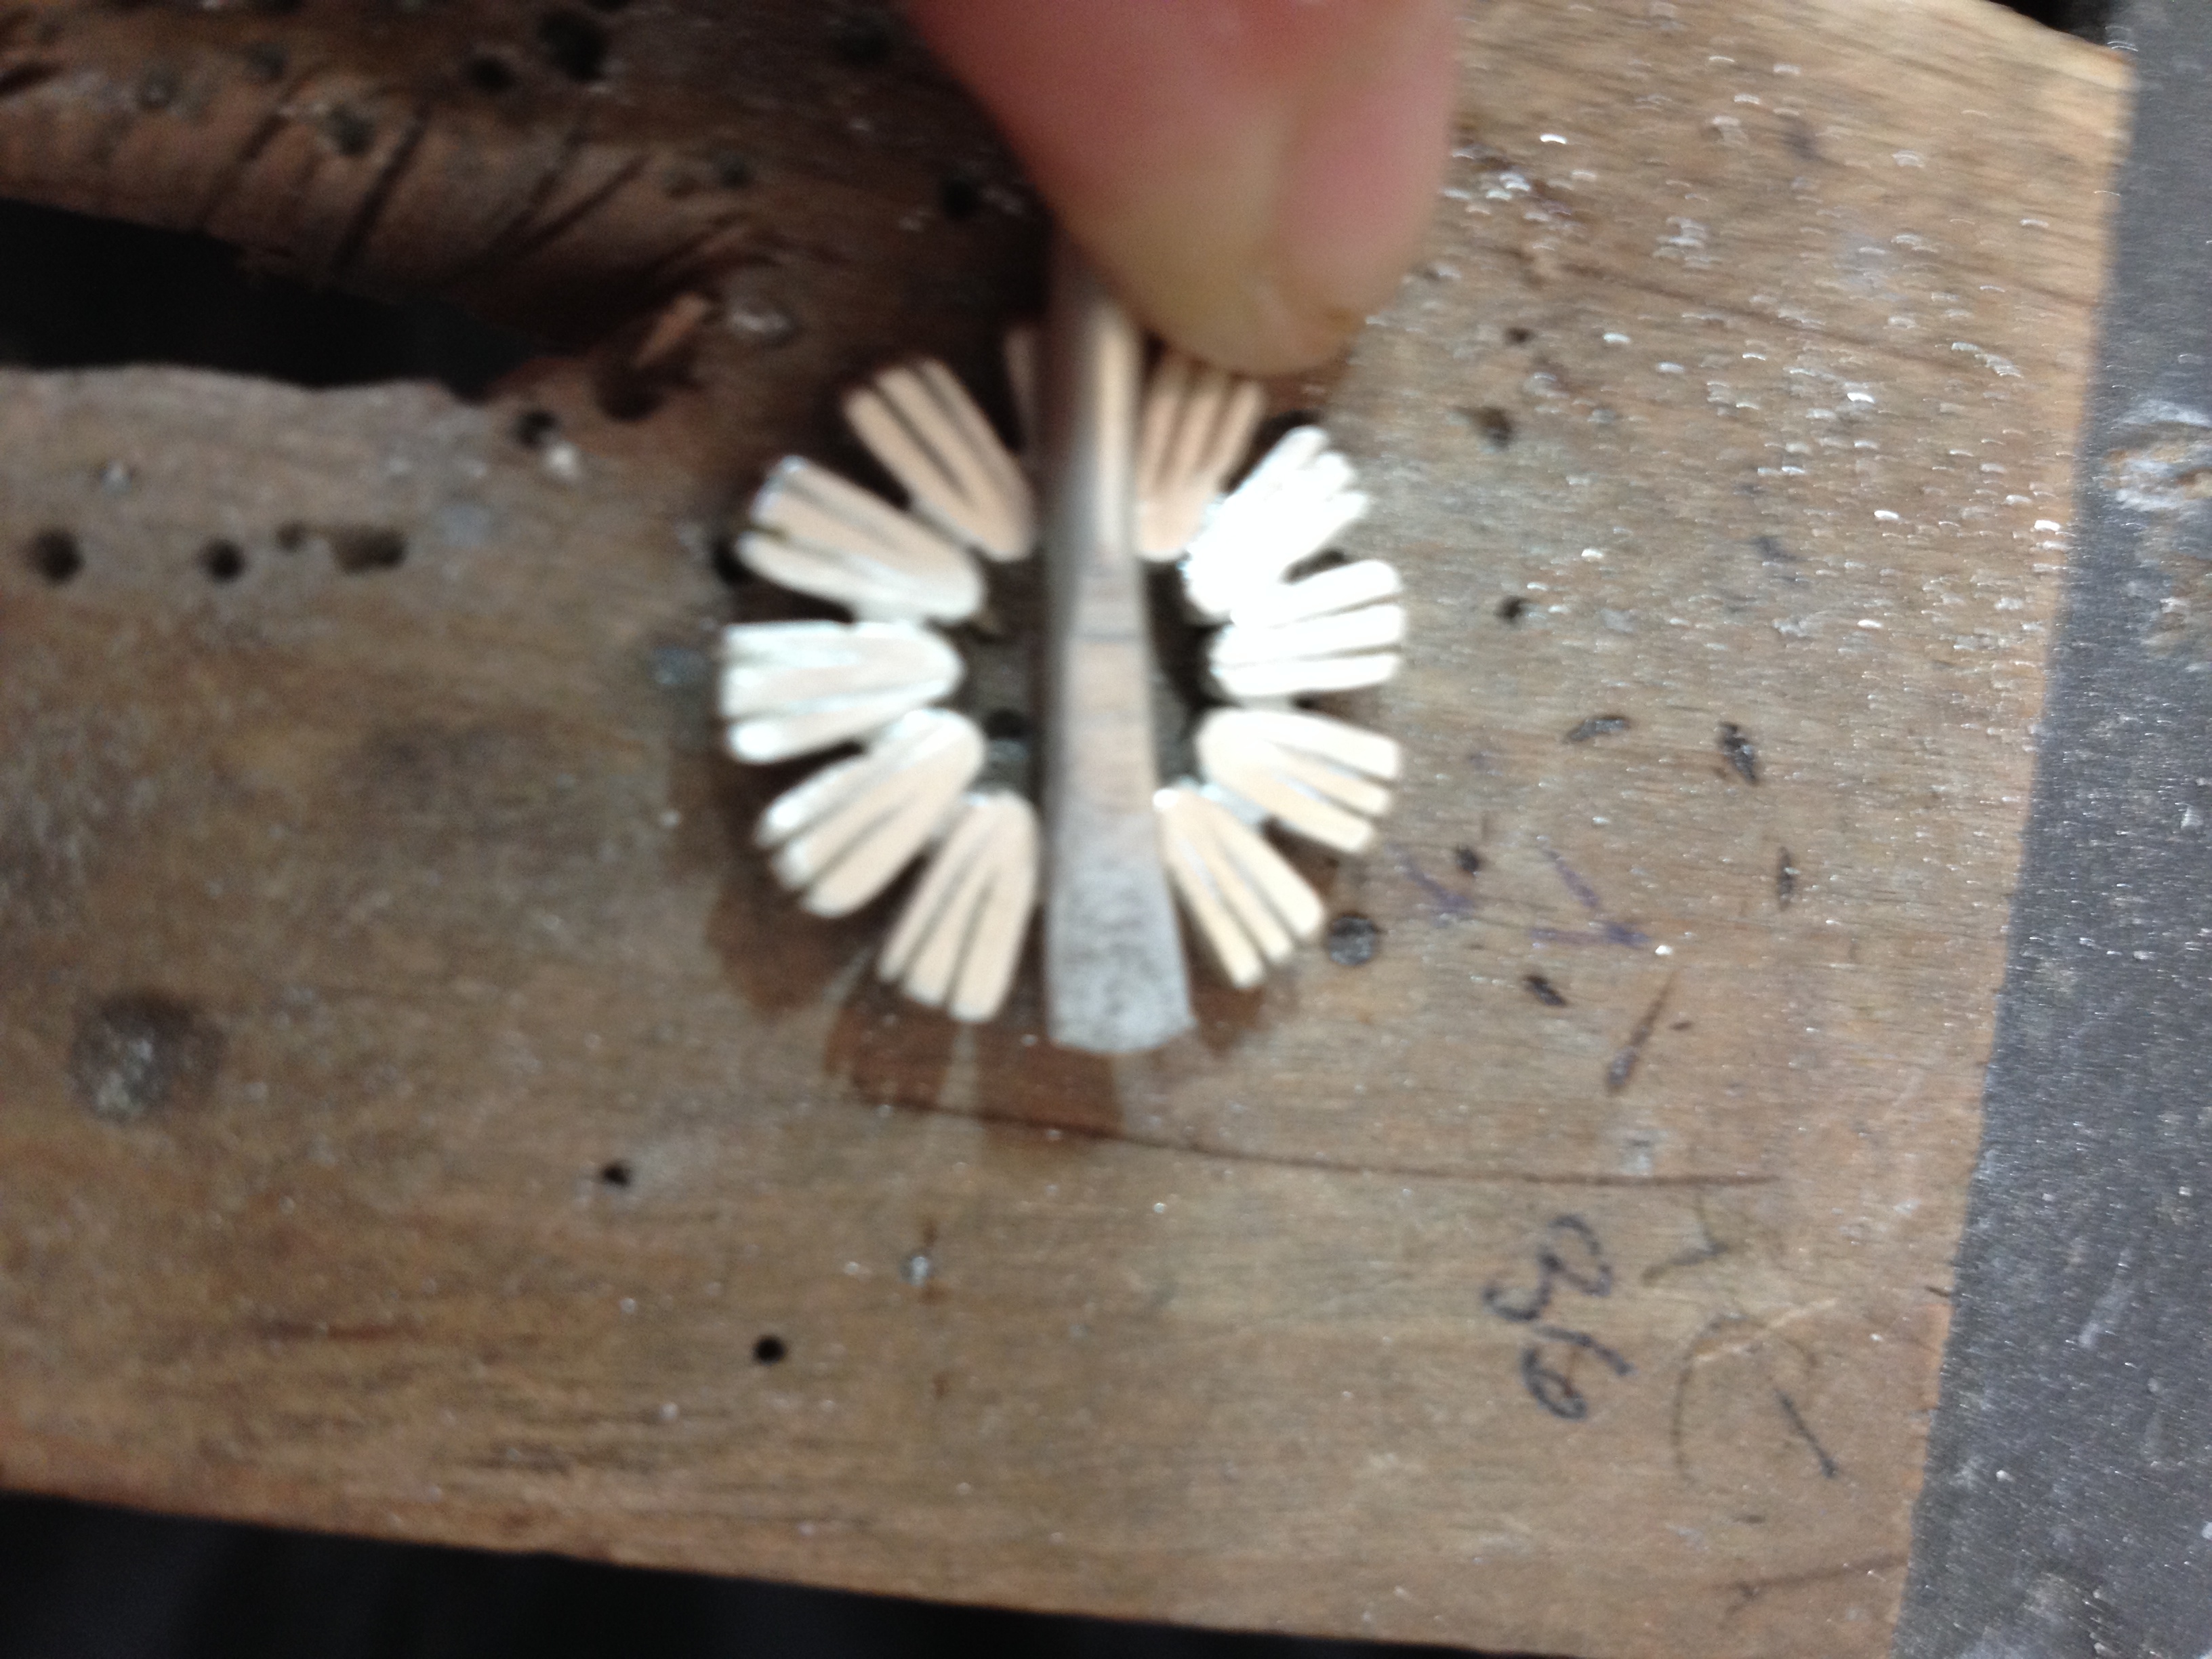
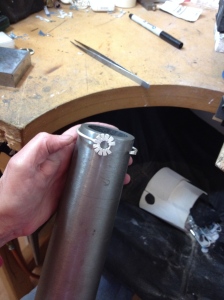
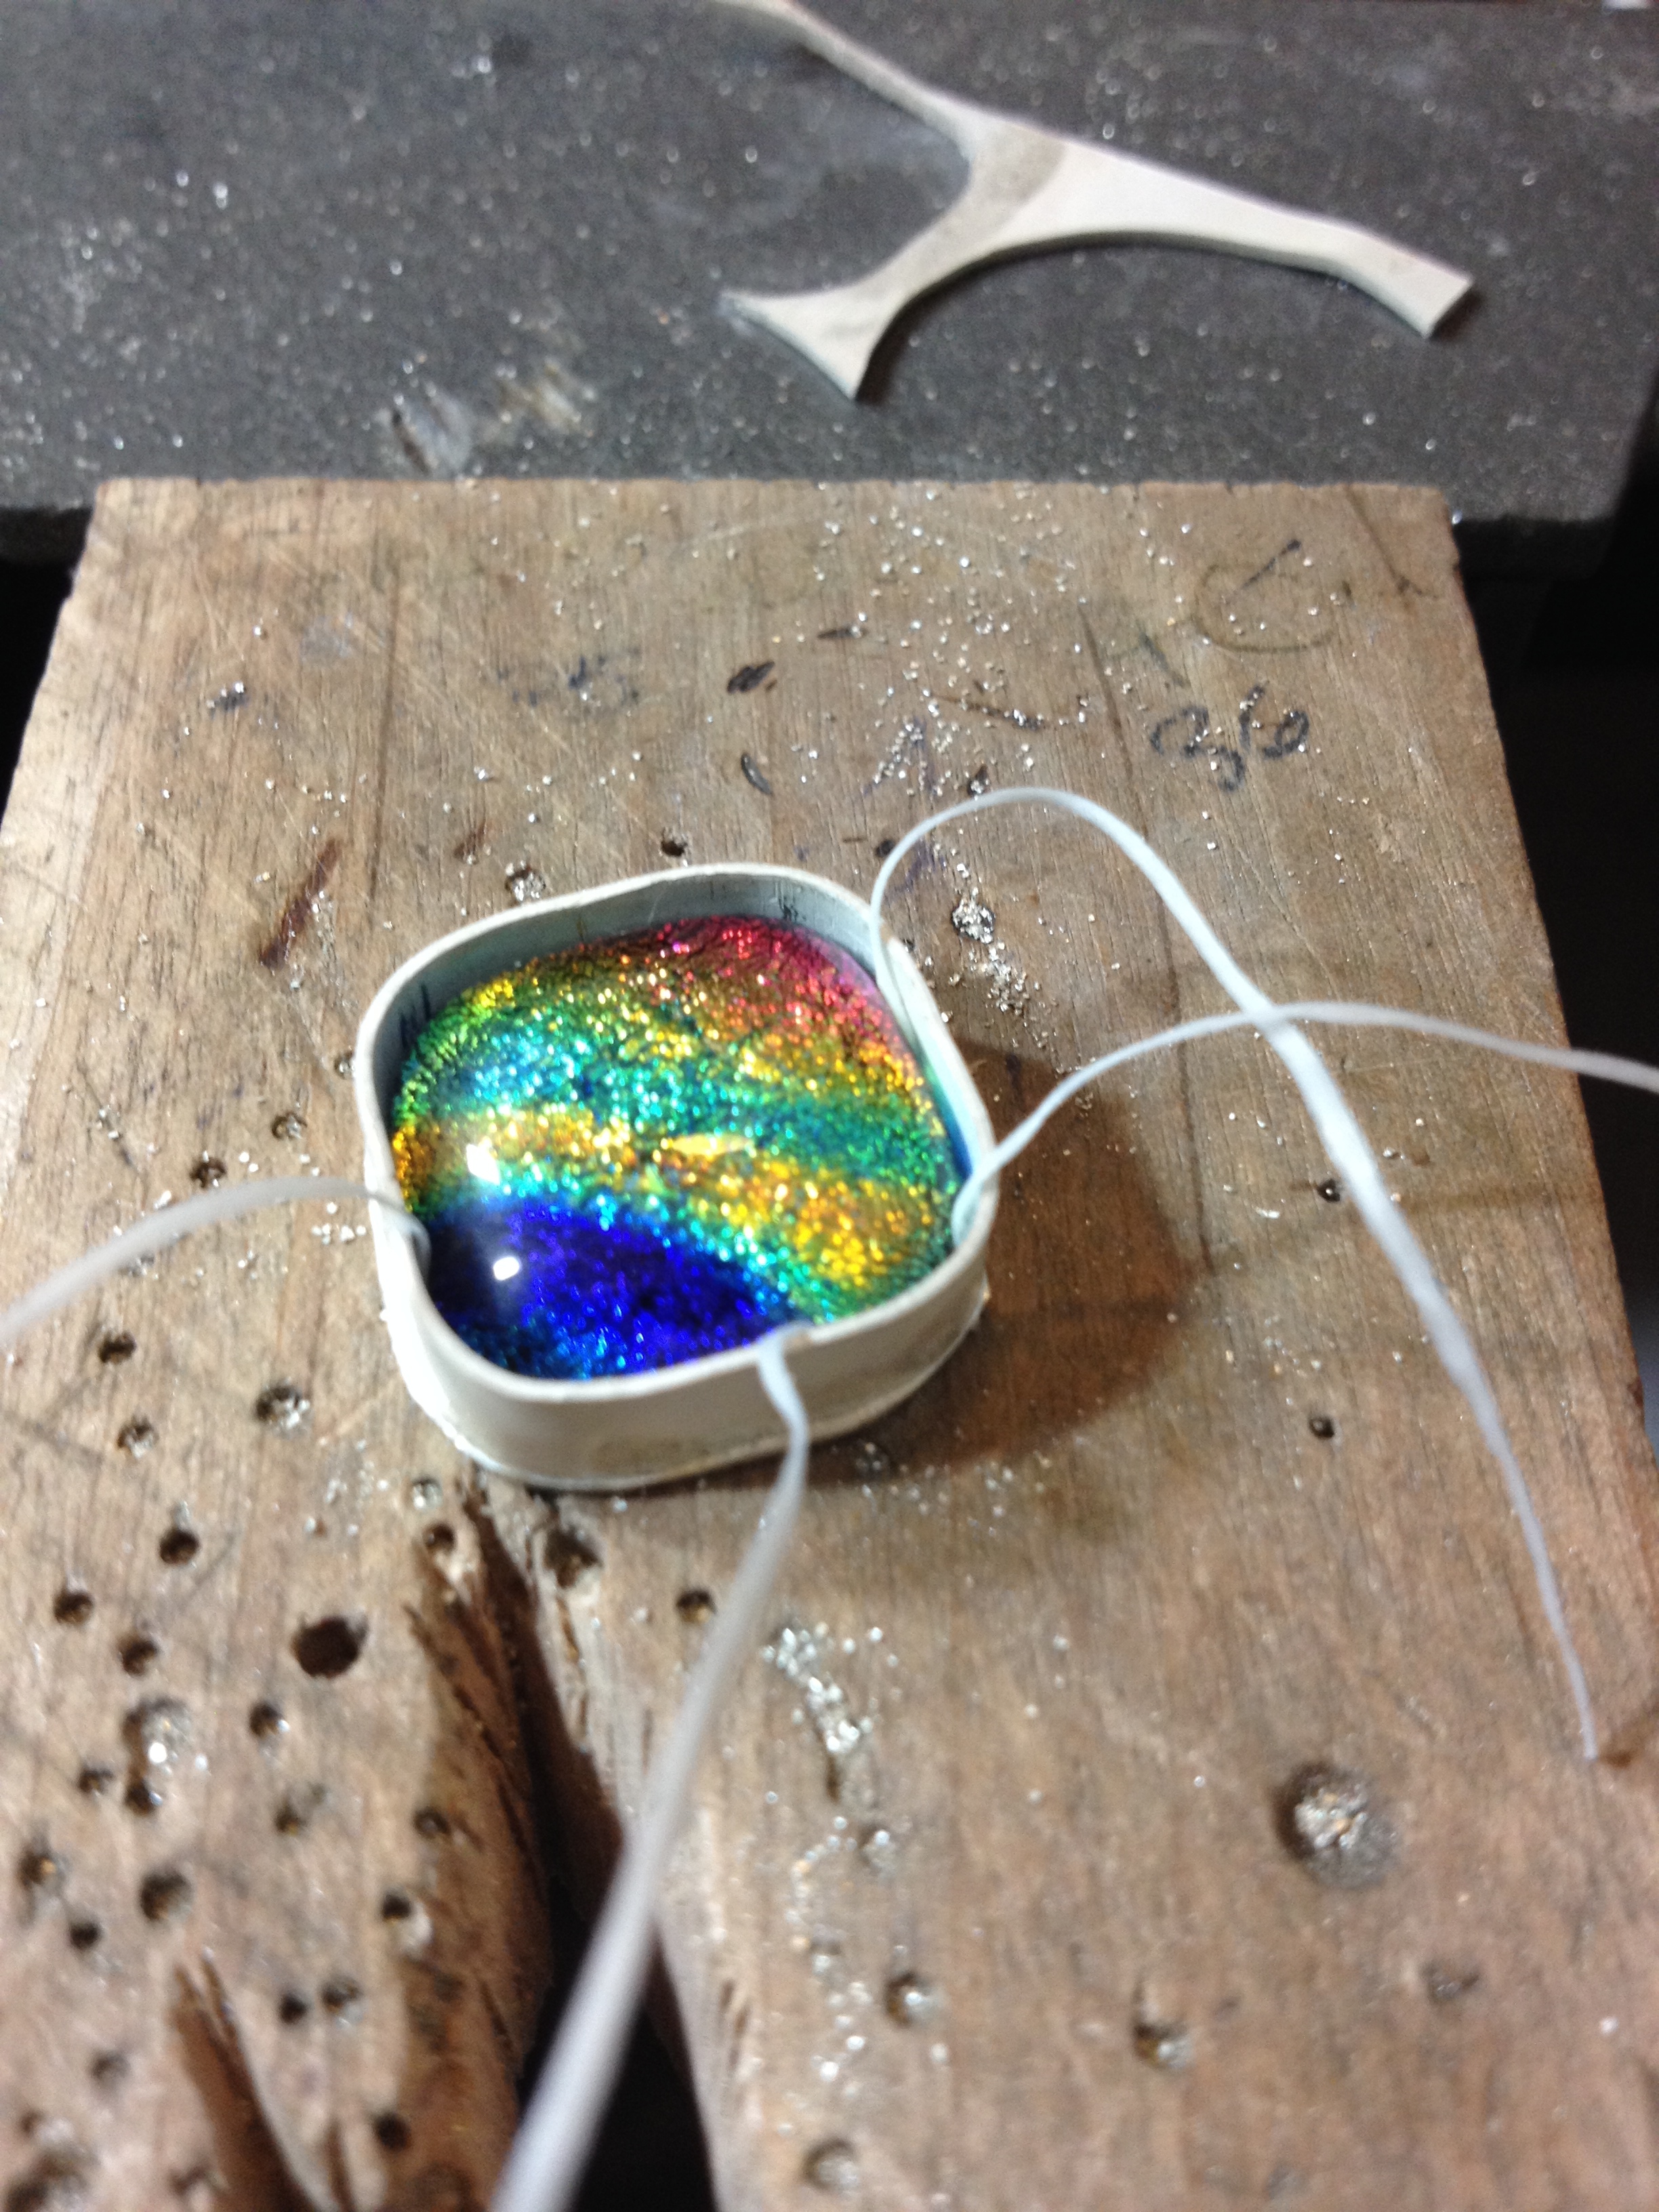
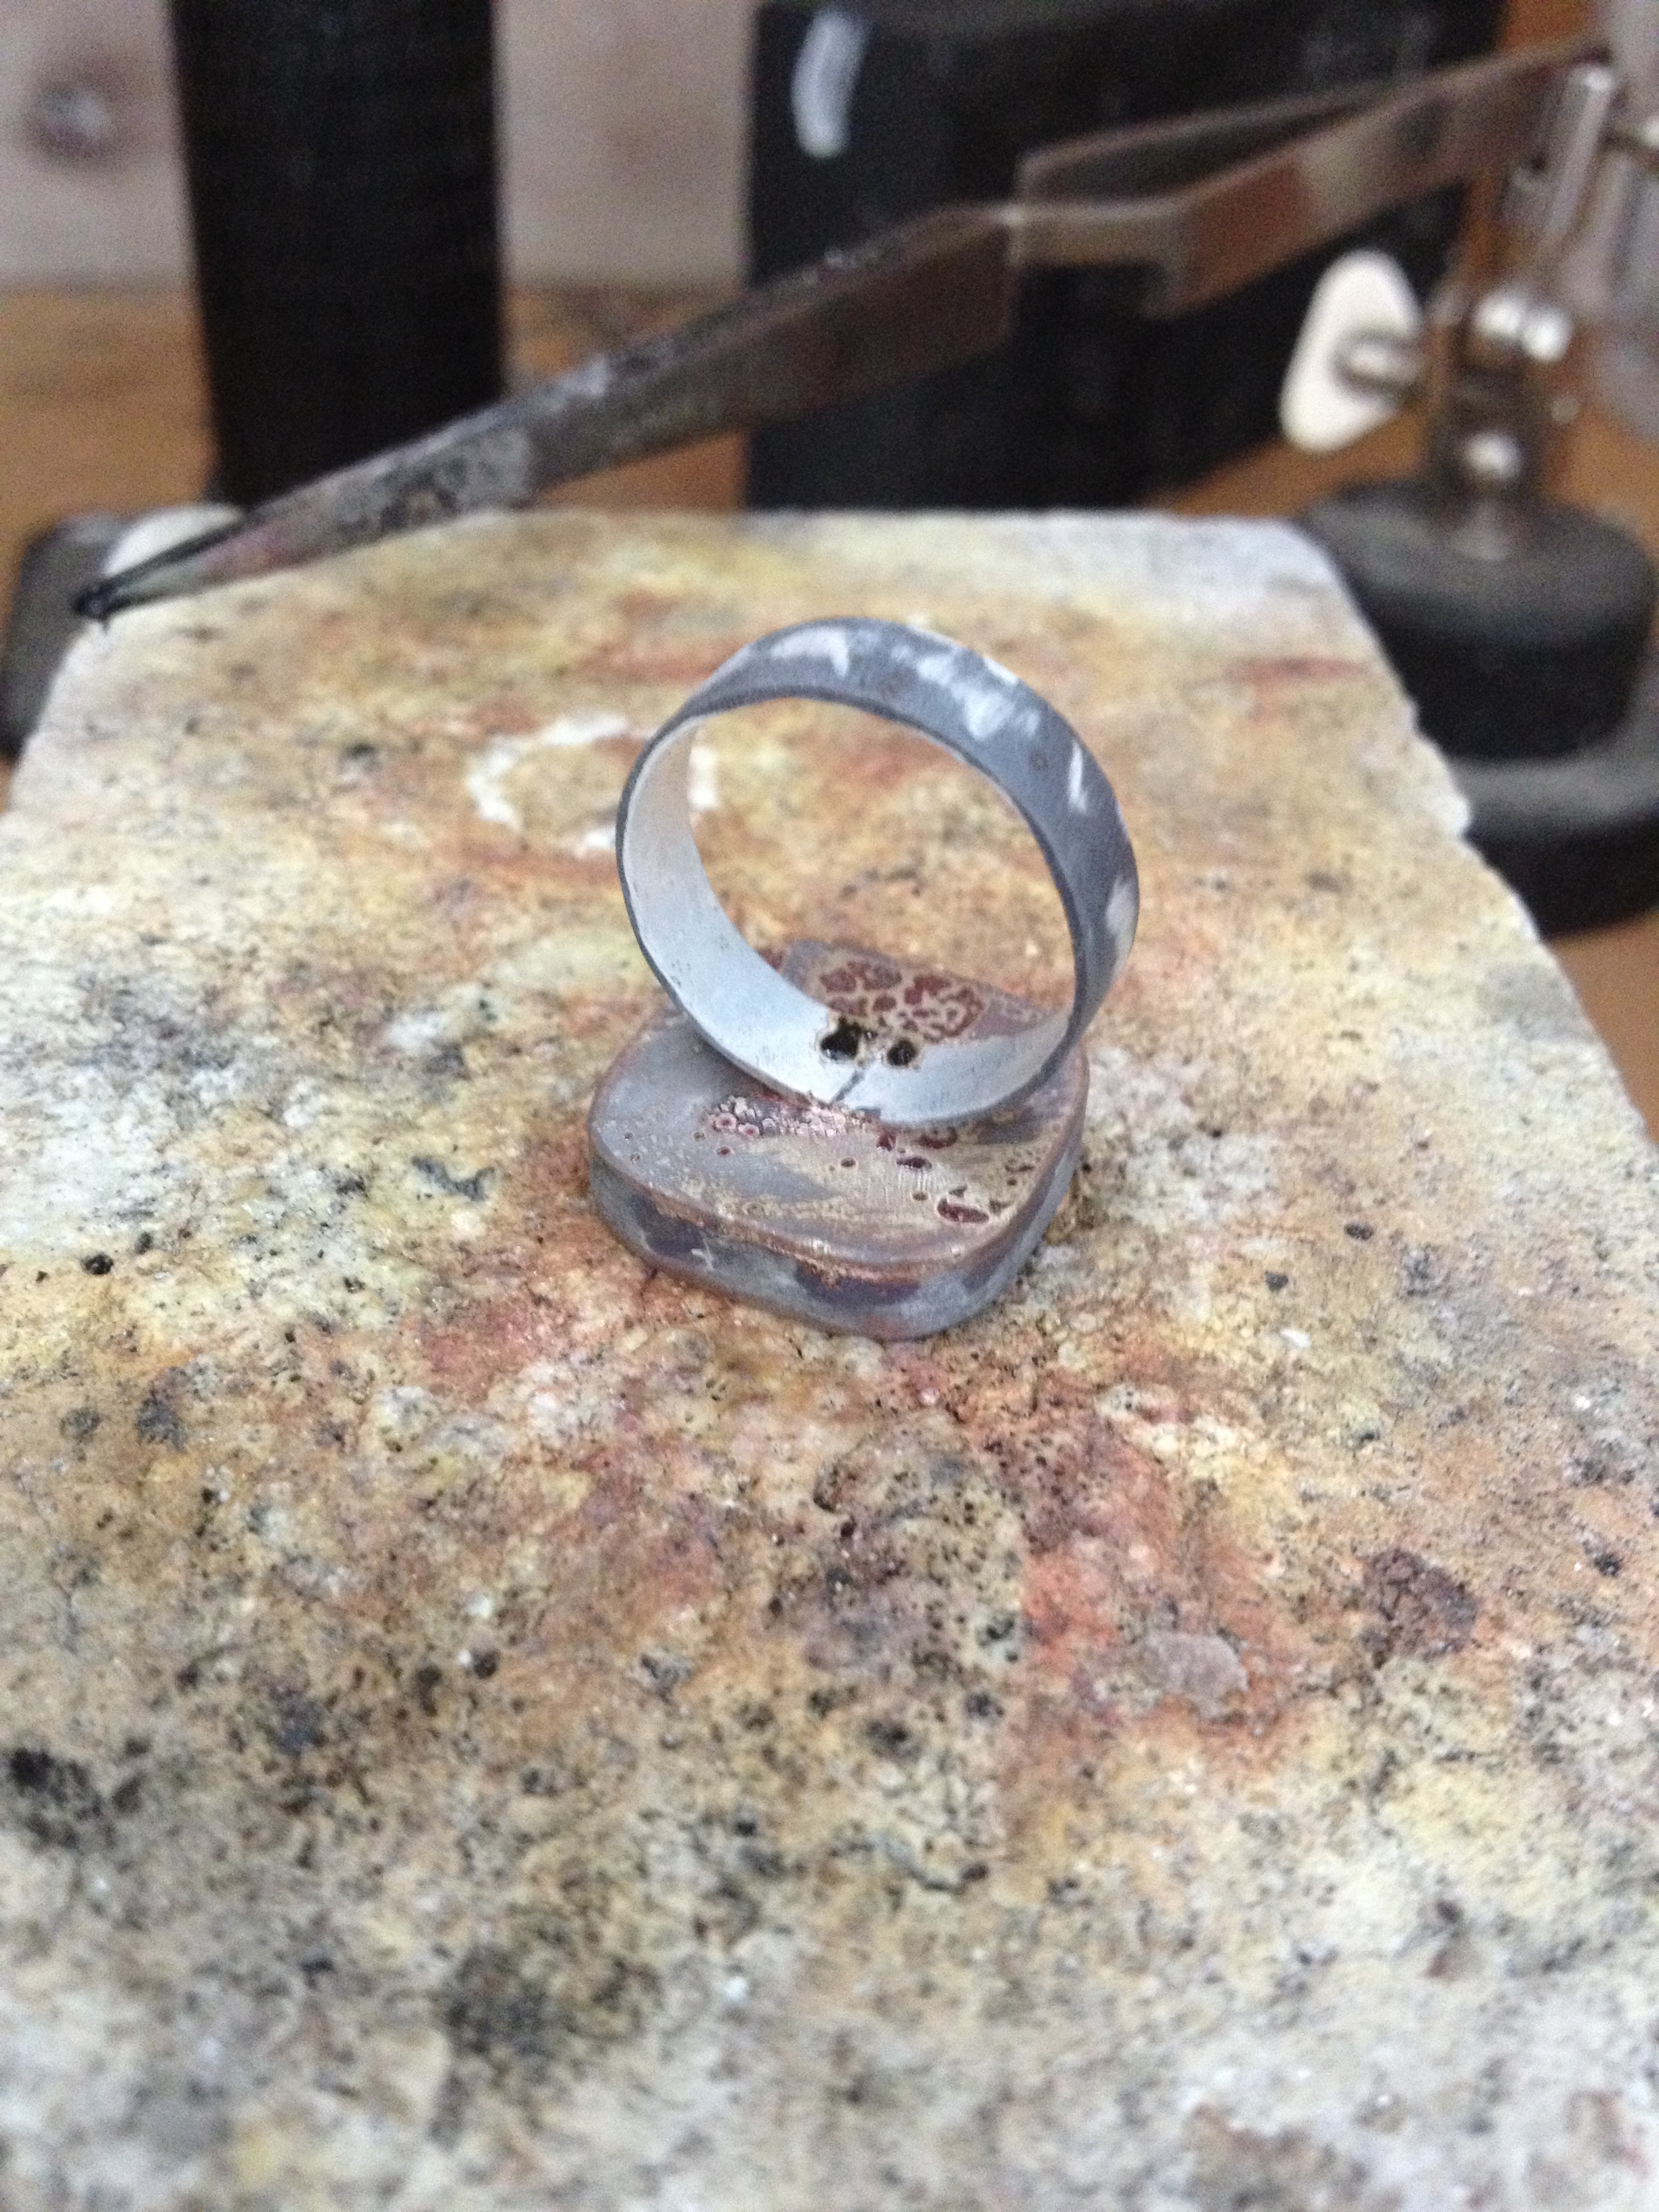
If I leave the bulk of the metal on the earrings they will be really heavy. I just need a little rim on the back to hold the stone in place. Using a centre punch I made a dent close to the apex of the bezel. I then drilled a hole. I drew a line with a Sharpie around the inside, threaded the saw through the hole and cut away the centre section. Its much easier to drill into a bigger piece than a smaller one because the metal has a tendency to spin round and slice my fingers and a bigger piece will enable me to get a better grip.


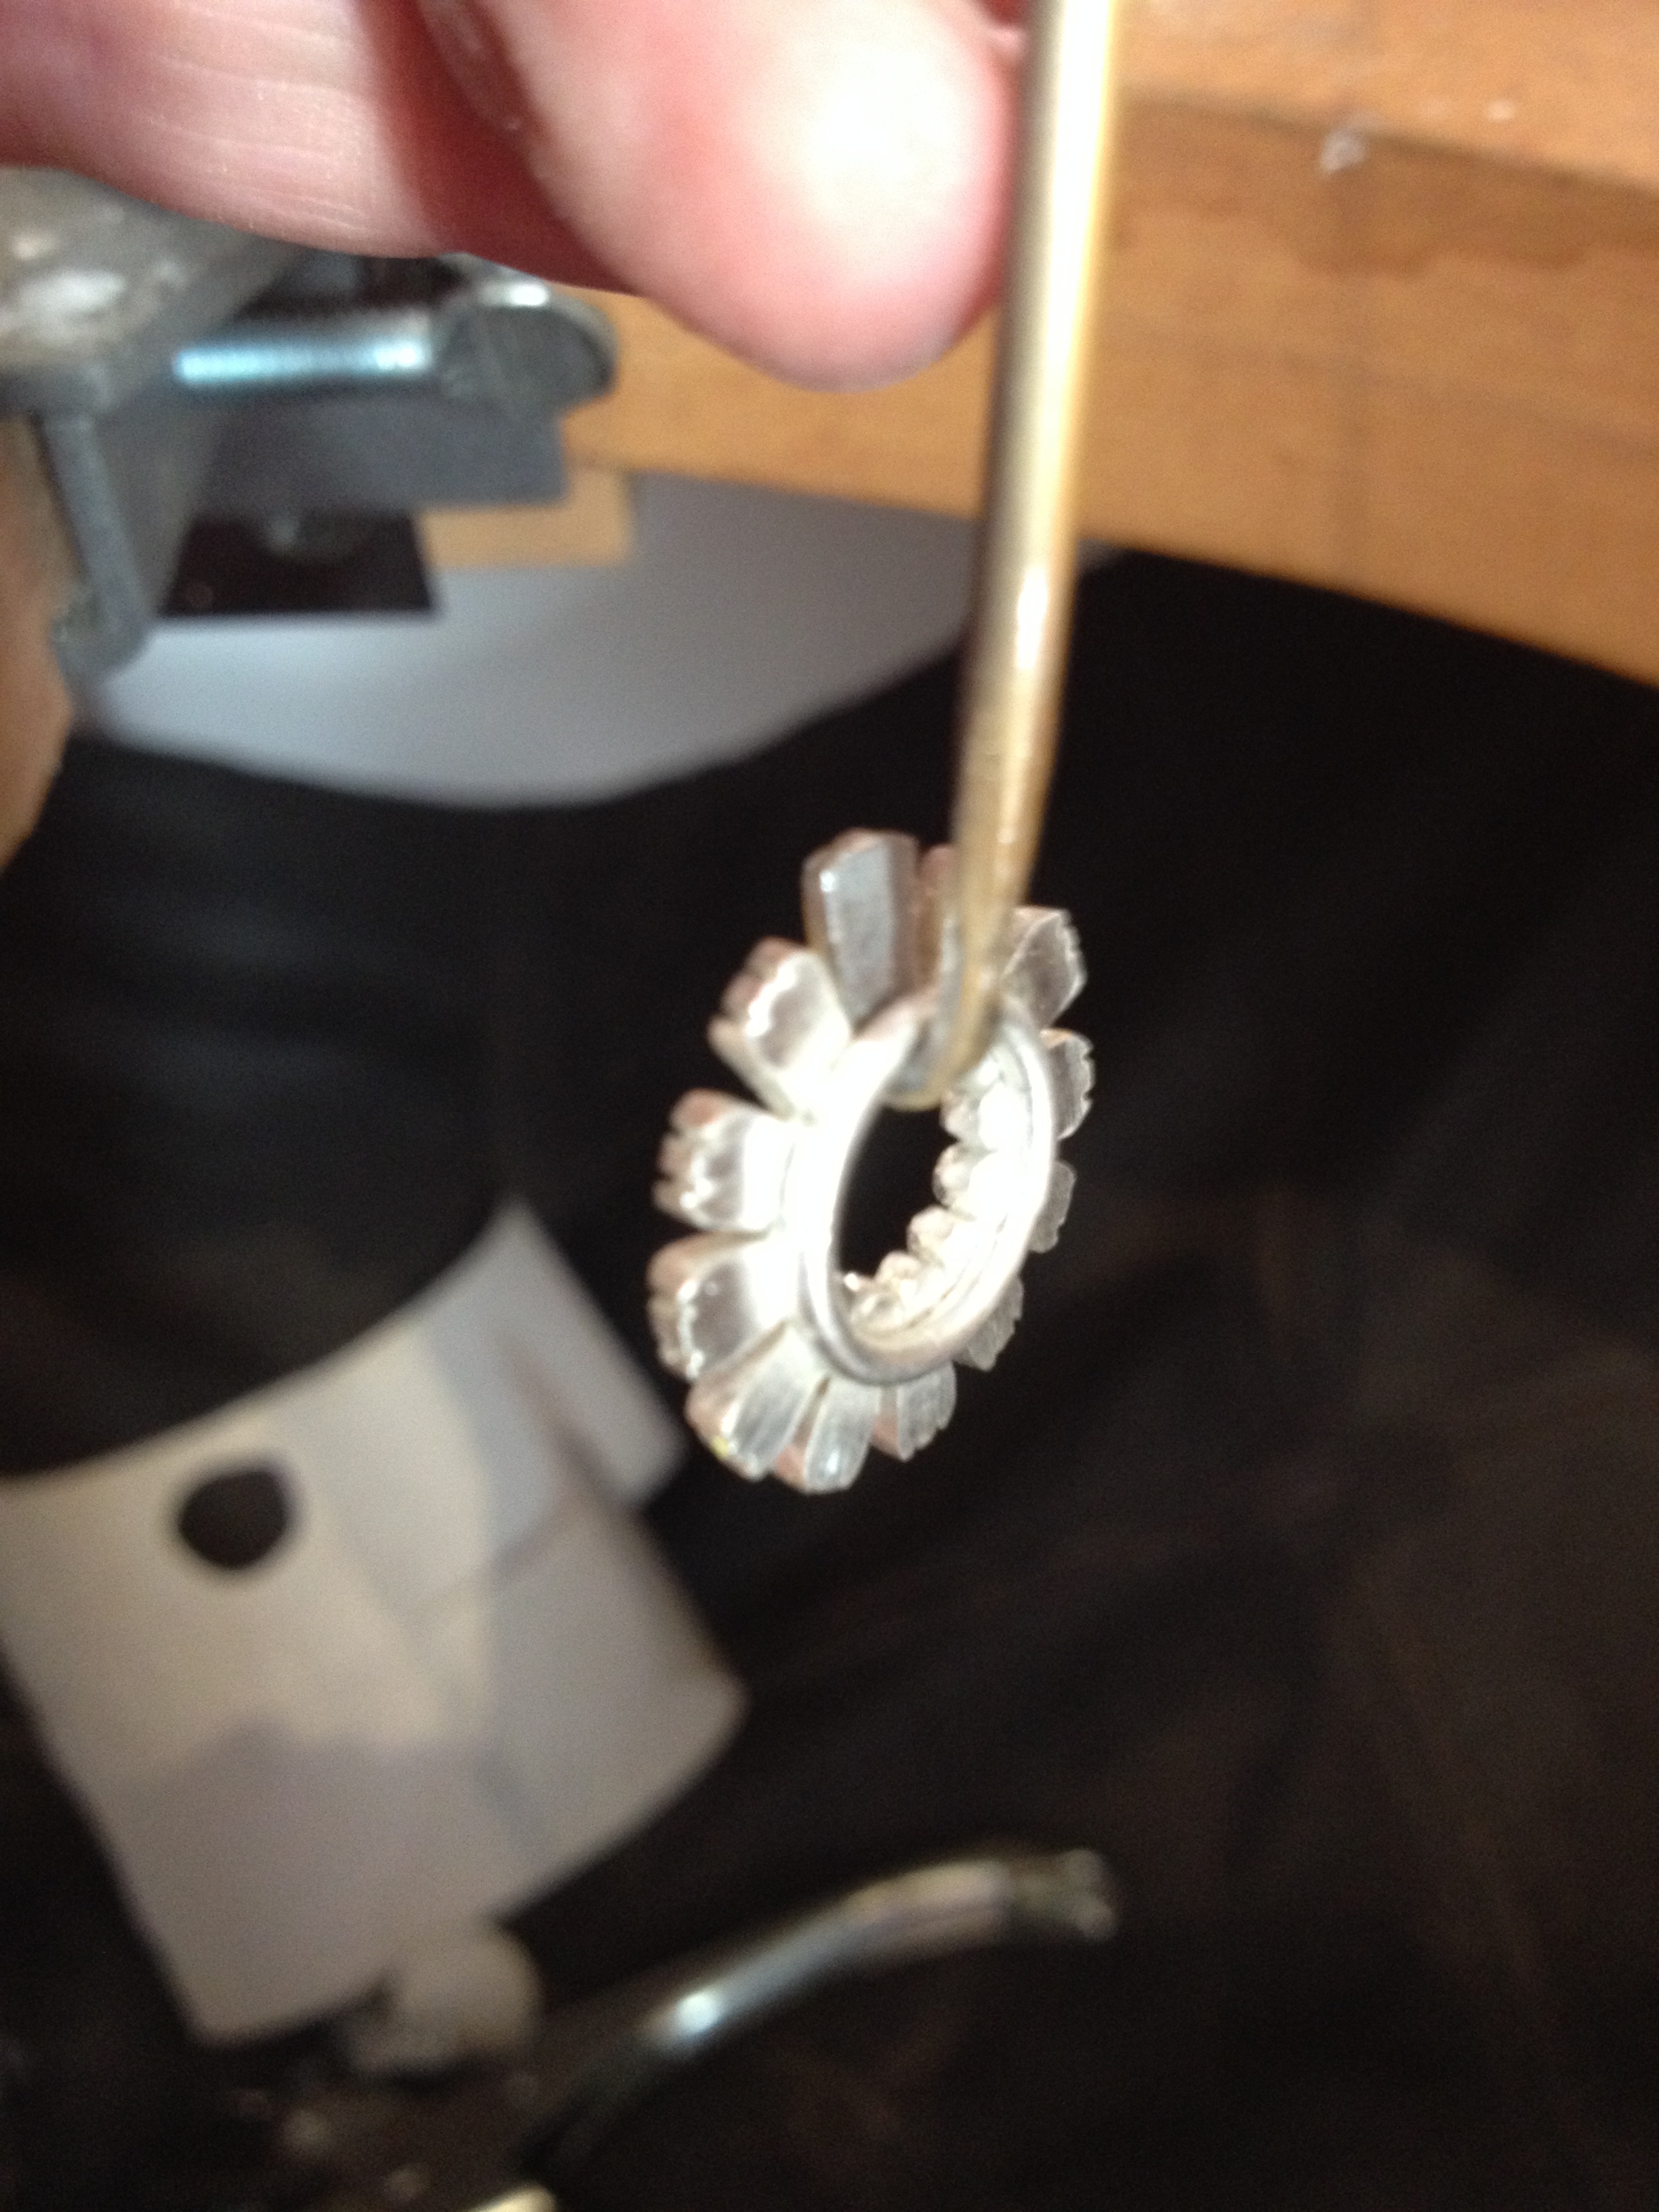
One the inside has been cut away I can cut away the excess from the outside of the bezel.


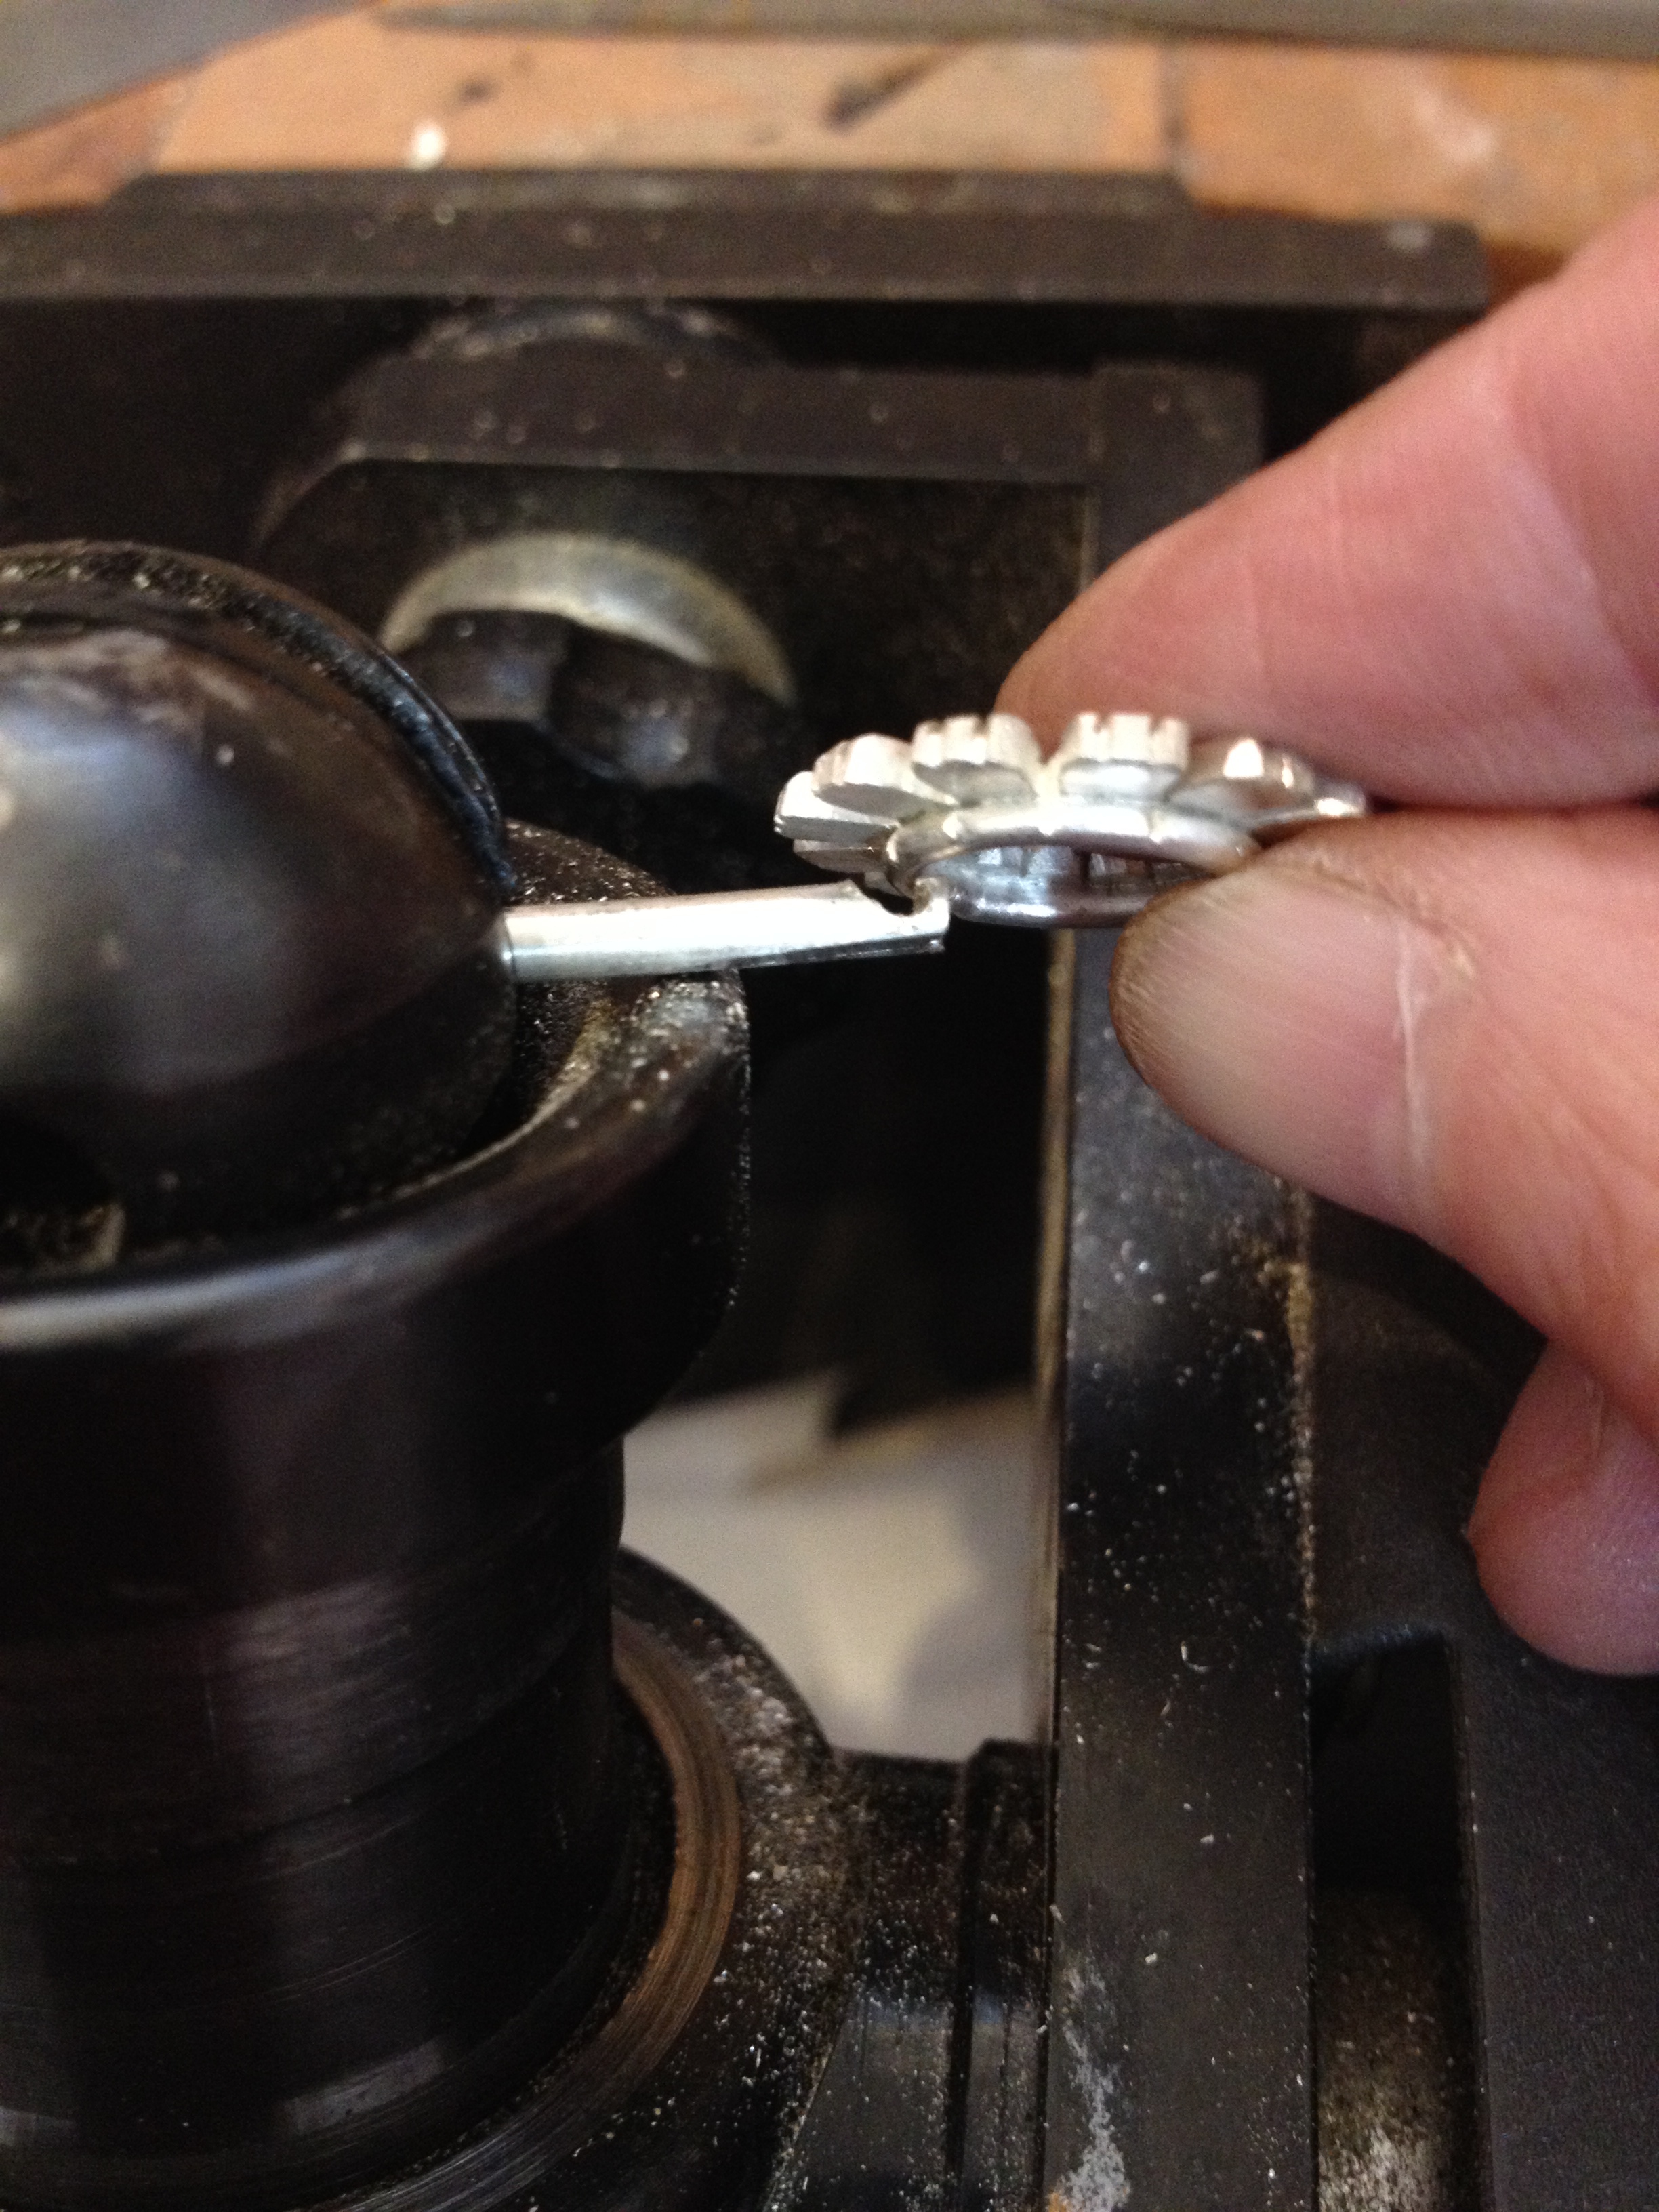
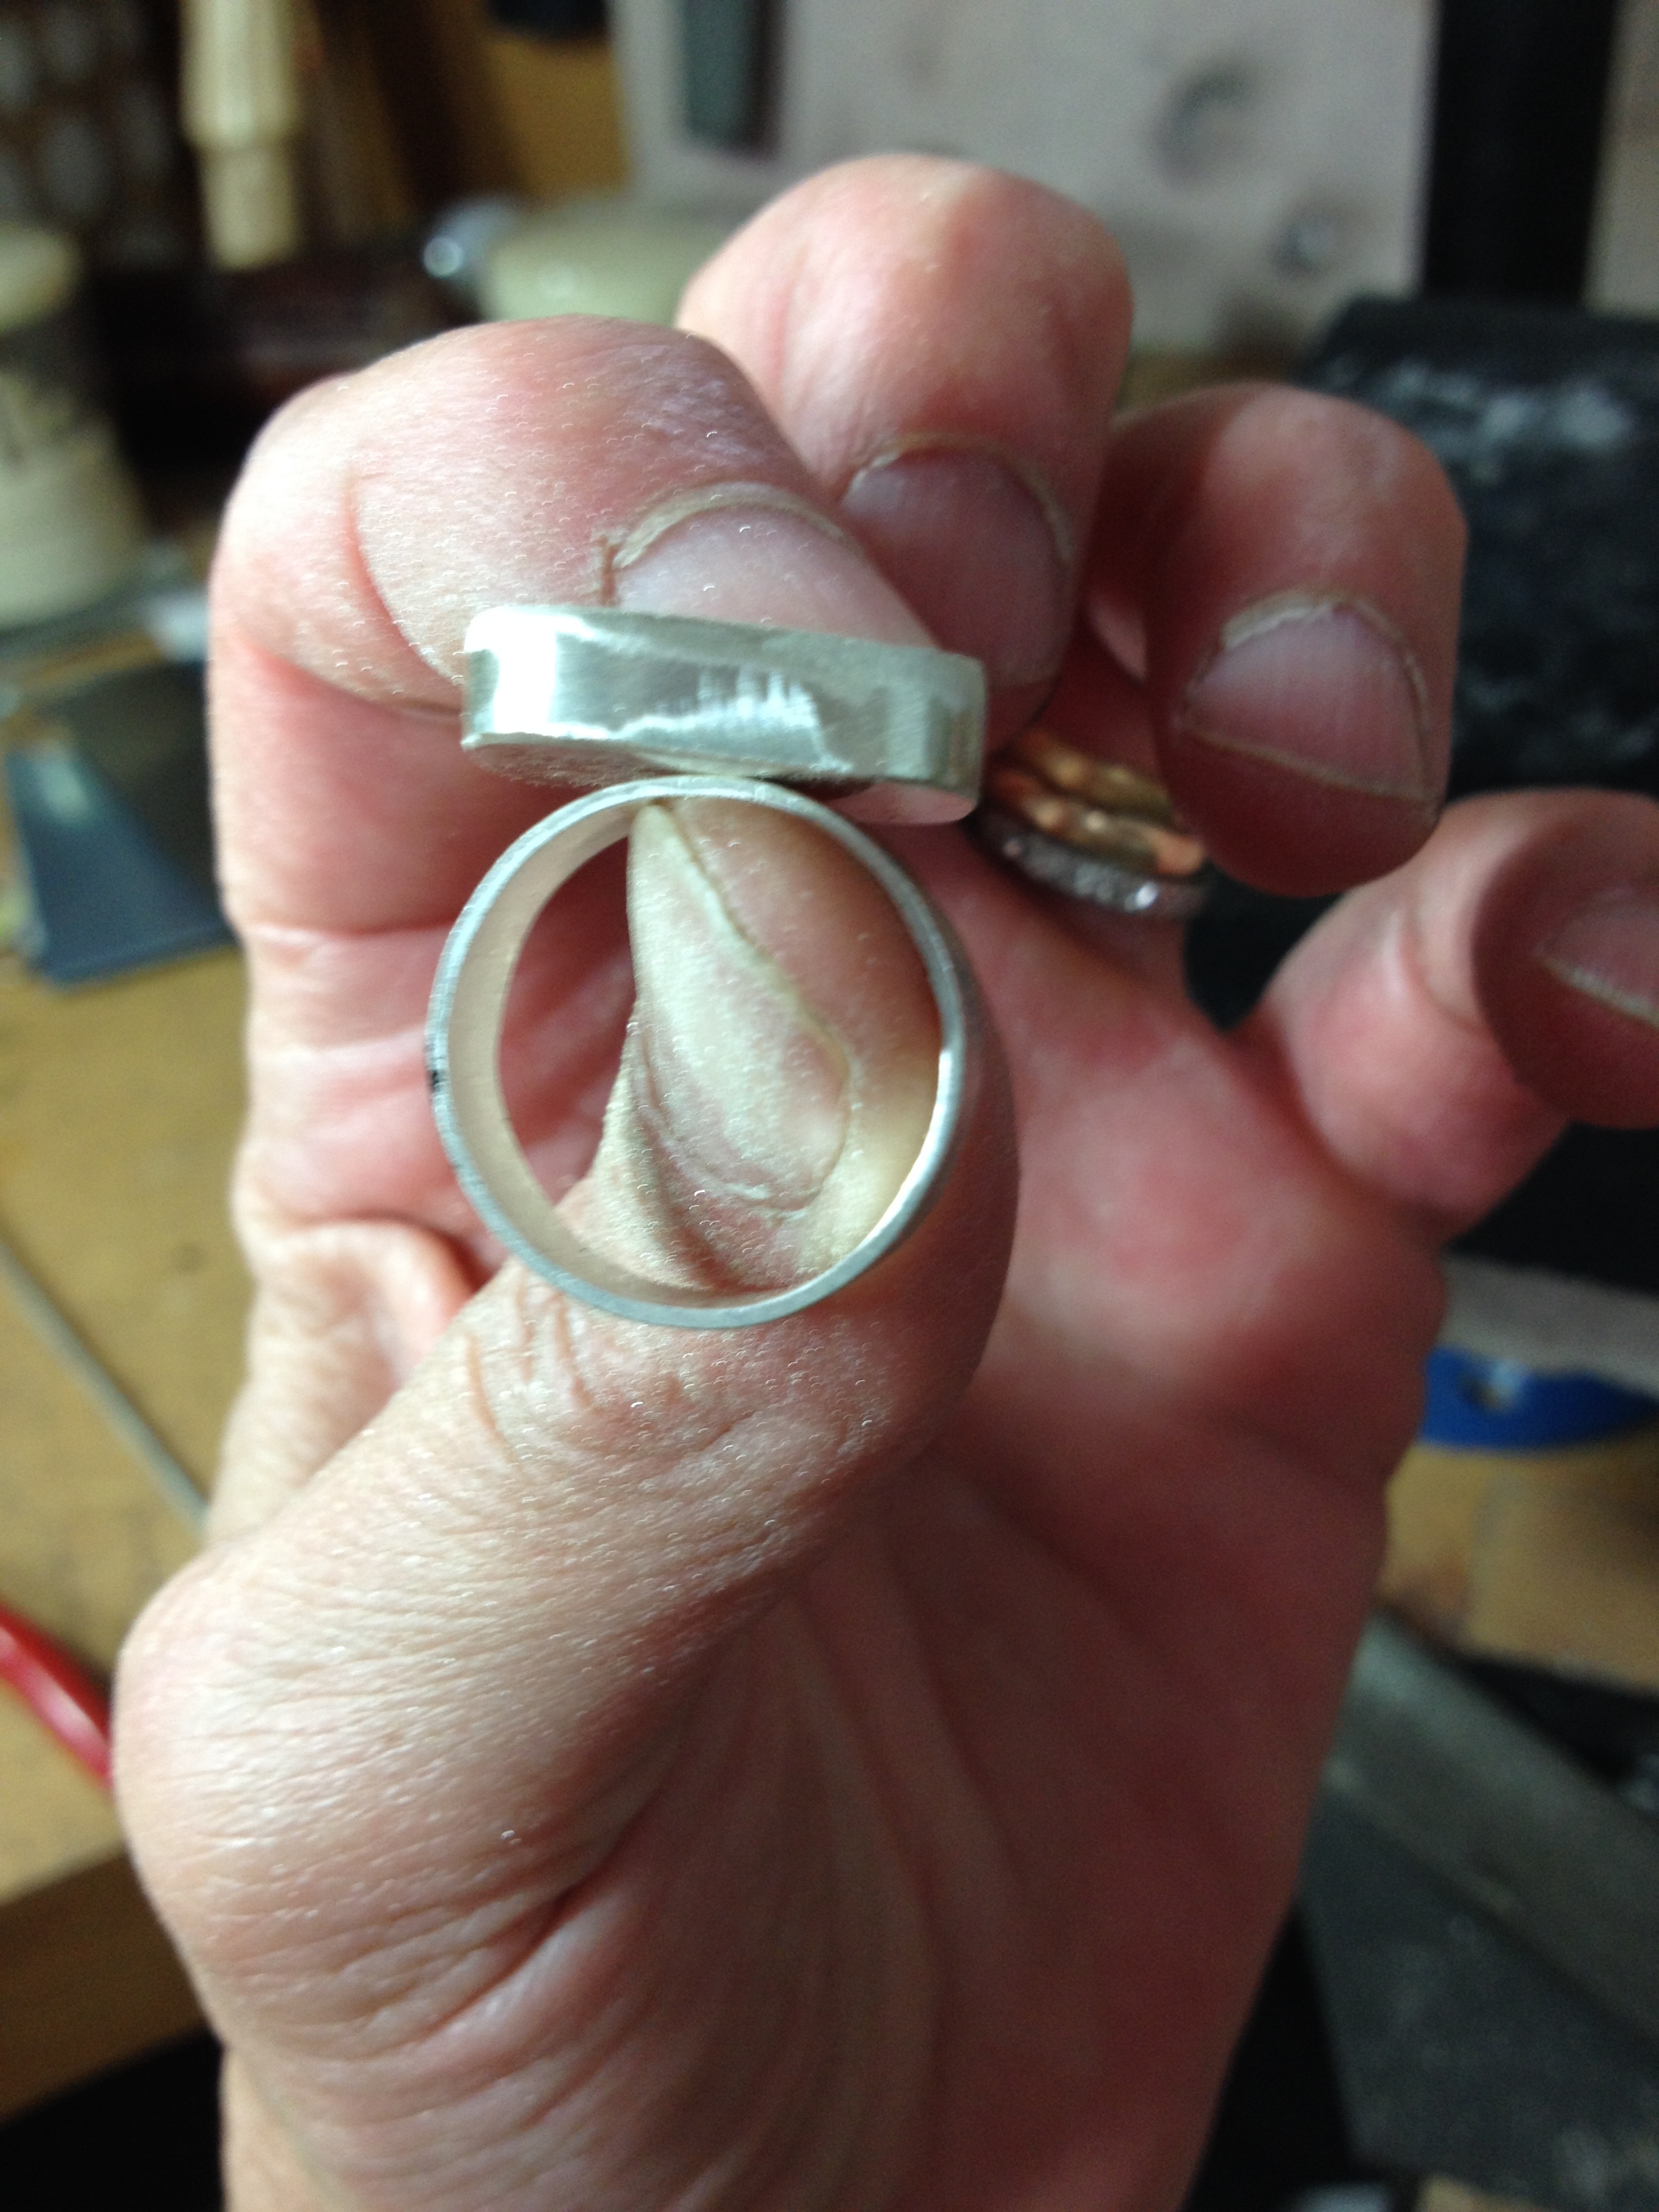
I sawed around the outside going as close as I could to the side wall. Check for fit. Then tidy up the outside with a file then the sandpaper of a radial disc.


And they both fit!

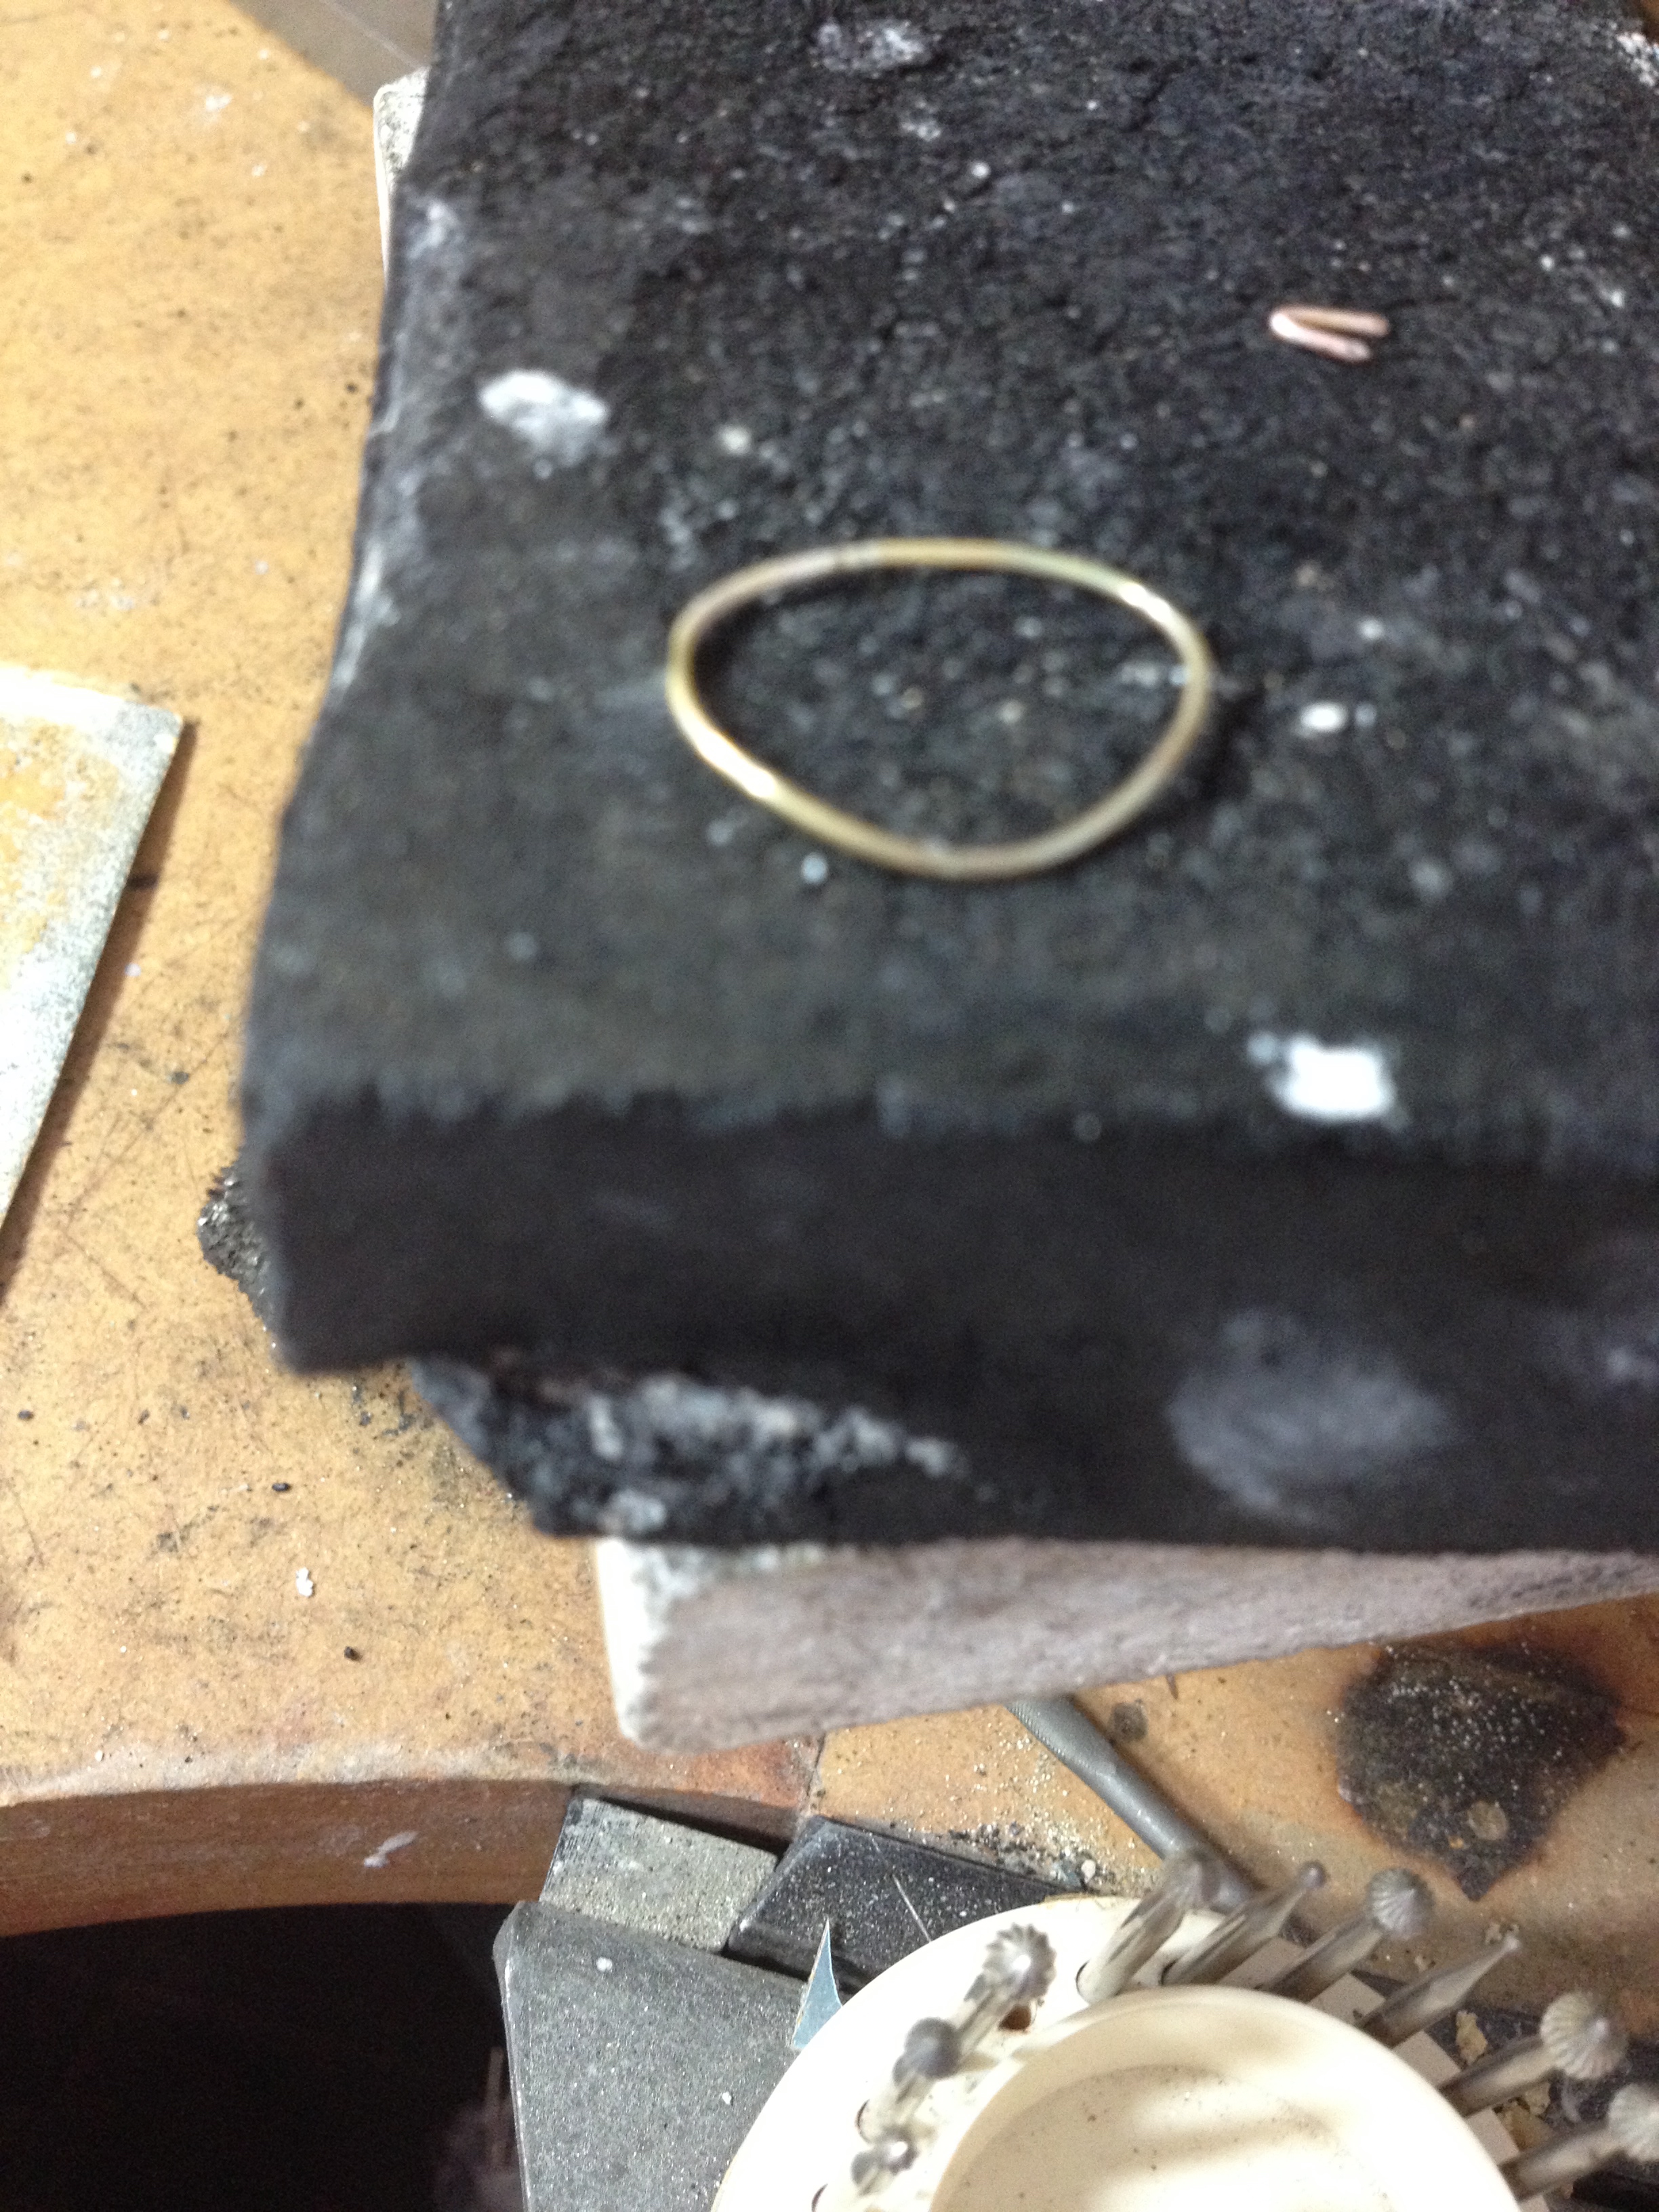
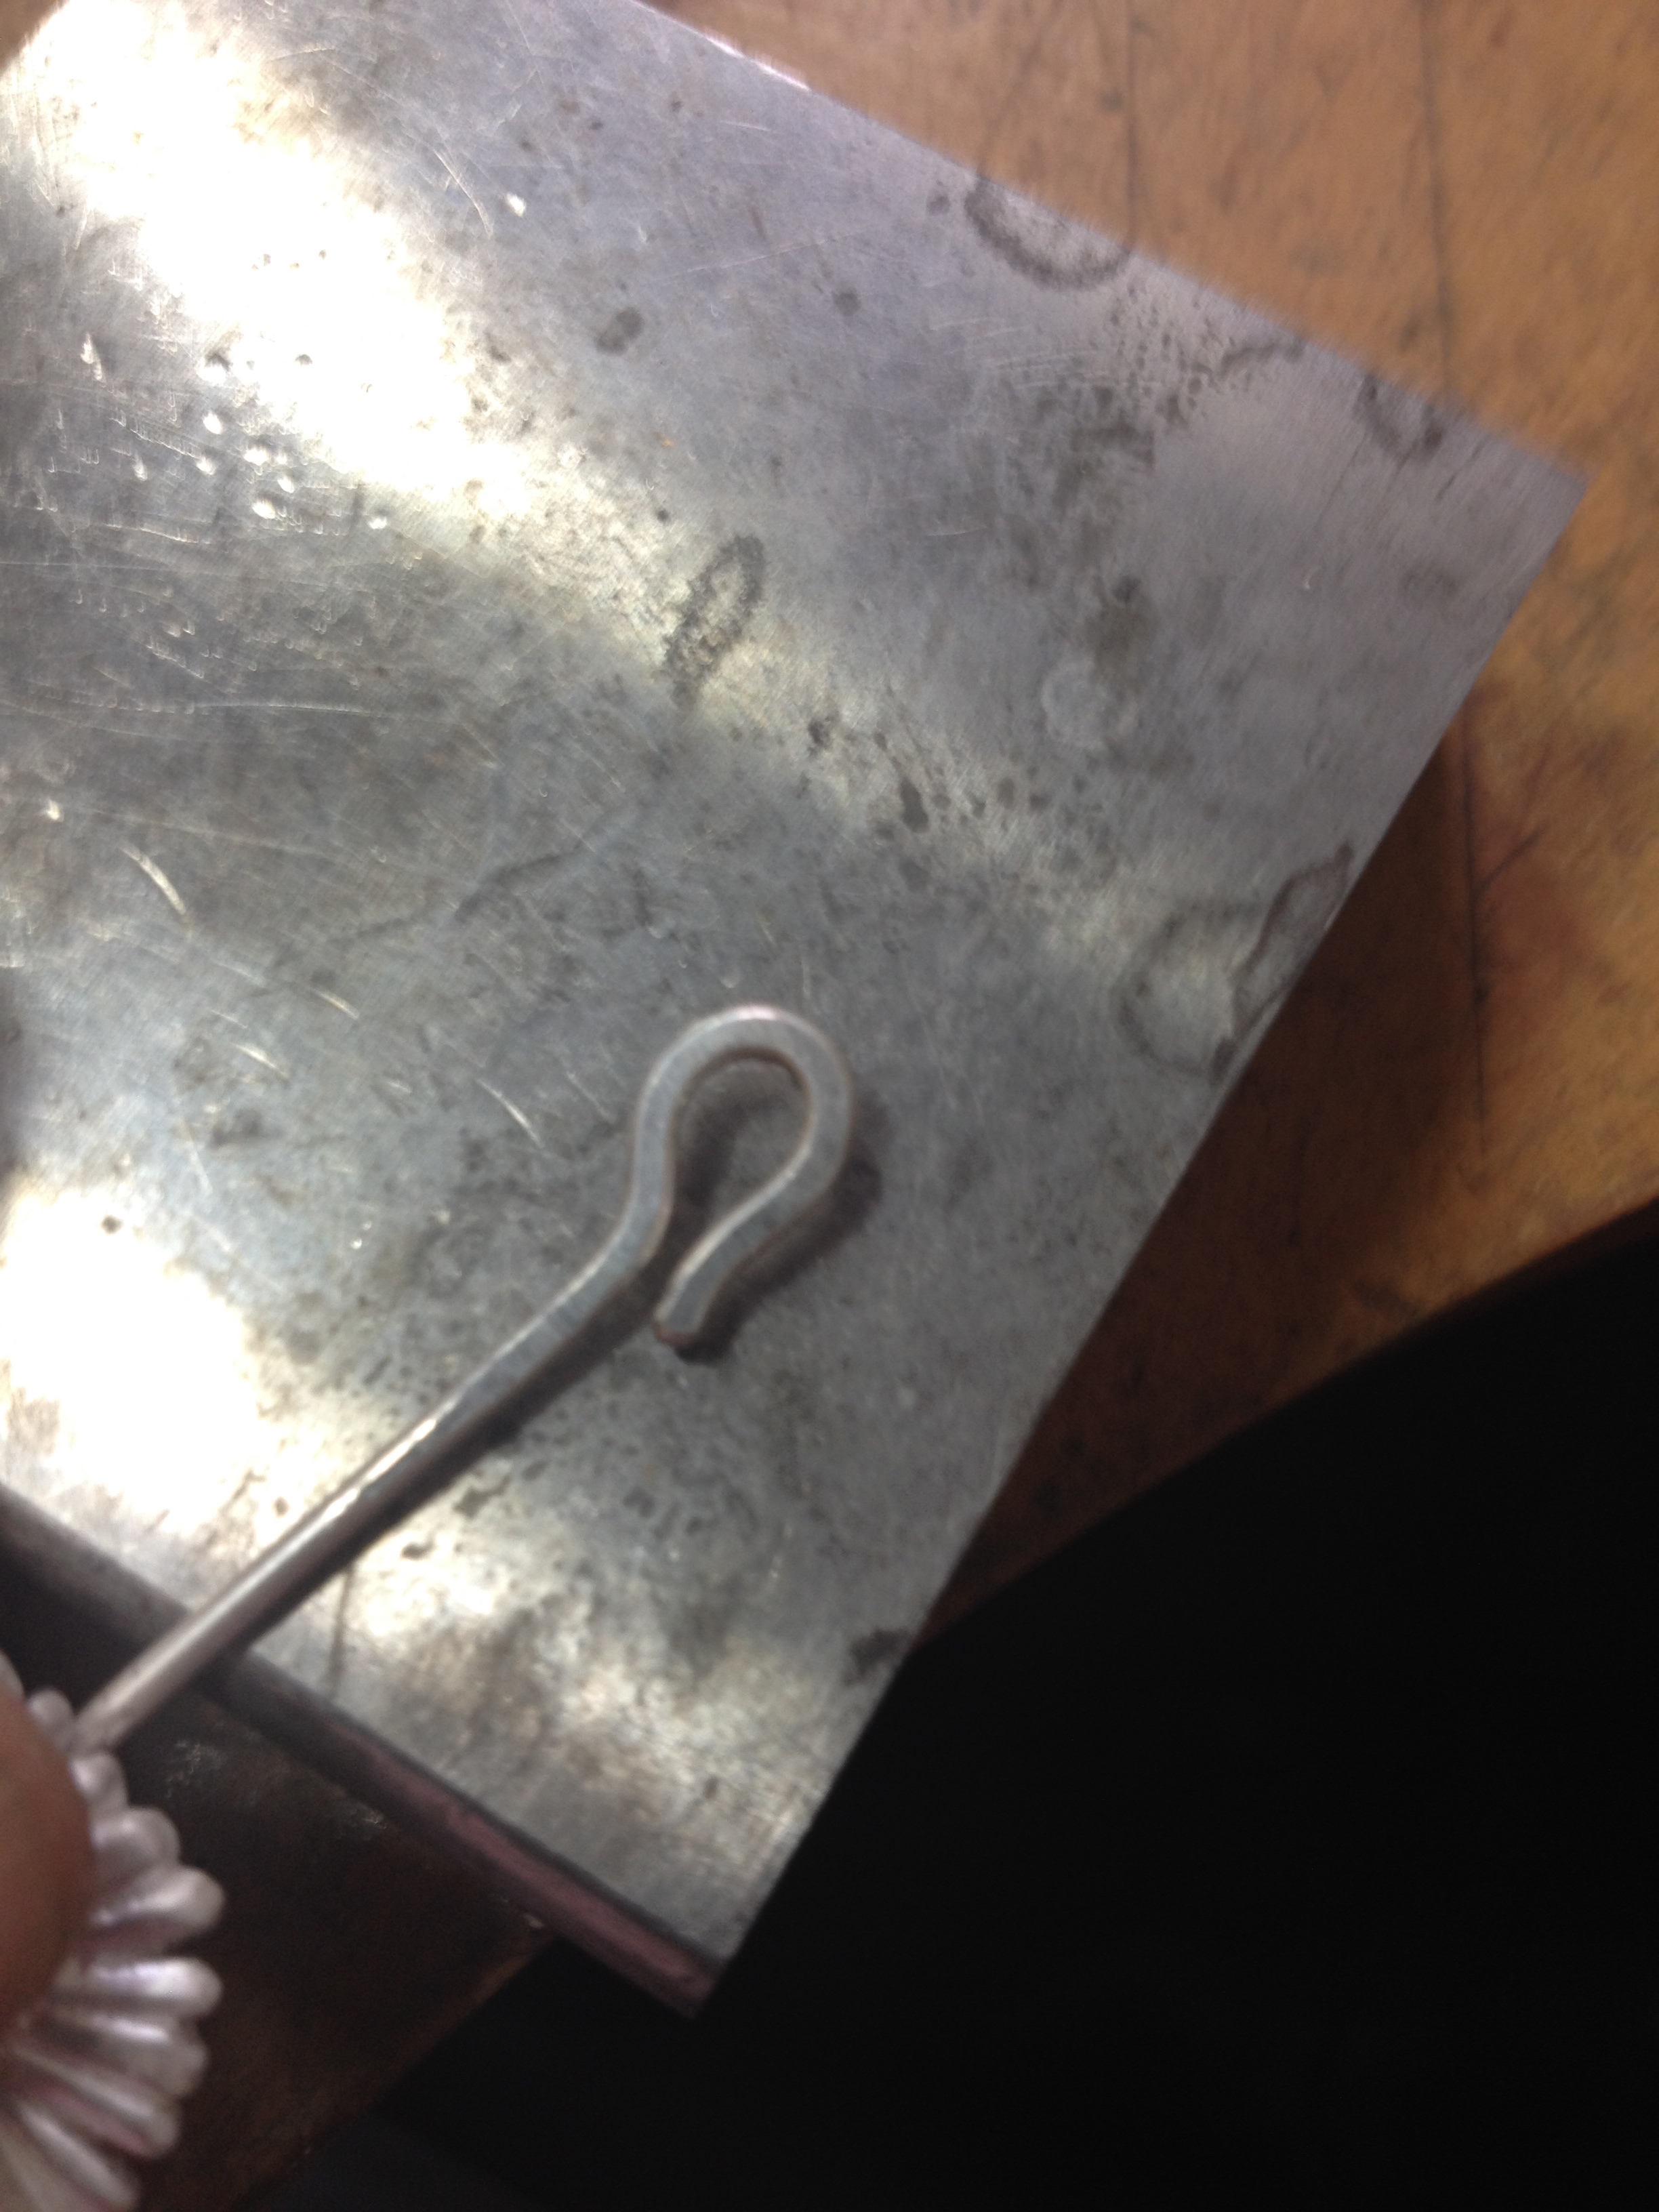
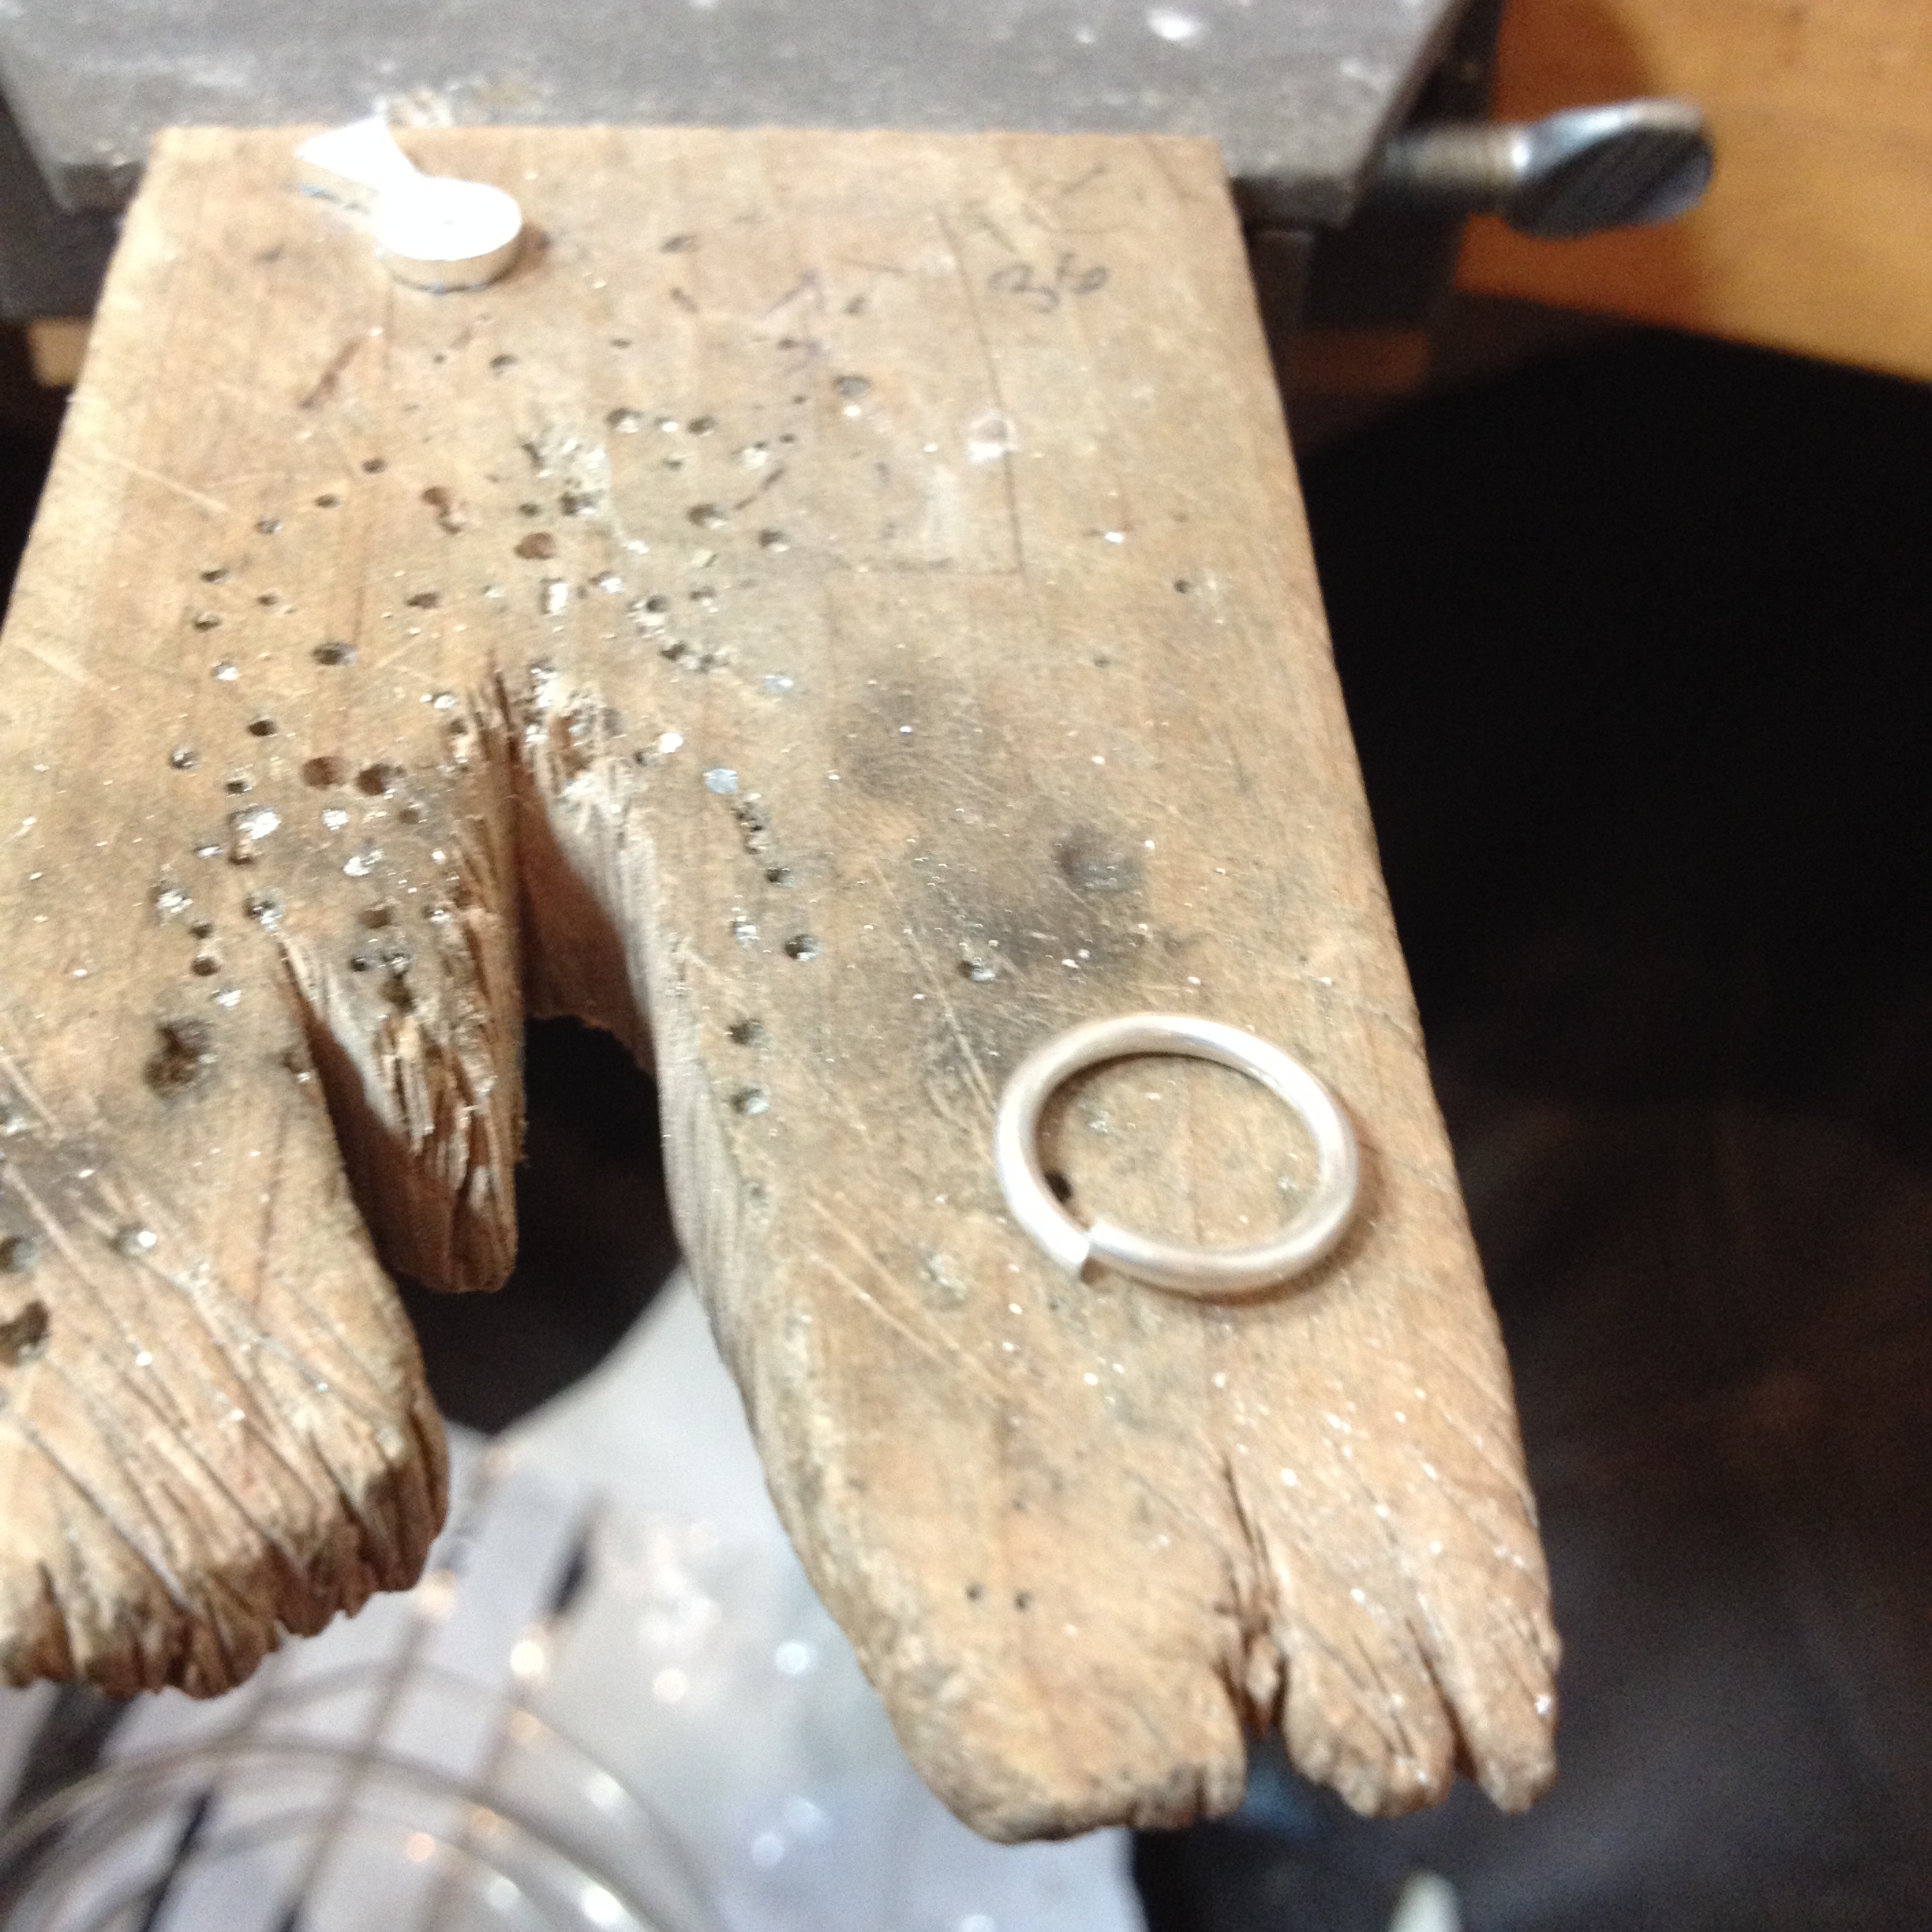
Next job was to make the fine wires that would carry the beads and attach them to the top of the bezel. Using 1mm round wire I formed a loop at one end and then soldered it shut.

I then made a jump ring and fitted it through the loop before closing it up. One of the loops was too small for the jump ring so I needed to open it out a bit using a drill. Whoa! careful handling with a high speed drill close to my fingers!


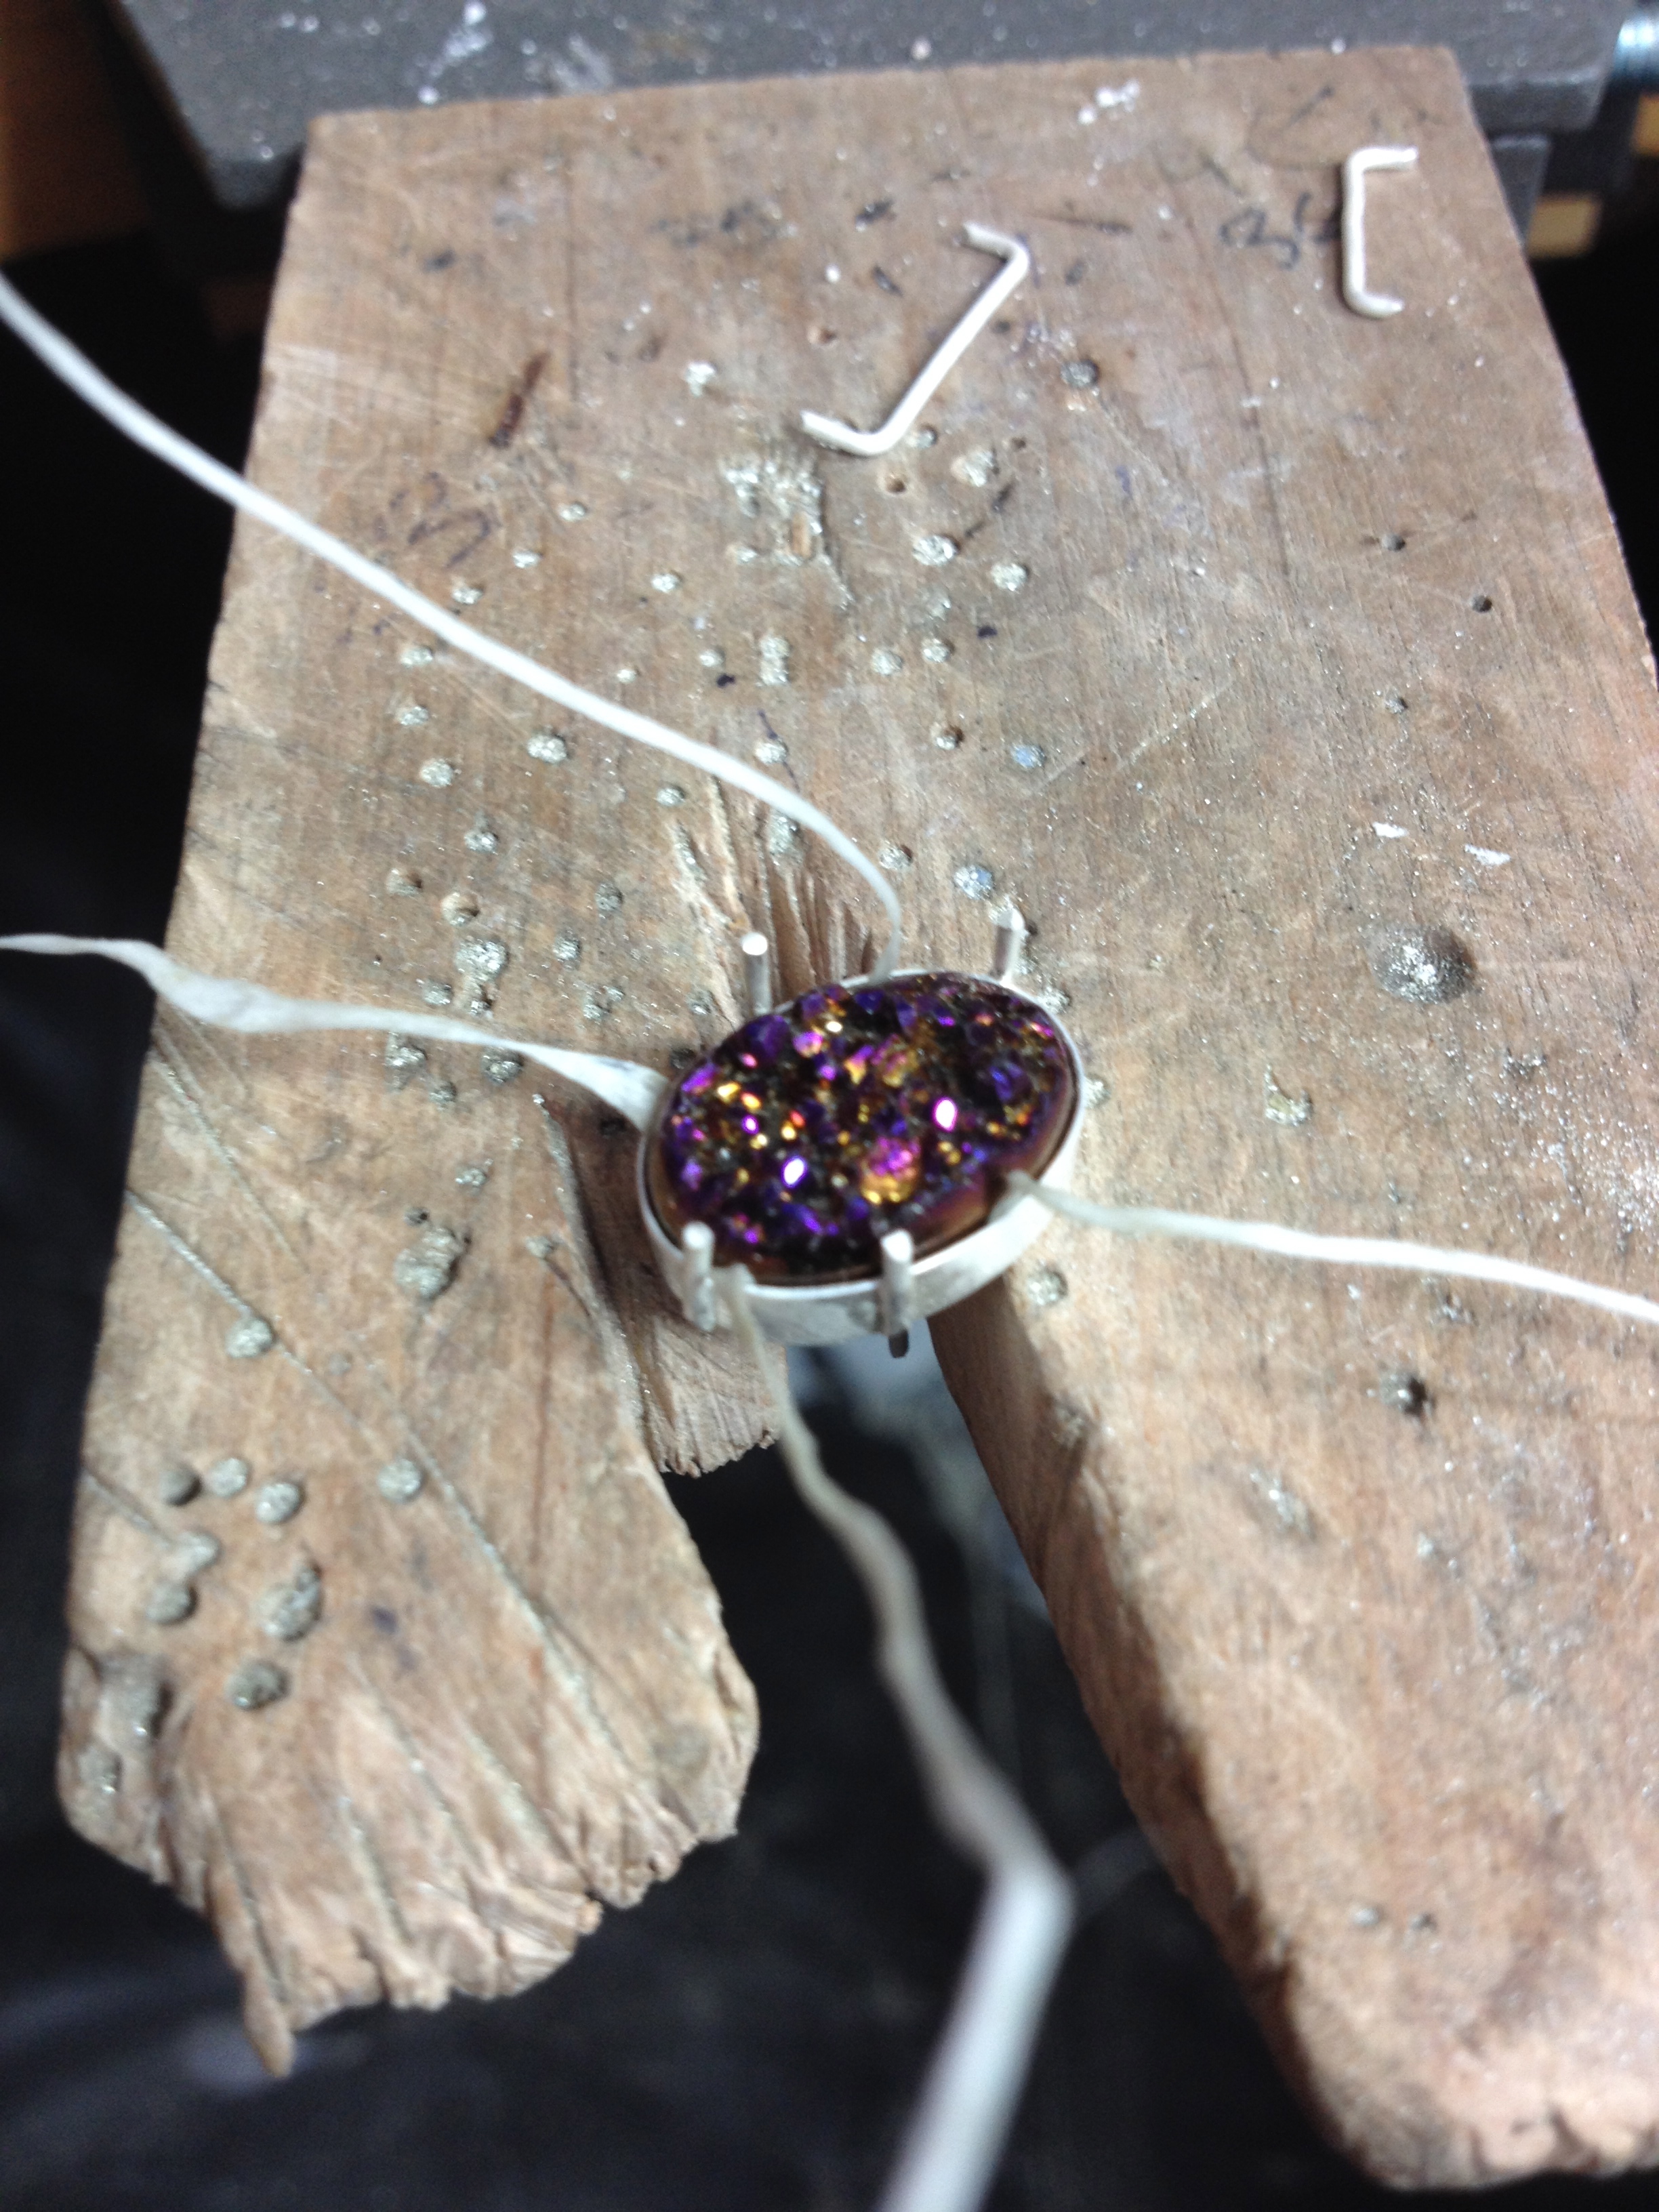
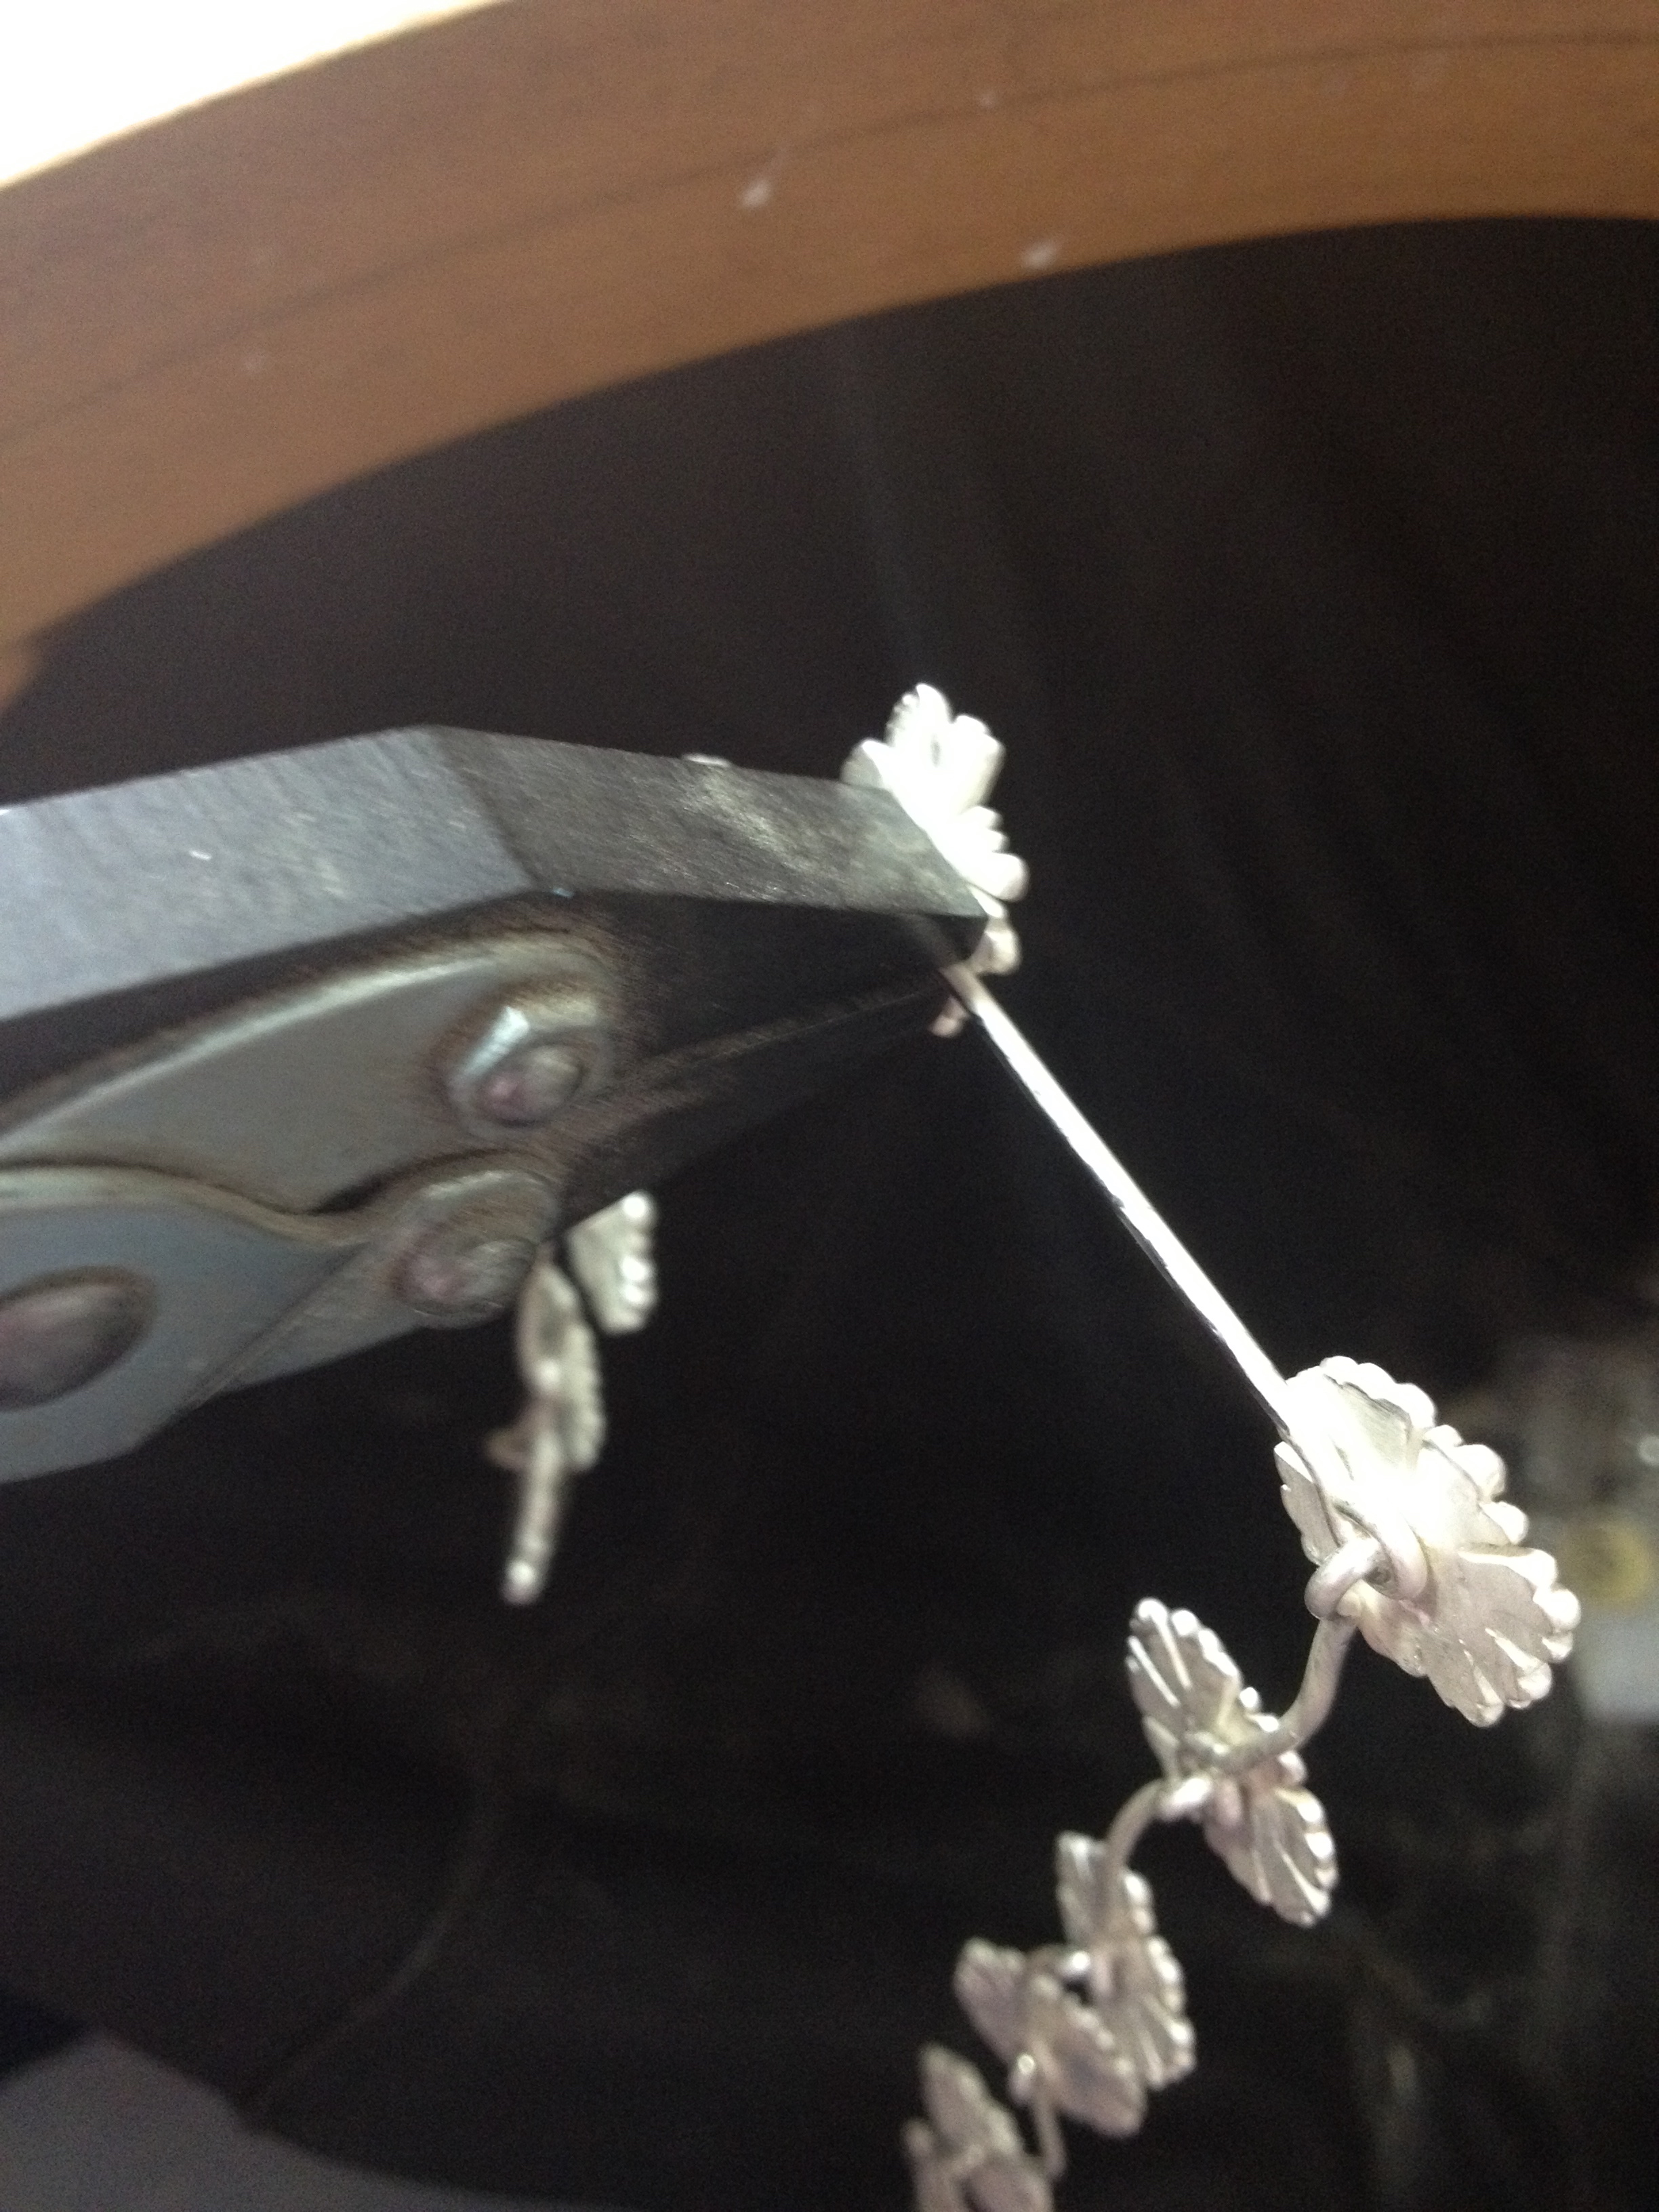
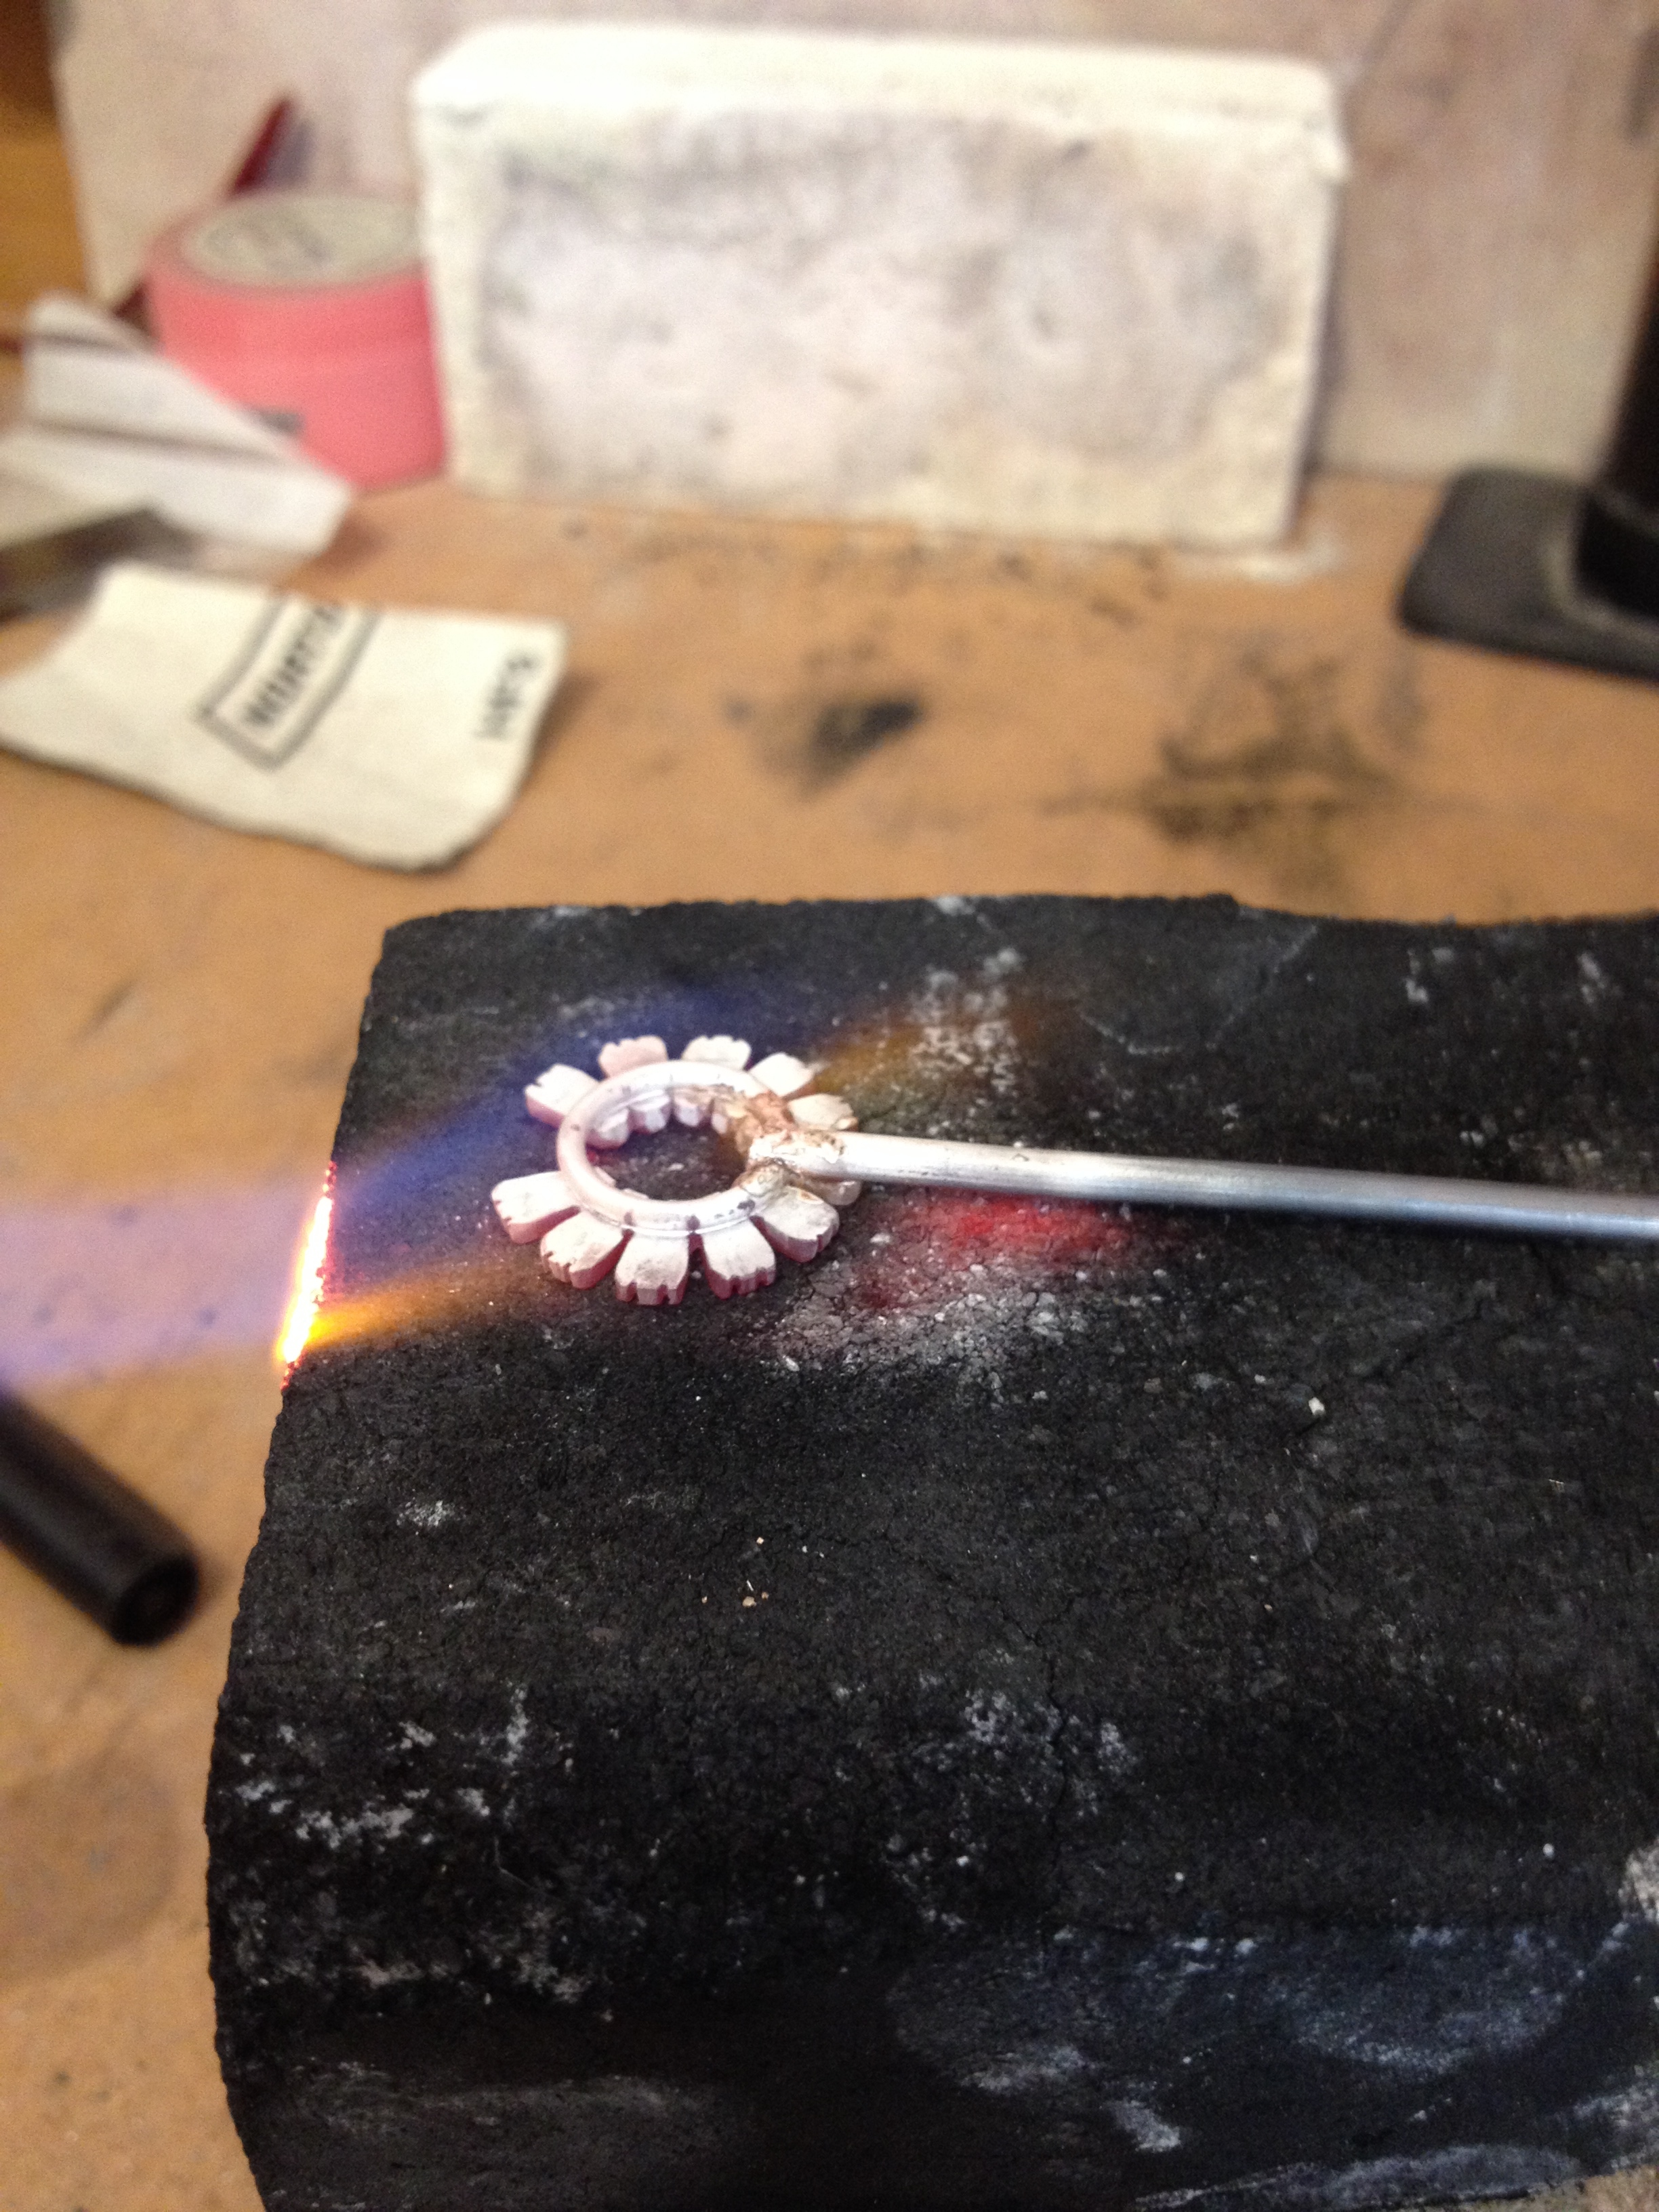
Once both the wires were done it was time to attach them to the top of the bezel. Using the marvellous ‘third hand’ tweezers I was able to set it up, flux and solder it. It takes a long time to carefully set up to solder something like this. The slightest nudge and the positioning is wrong. First put the flux on the bezel and then position the wire with a bit of solder nuzzled up. Heat away and the joins were good!


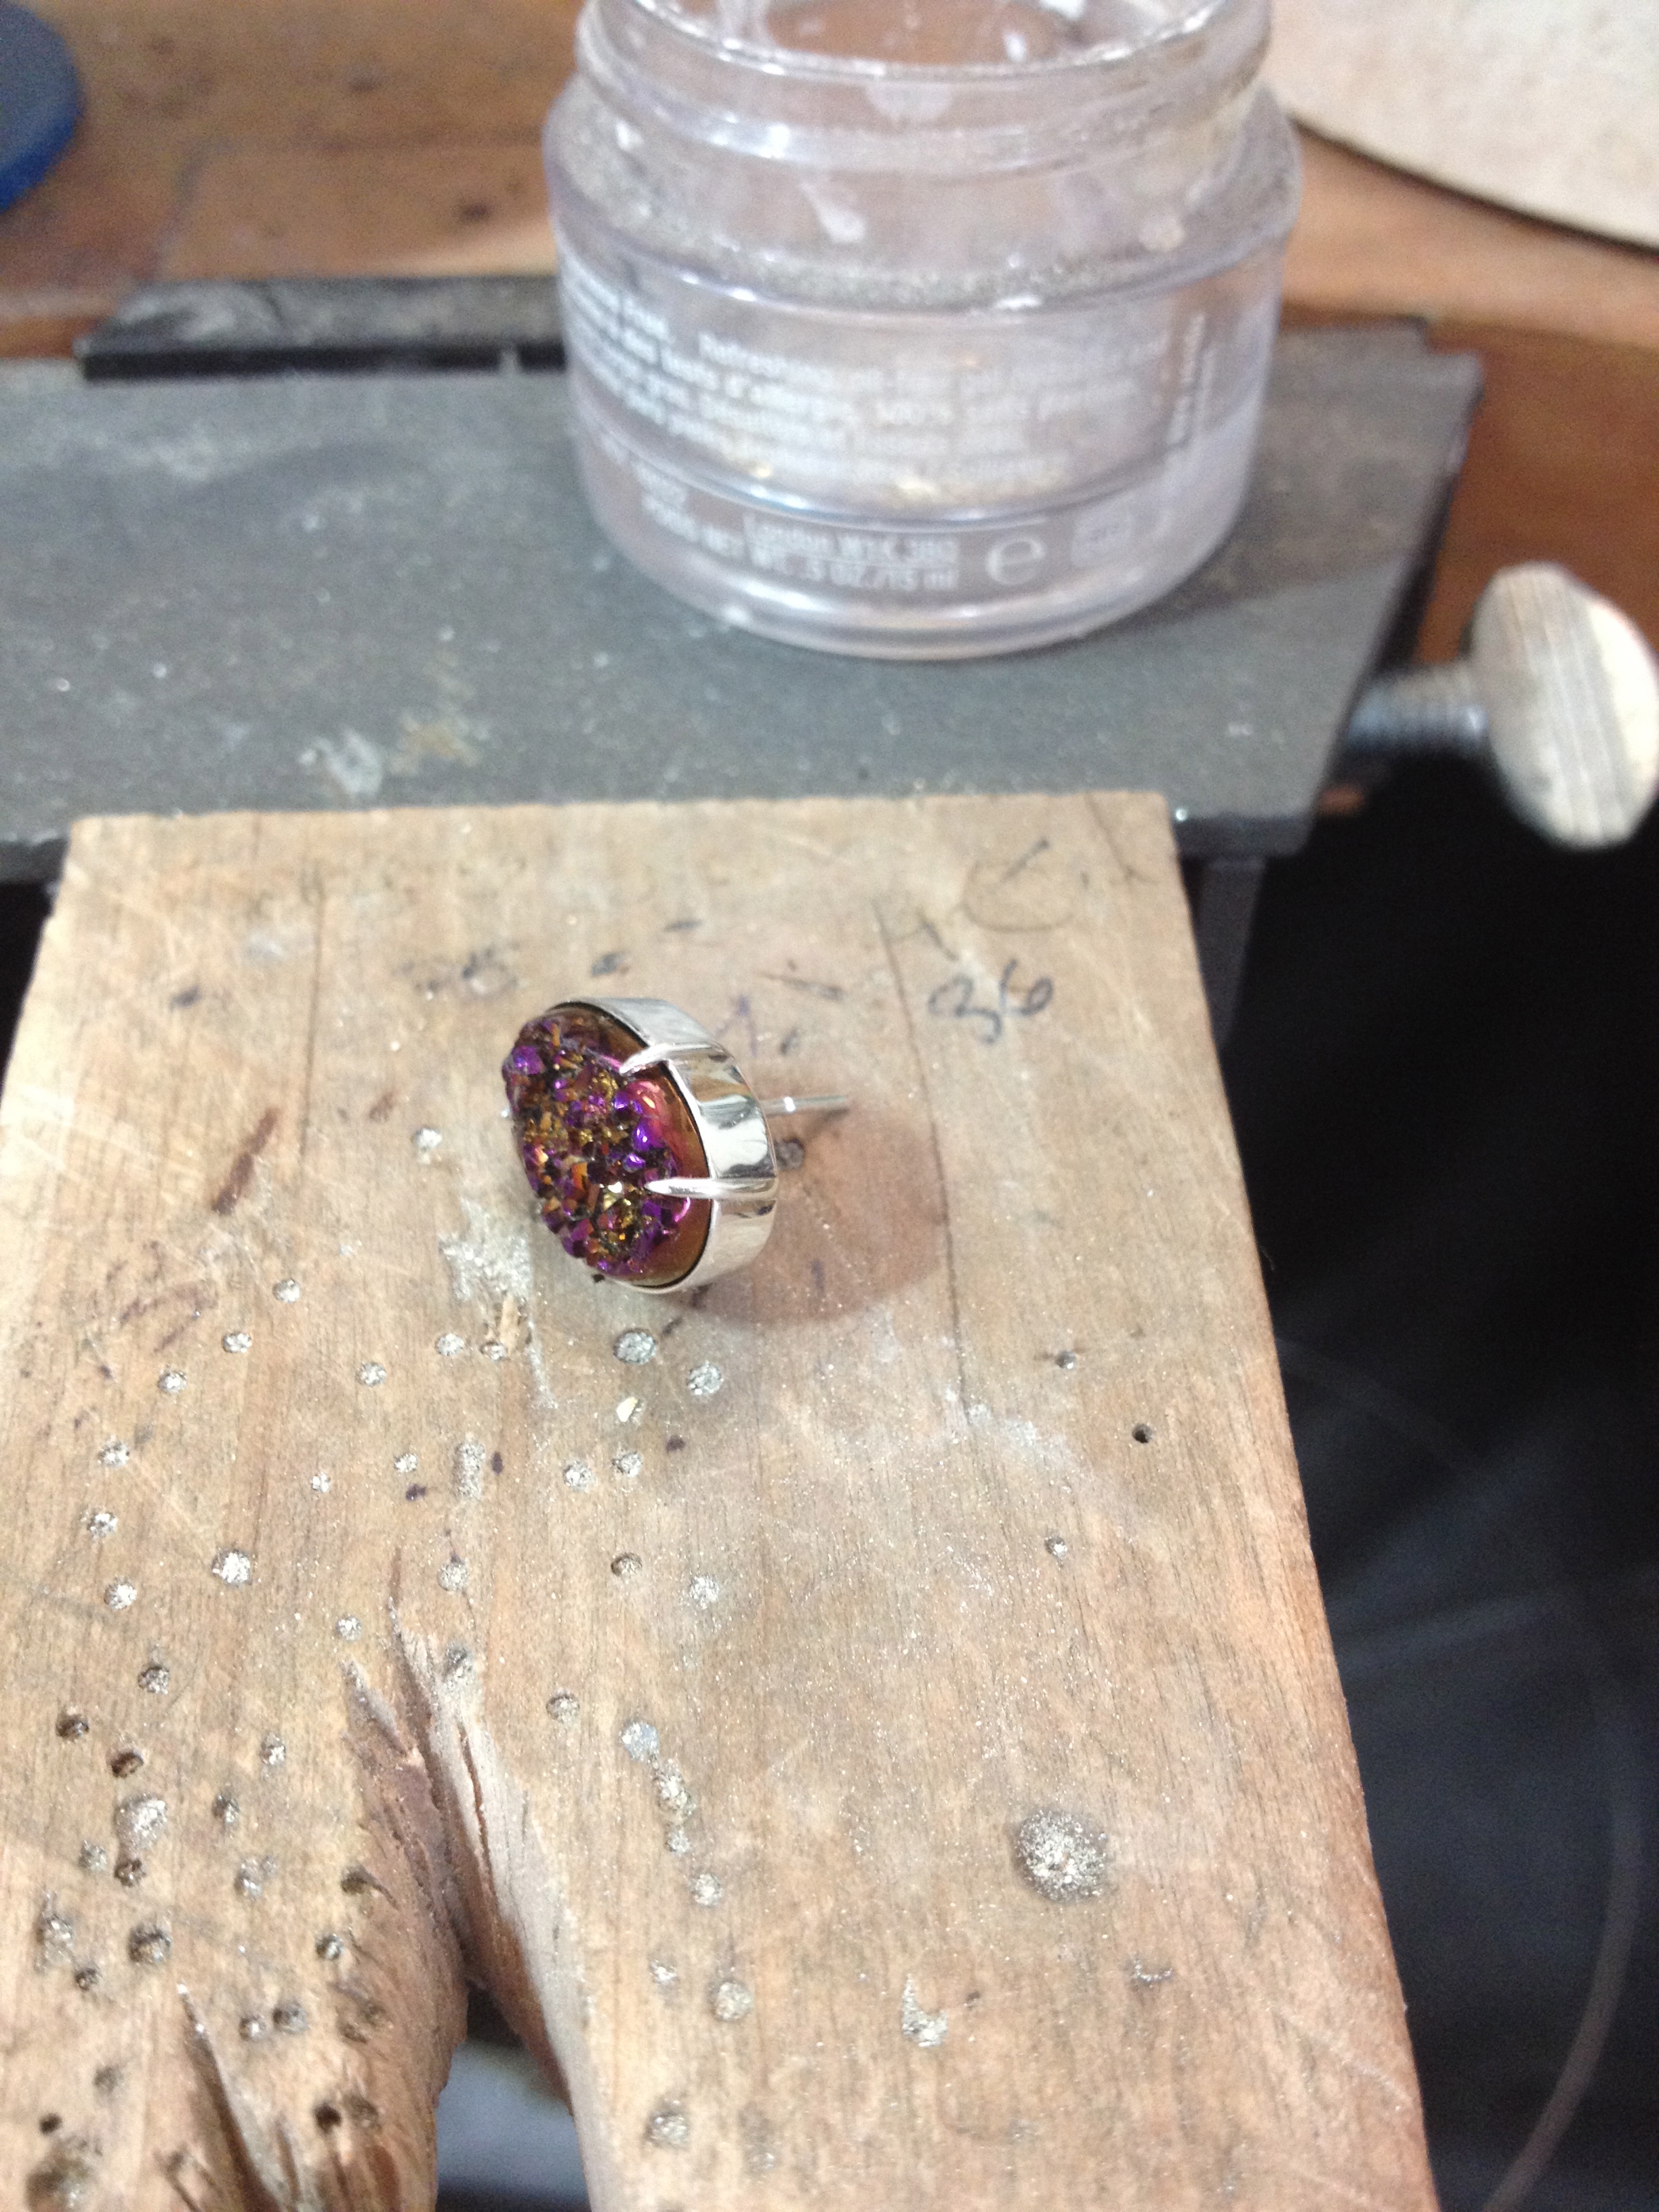
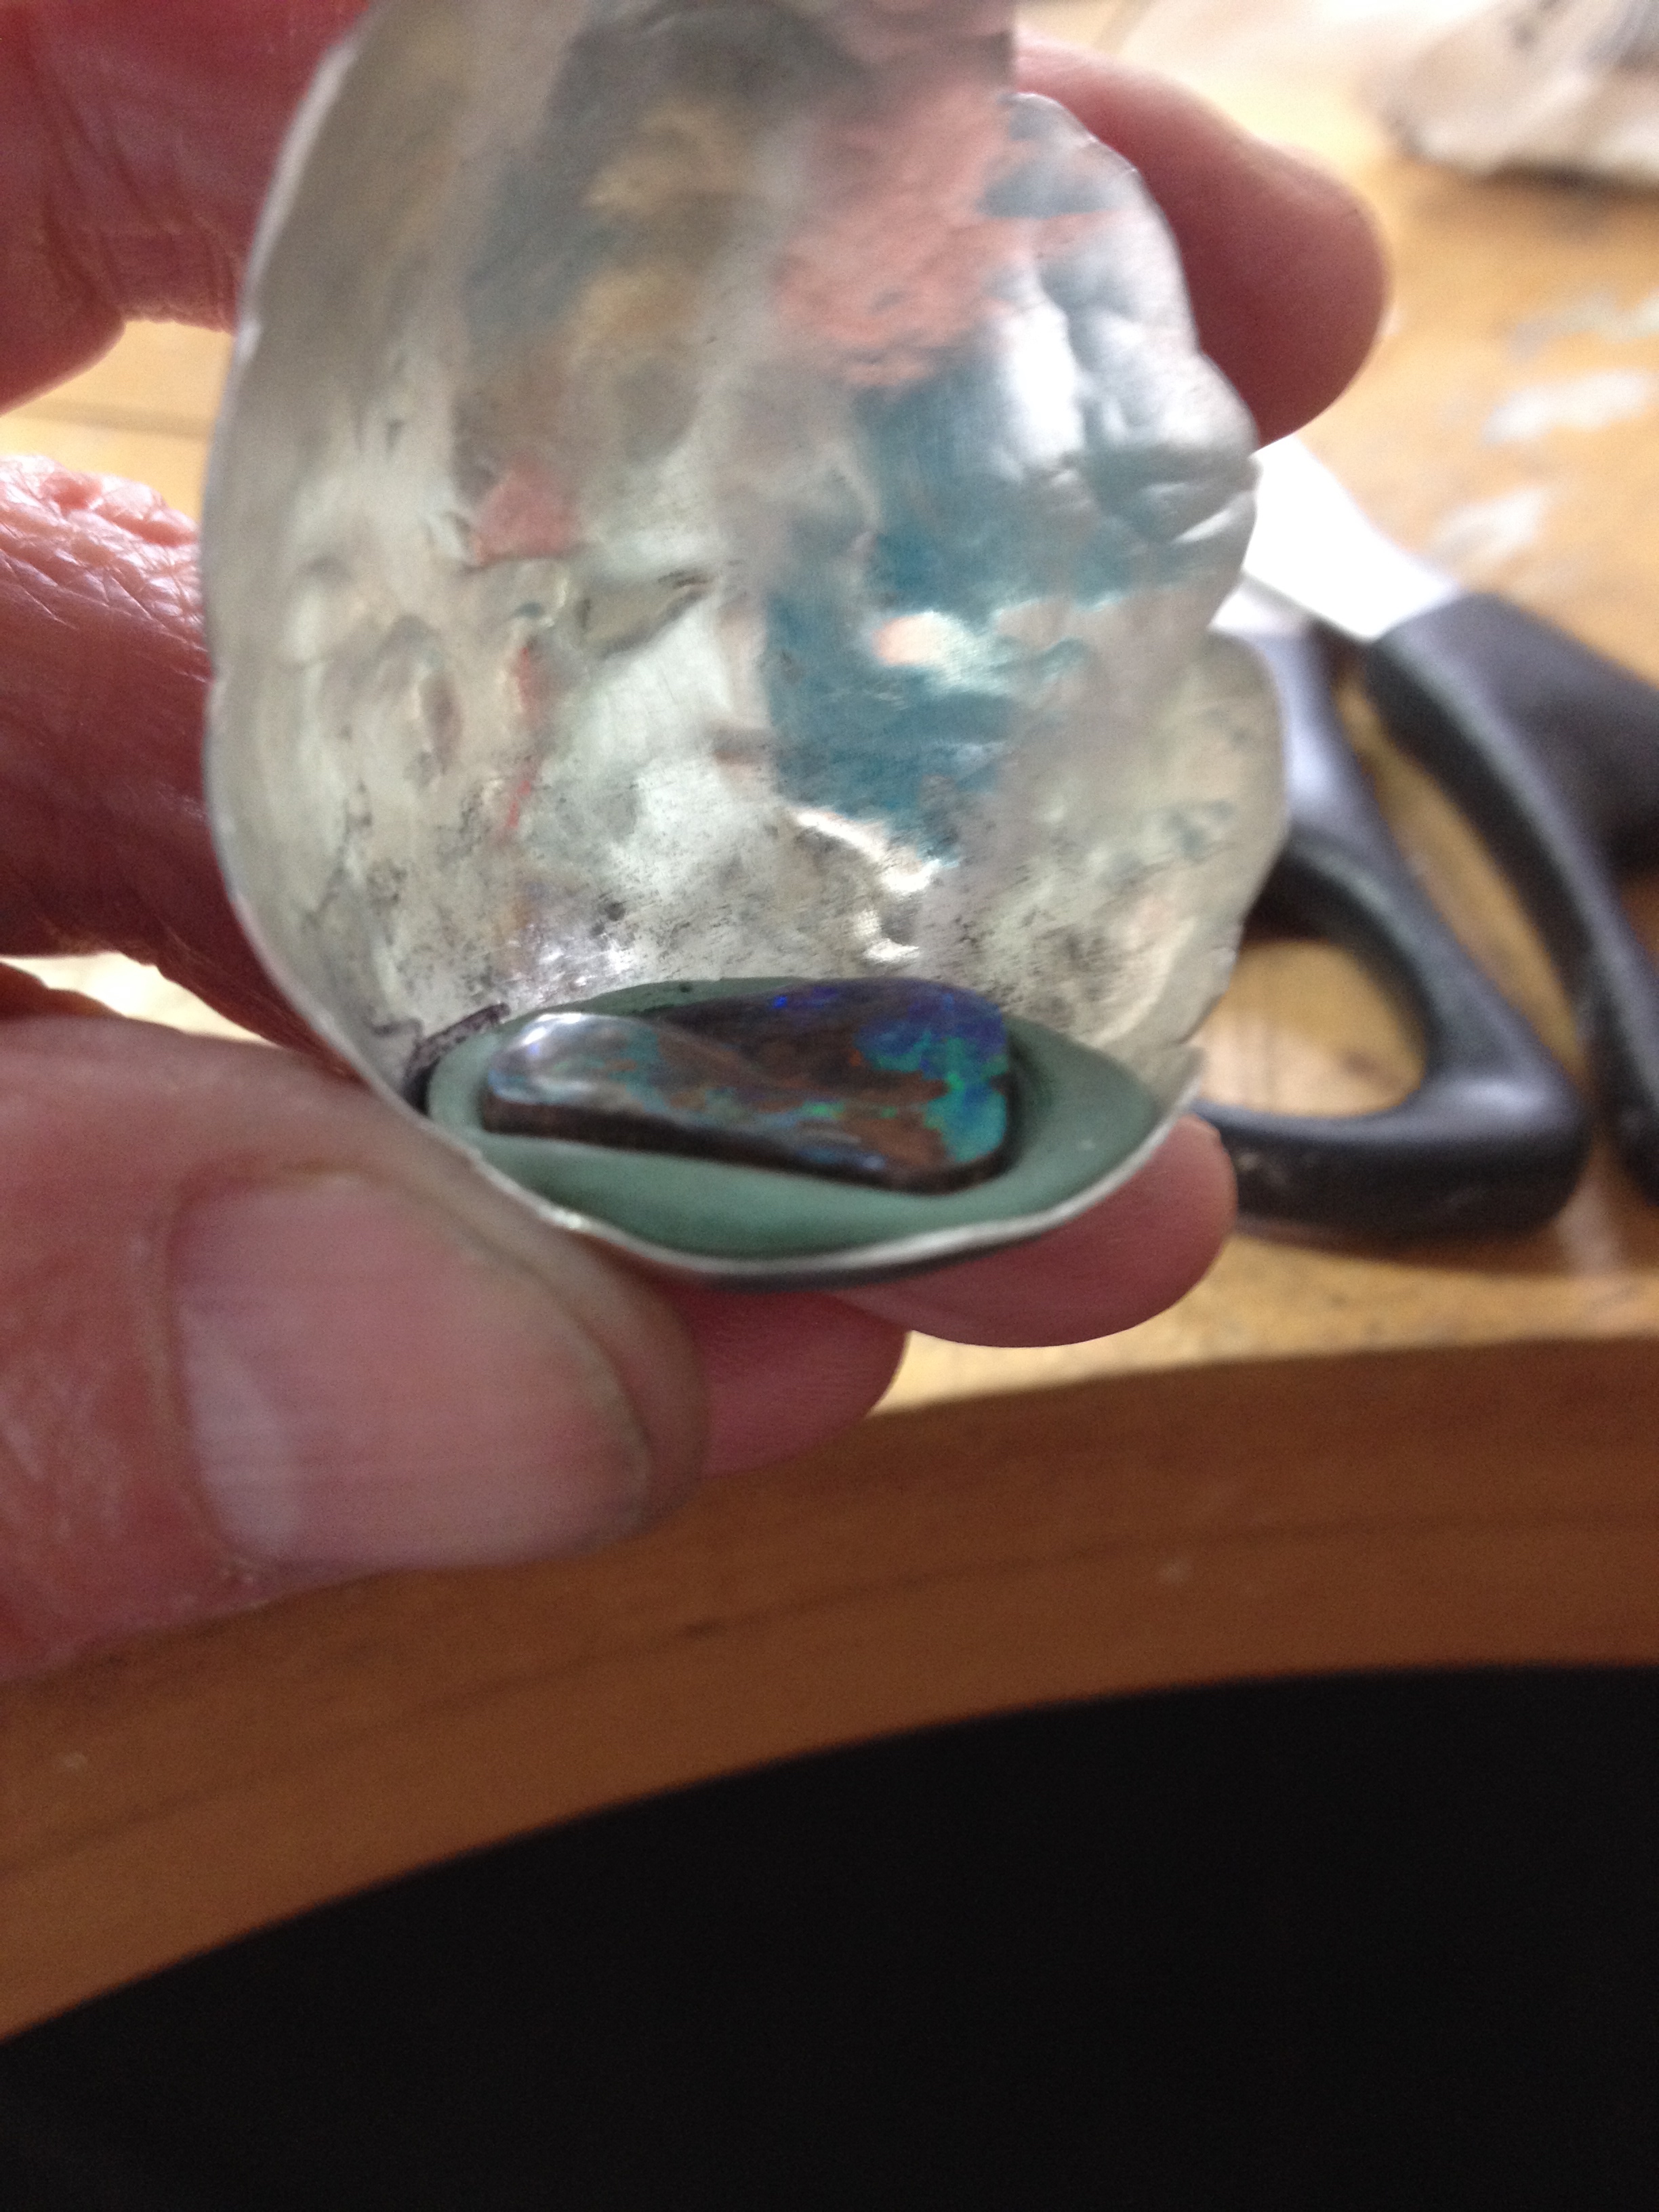
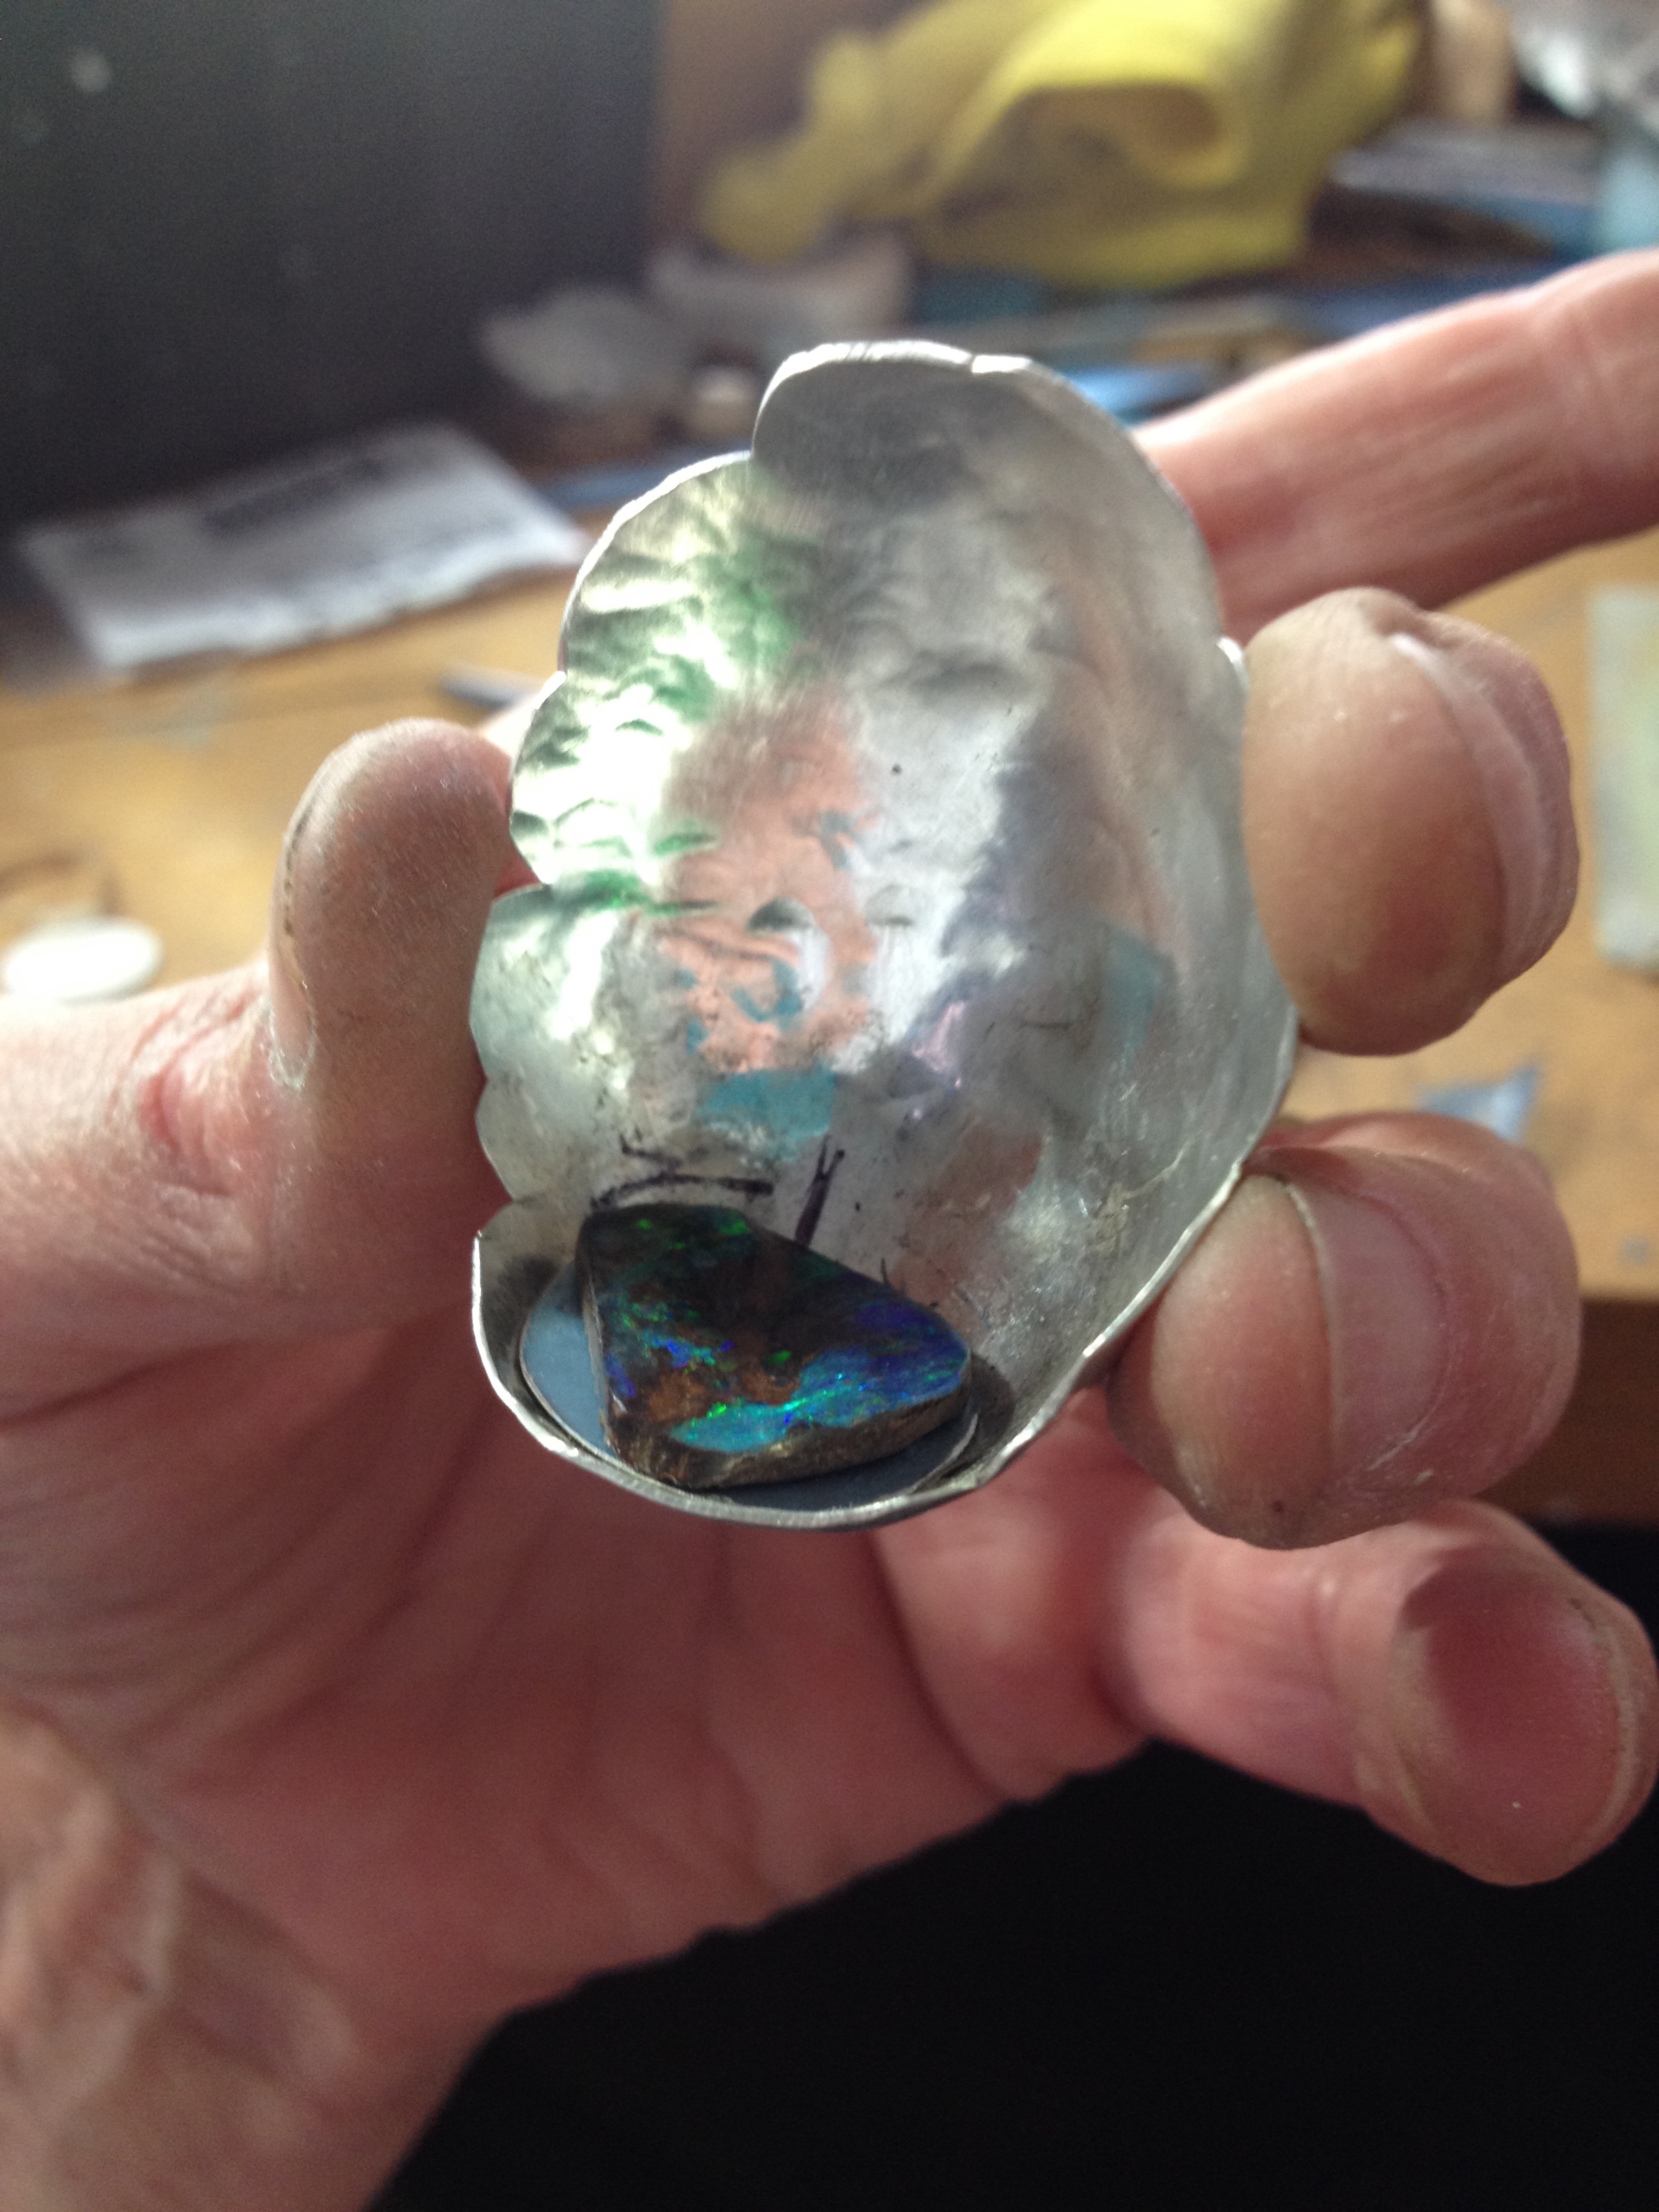
Check again for fit. I drew a line around the top of the stone so I knew how far to file the sides down so only a tiny amount showed over the top of the stone.


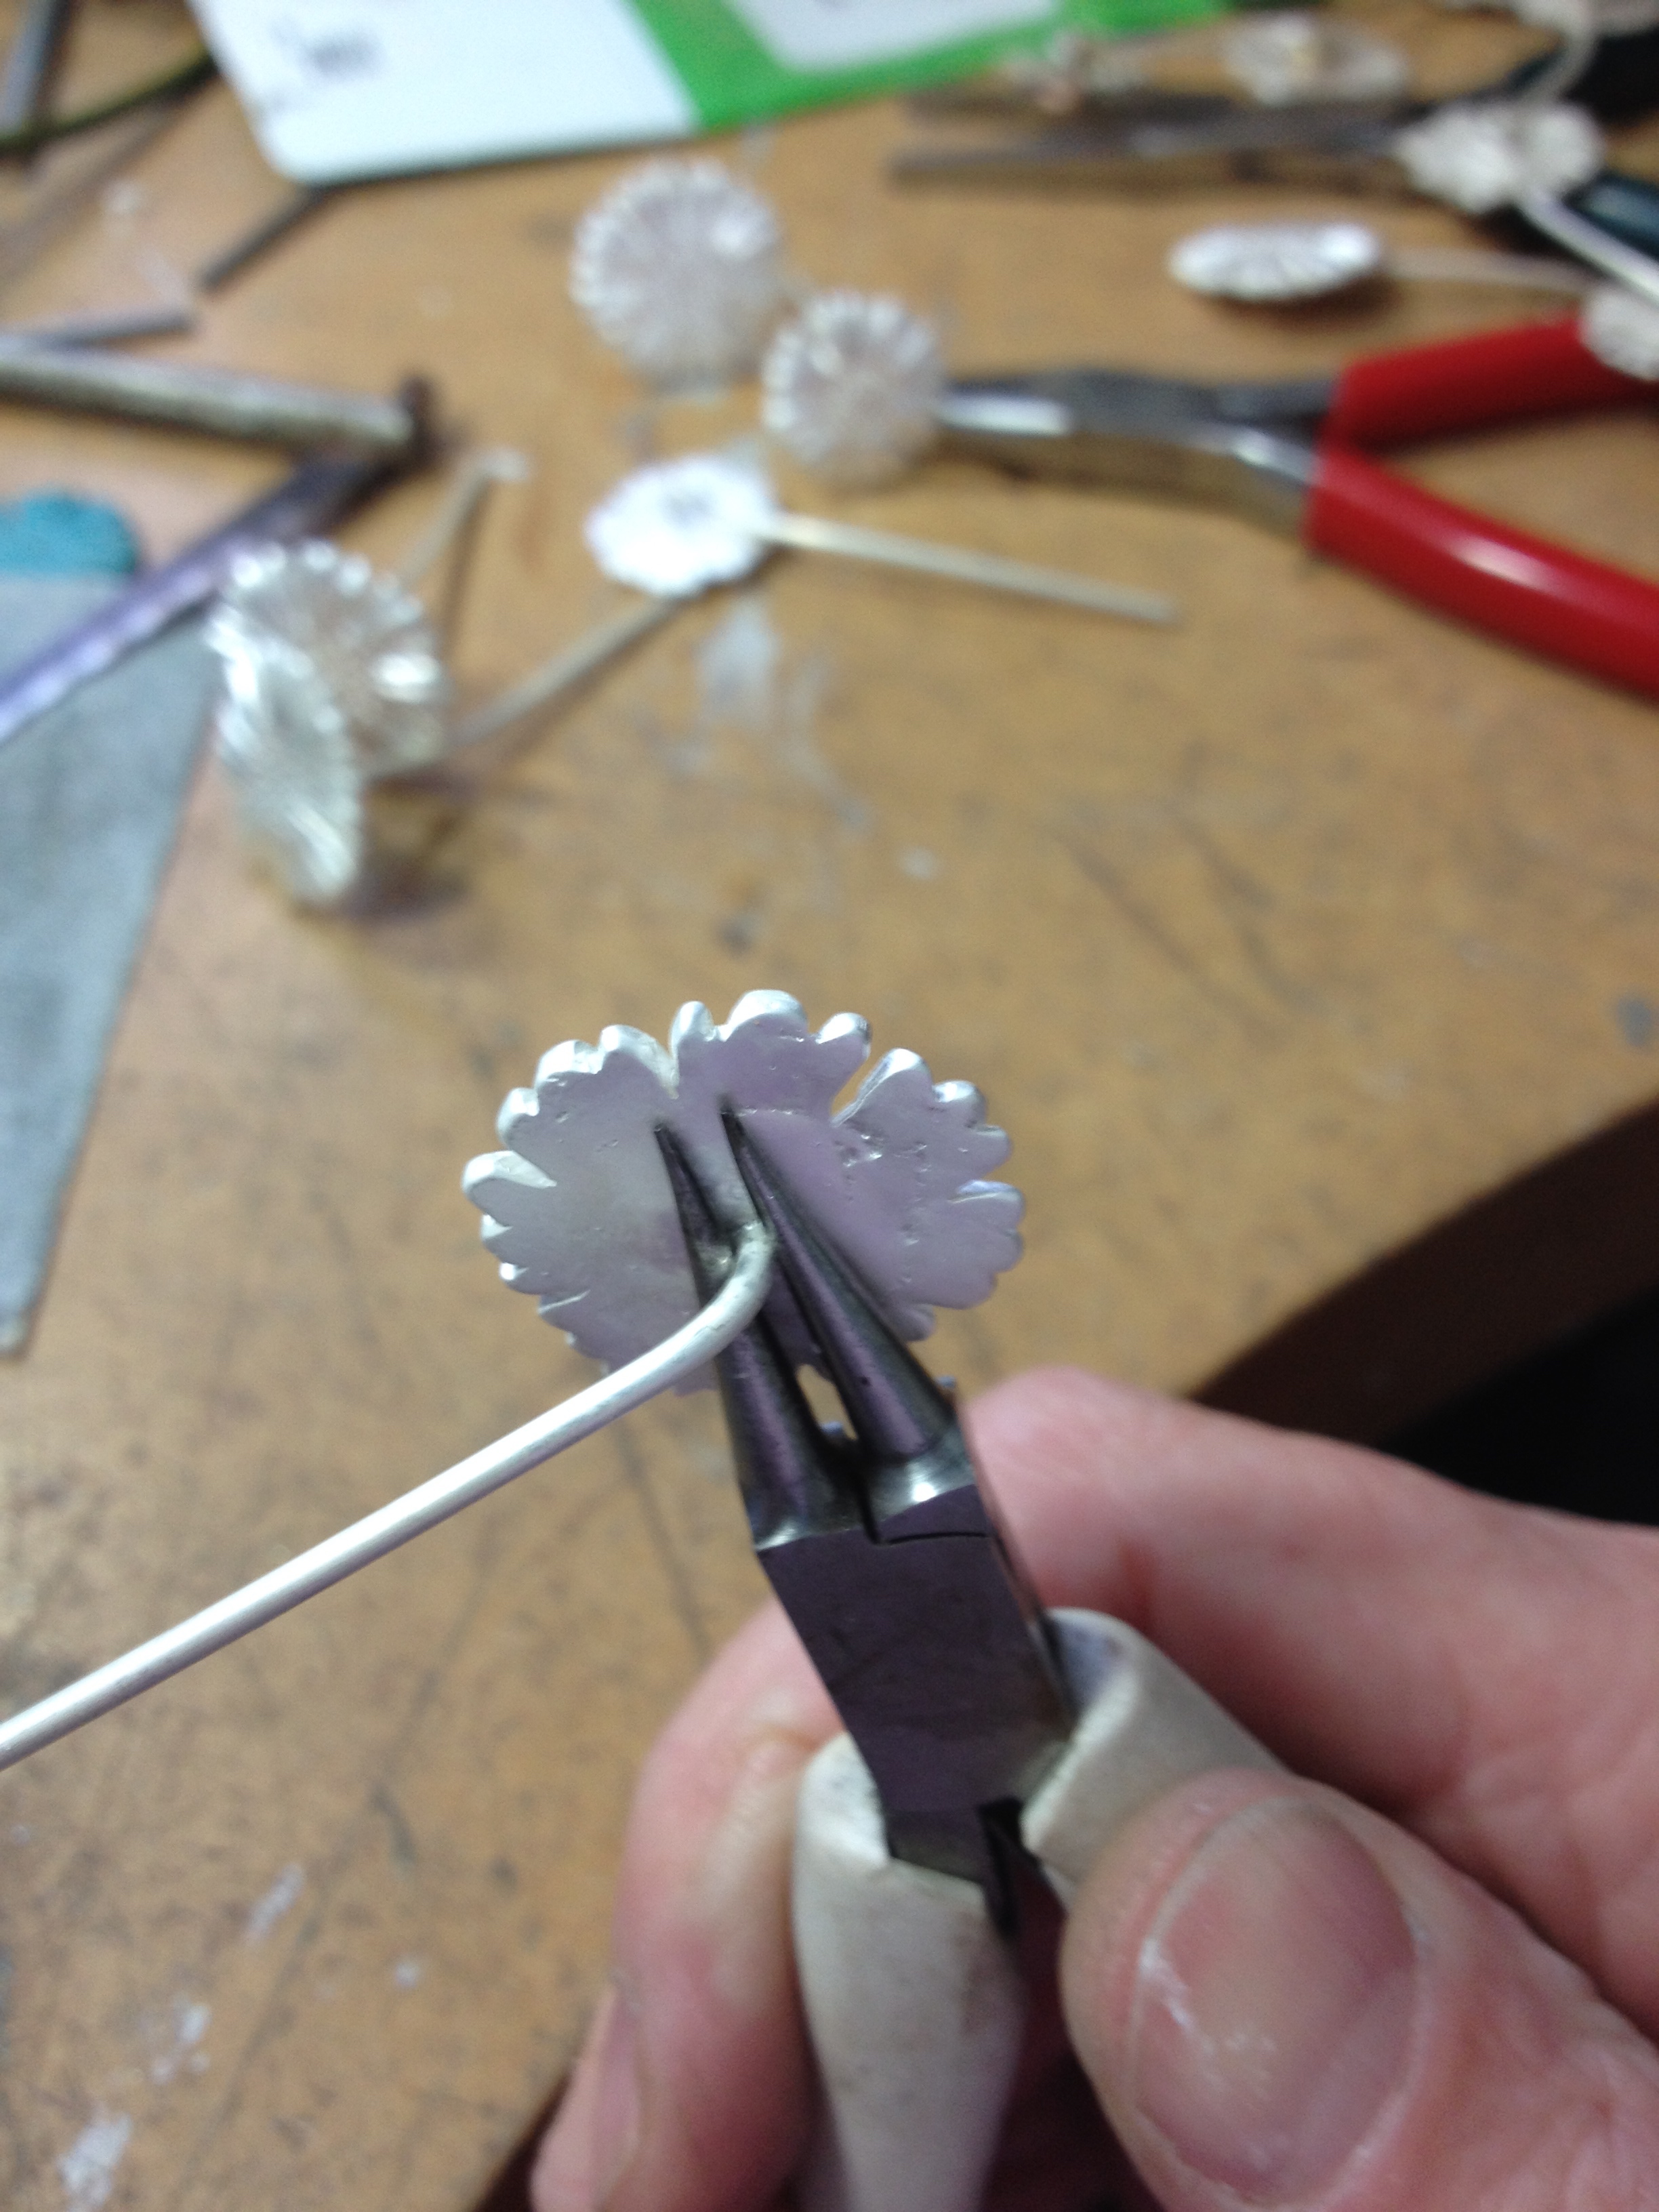
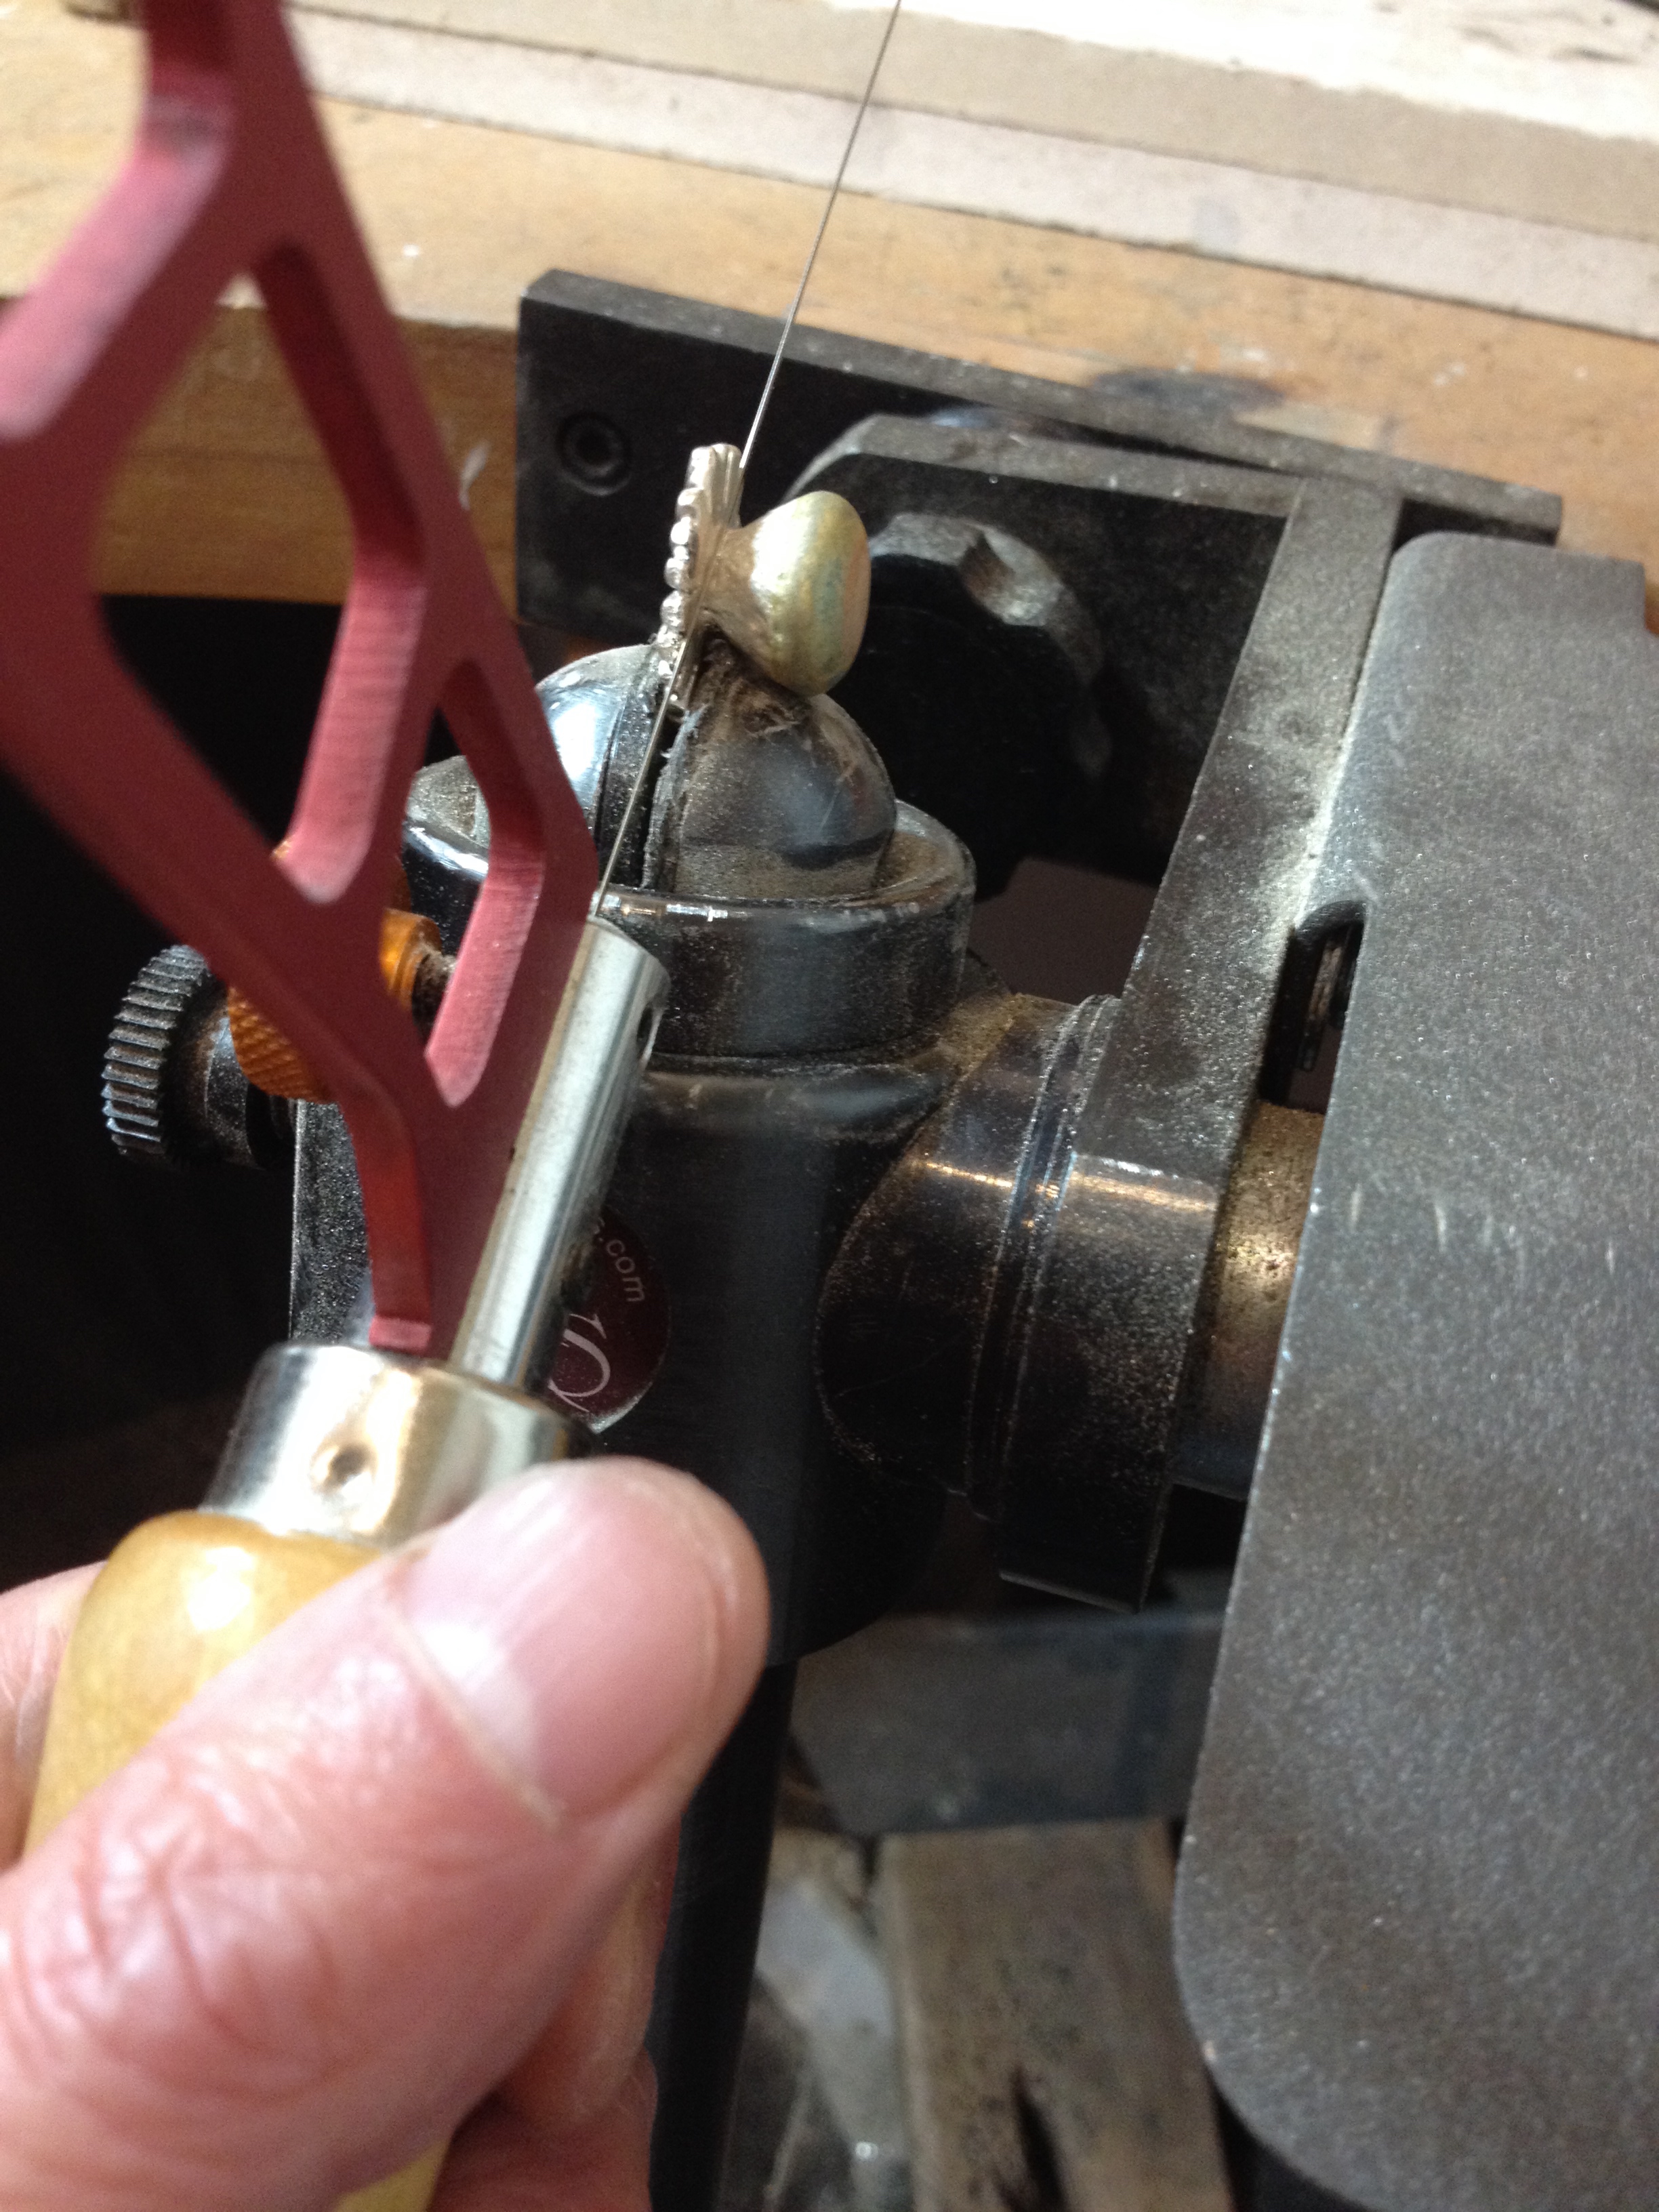
Having got it close I fitted the beads on the wire and closed the top in a loop that would hang from the ear wire. To get a really close fit on a loop, leave the end of the wire a bit long and then, after its been bent into the loop use the piercing saw to cut the excess off. A gentle squeeze with pliers is all that’s needed to make a perfect fit.


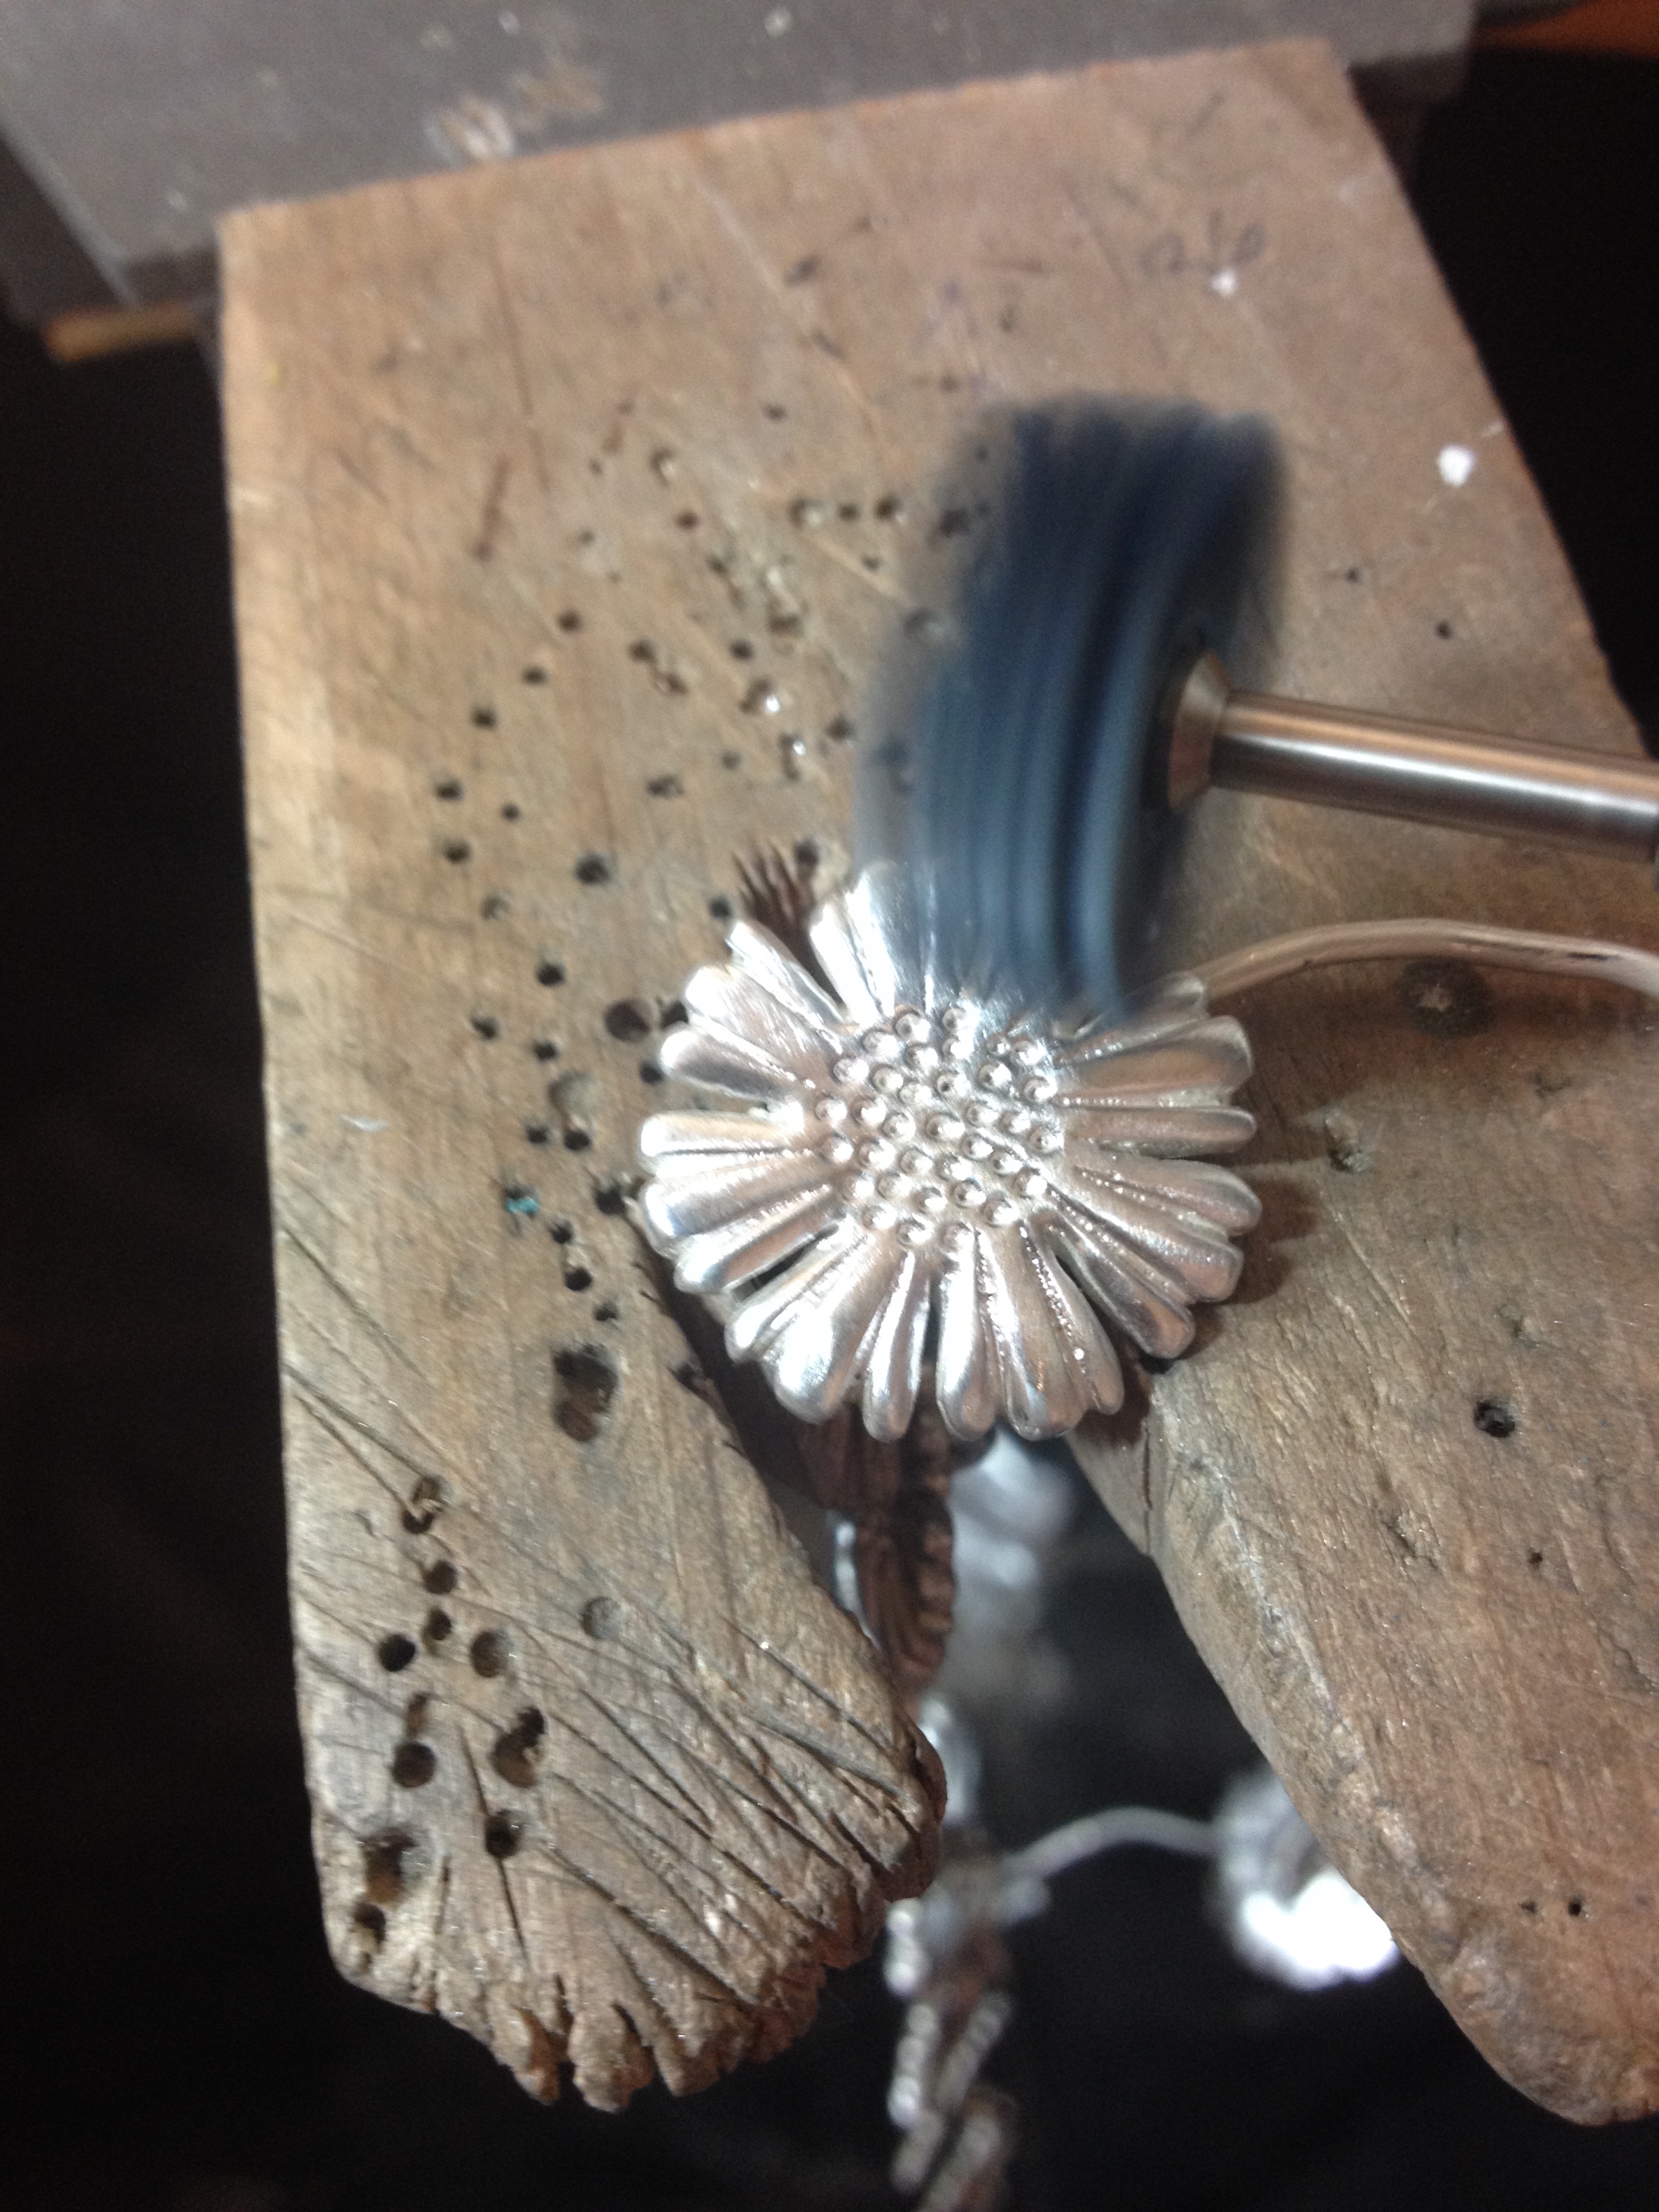
Once the beads were attached I set about making the bezel a perfect fit and then polishing it up. Using a file at an oblique angle I gradually thinned the edge being very careful not to make the top edge ragged. I then sawed tiny little cuts in each corner to take some of the metal away. Without these cuts the metal would bunch at the corner making then unsightly.


I then set about finishing the edges of the bezels using files, sandpaper, silicone wheel and finally mops with polishing compound loaded. I cleaned it up in the sink using the sponge side of a scotchbrite pad and washing up liquid.


The heart-stopping bit is when you actually set the stones. Needed to push very hard on the edge of the bezel to force it over the stone. If I push too hard it is possible to actually chip the stones! On the corners I pushed one side down first and then the other. Ideally the silver will meet and the gap made earlier by the saw blade will be invisible.


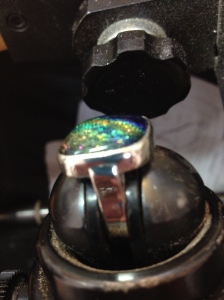
After pushing the edge over I then burnished it. A burnisher is a mirror smooth curved steel tool. Rubbed hard over the silver it moths and polishes it. There we are, stones set and very lovely too, if I do say it myself.

On to the ear wires. These are made out of equal lengths of 1mm round wire. I try to bend and shape them both together so they are as close to identical as I can get. I use a pair of jump ring pliers that have different diameter sections.


Once the wires are bent I lightly flatten the loopy bits to work harden them so that they won’t bend so easily when being worn.
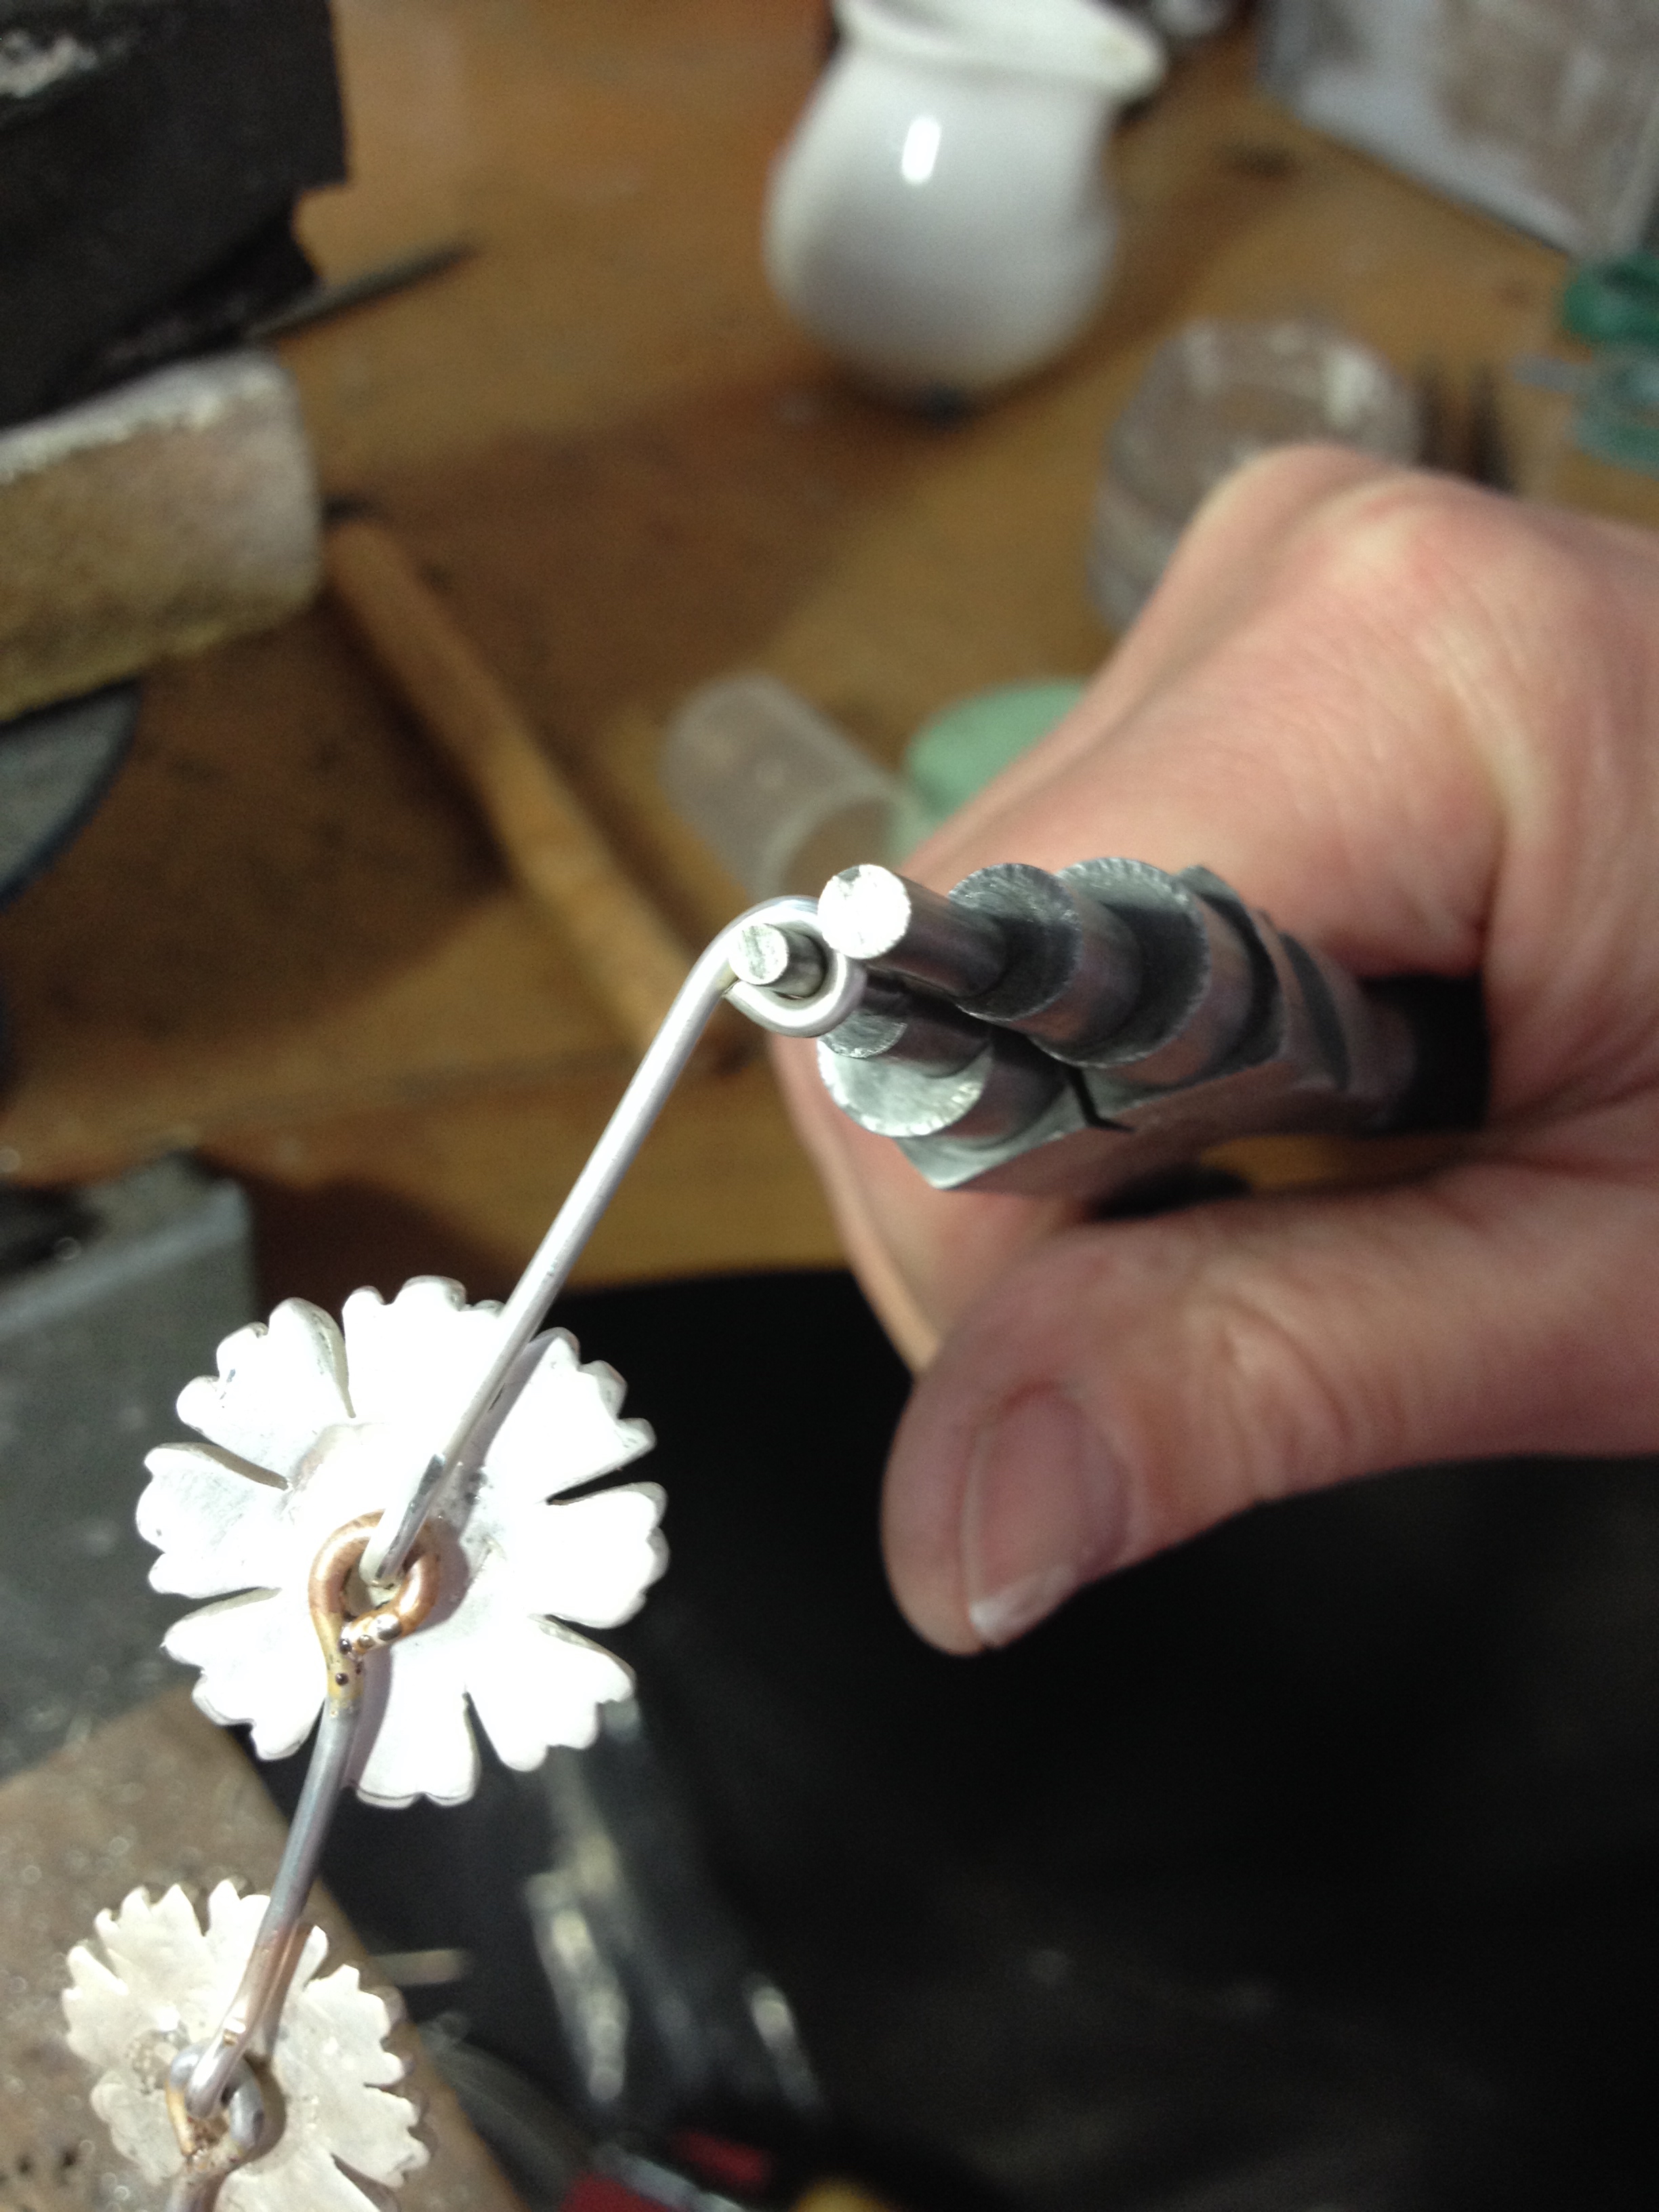
Then I need to make the little loop that will attach to the top of the earring. I used a Sharpie to mark exactly where I want the loop to be on both ear wires. Bend the end around a pair of round nose pliers and then slip them over the loop on the earrings. Oh bother! The loop on one of the earrings was too small so I needed to enlarge it slightly with the drill.


Oh! Hugely bigger bother!!! I need to solder the loops shut on the ear wires. I don’t want to risk them opening and the earring falling off. This is a major issue. I HAVE ALREADY SET THE STONES !!!!! Rule 1 of stone setting is NEVER to apply a flame to a piece with stones in. Can I rectify this without literally starting all over again?
OK. Deep breaths. If I use extra easy solder that requires very little heat and protect the stones from the flame it might be ok. Only one way to find out.
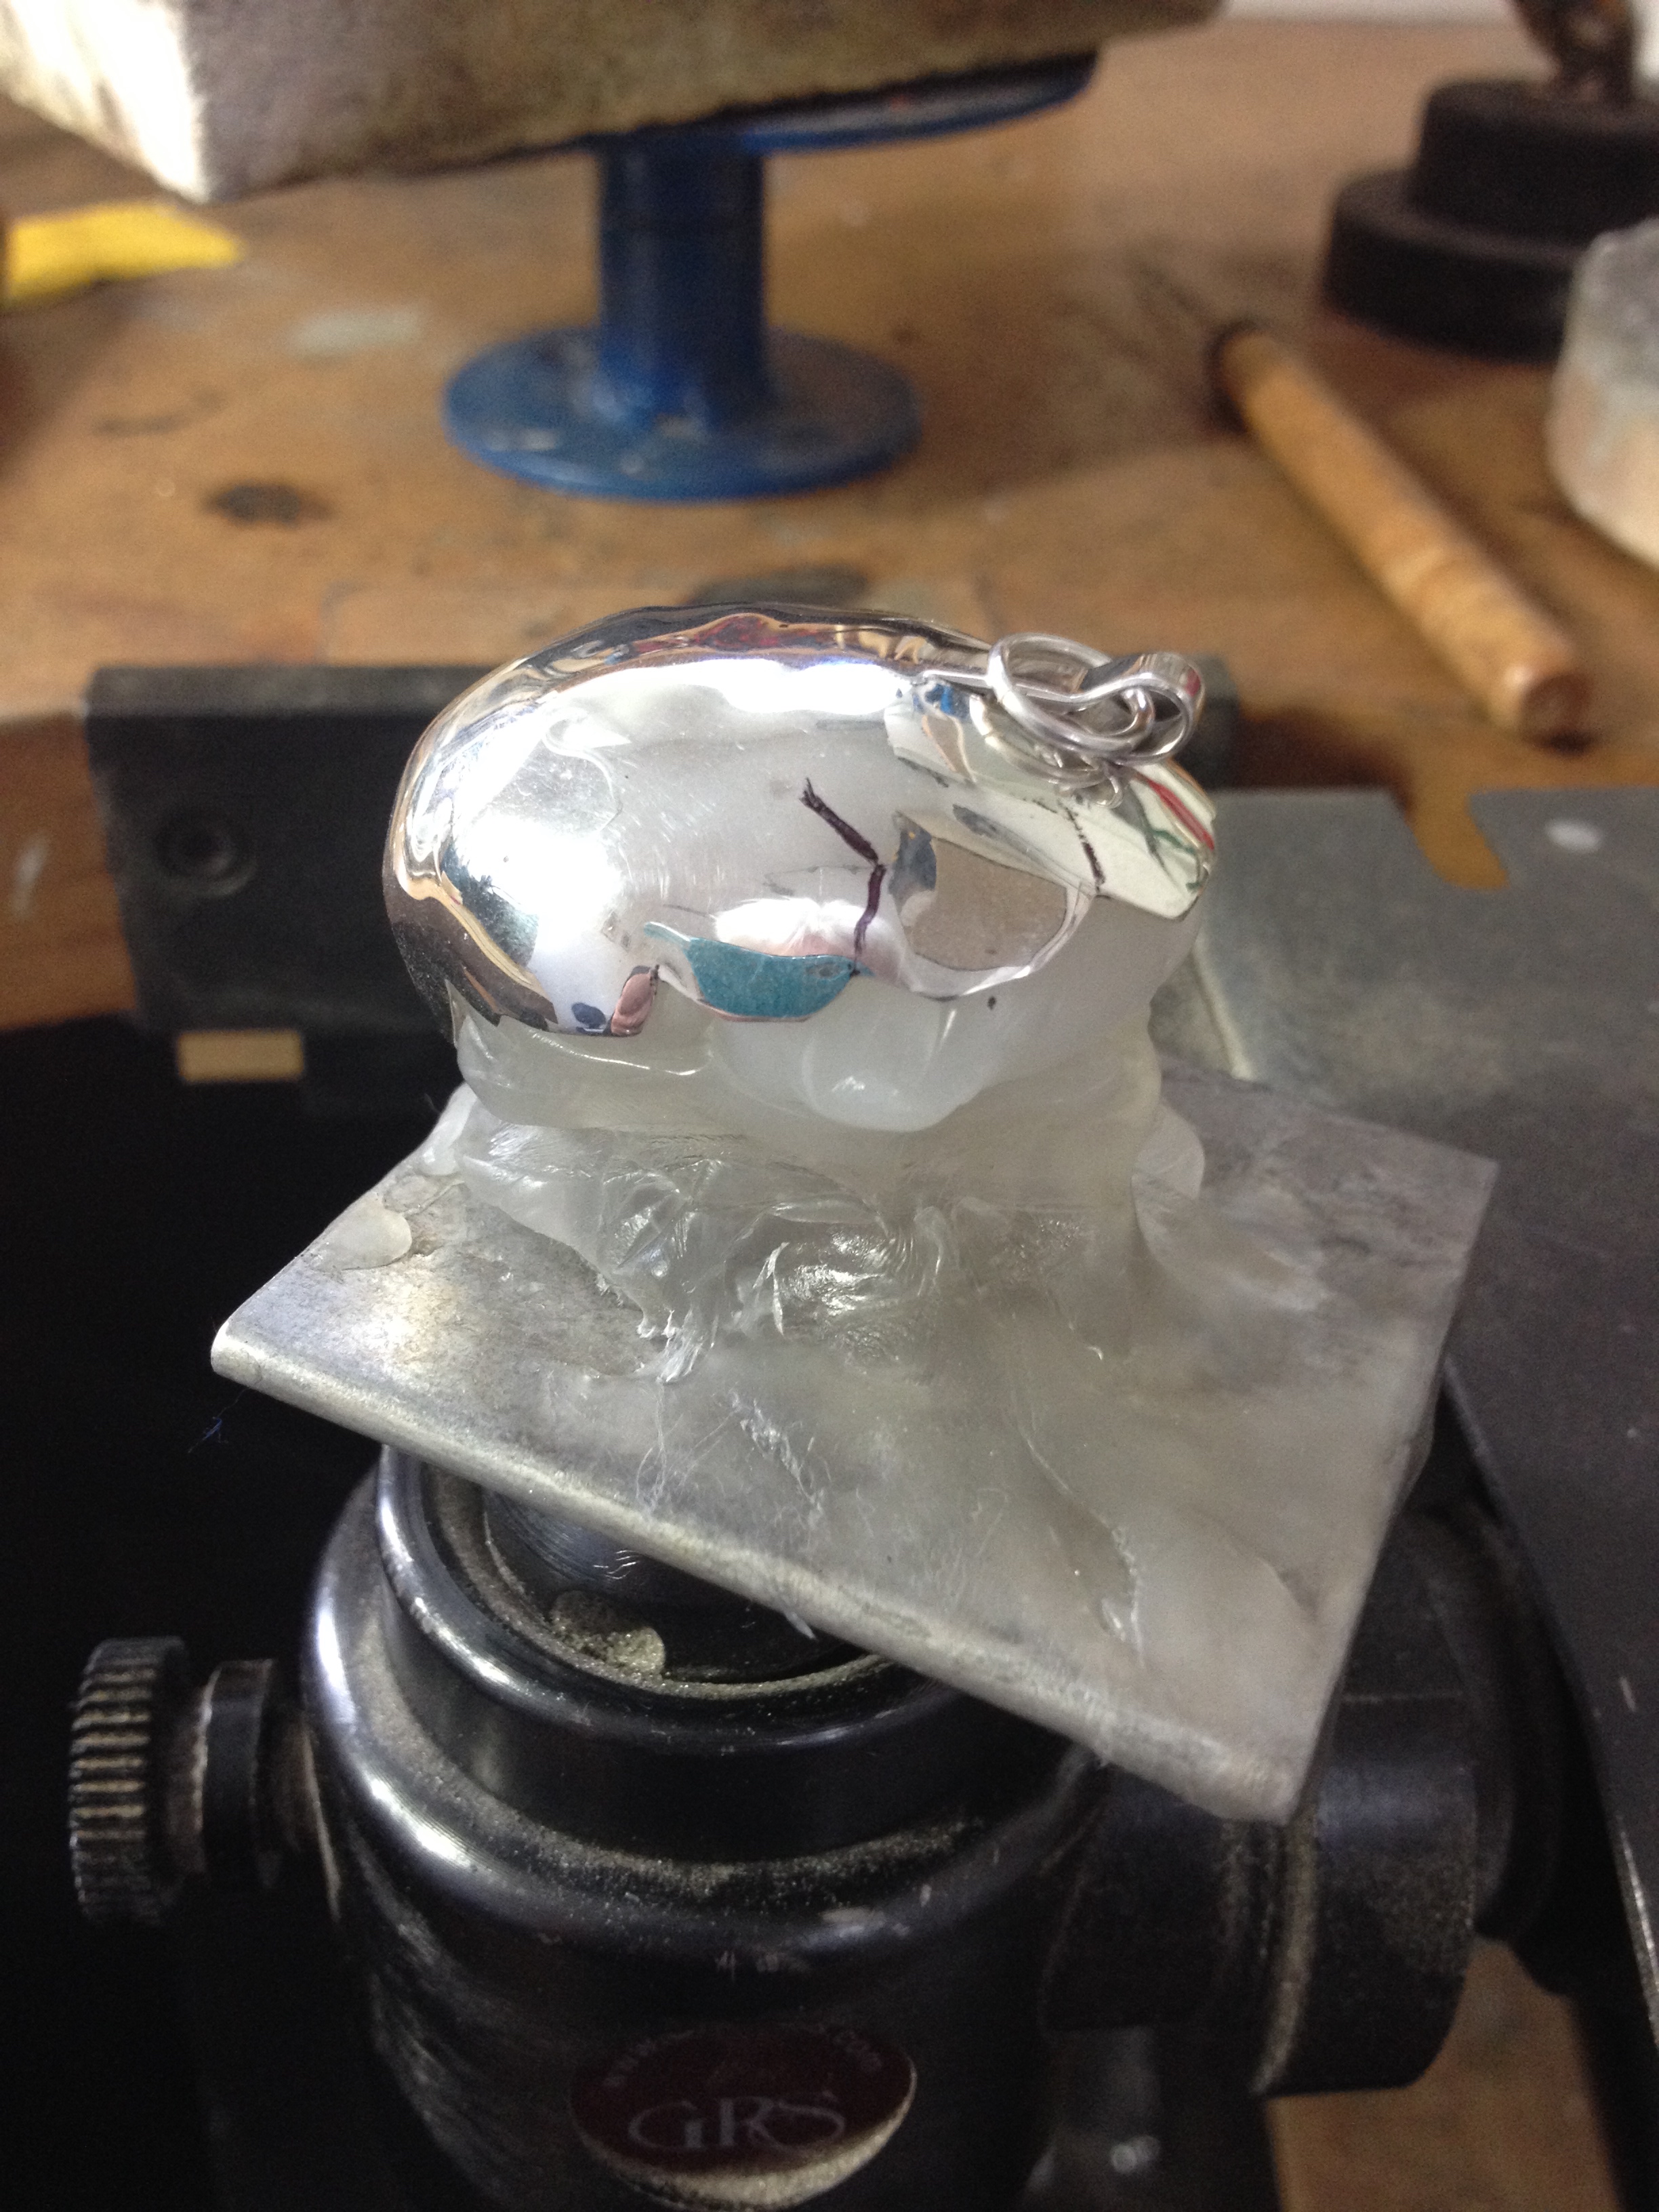
I hung the earrings over the edge of the block. Fluxed the joint, put a weeny pallion of extra easy on it and crept up to the join keeping all the heat on the ear wire.


Oh my, I think I’ve got away with it! Never again, it’s too stressful!
Ok. Pickle the wires, taking care to leave the earring outside the pickle pot! Wash, dry and hammer the wires again to work harden them since they will have annealed during soldering.
Finally I snip off the spare length and smooth over the tips.


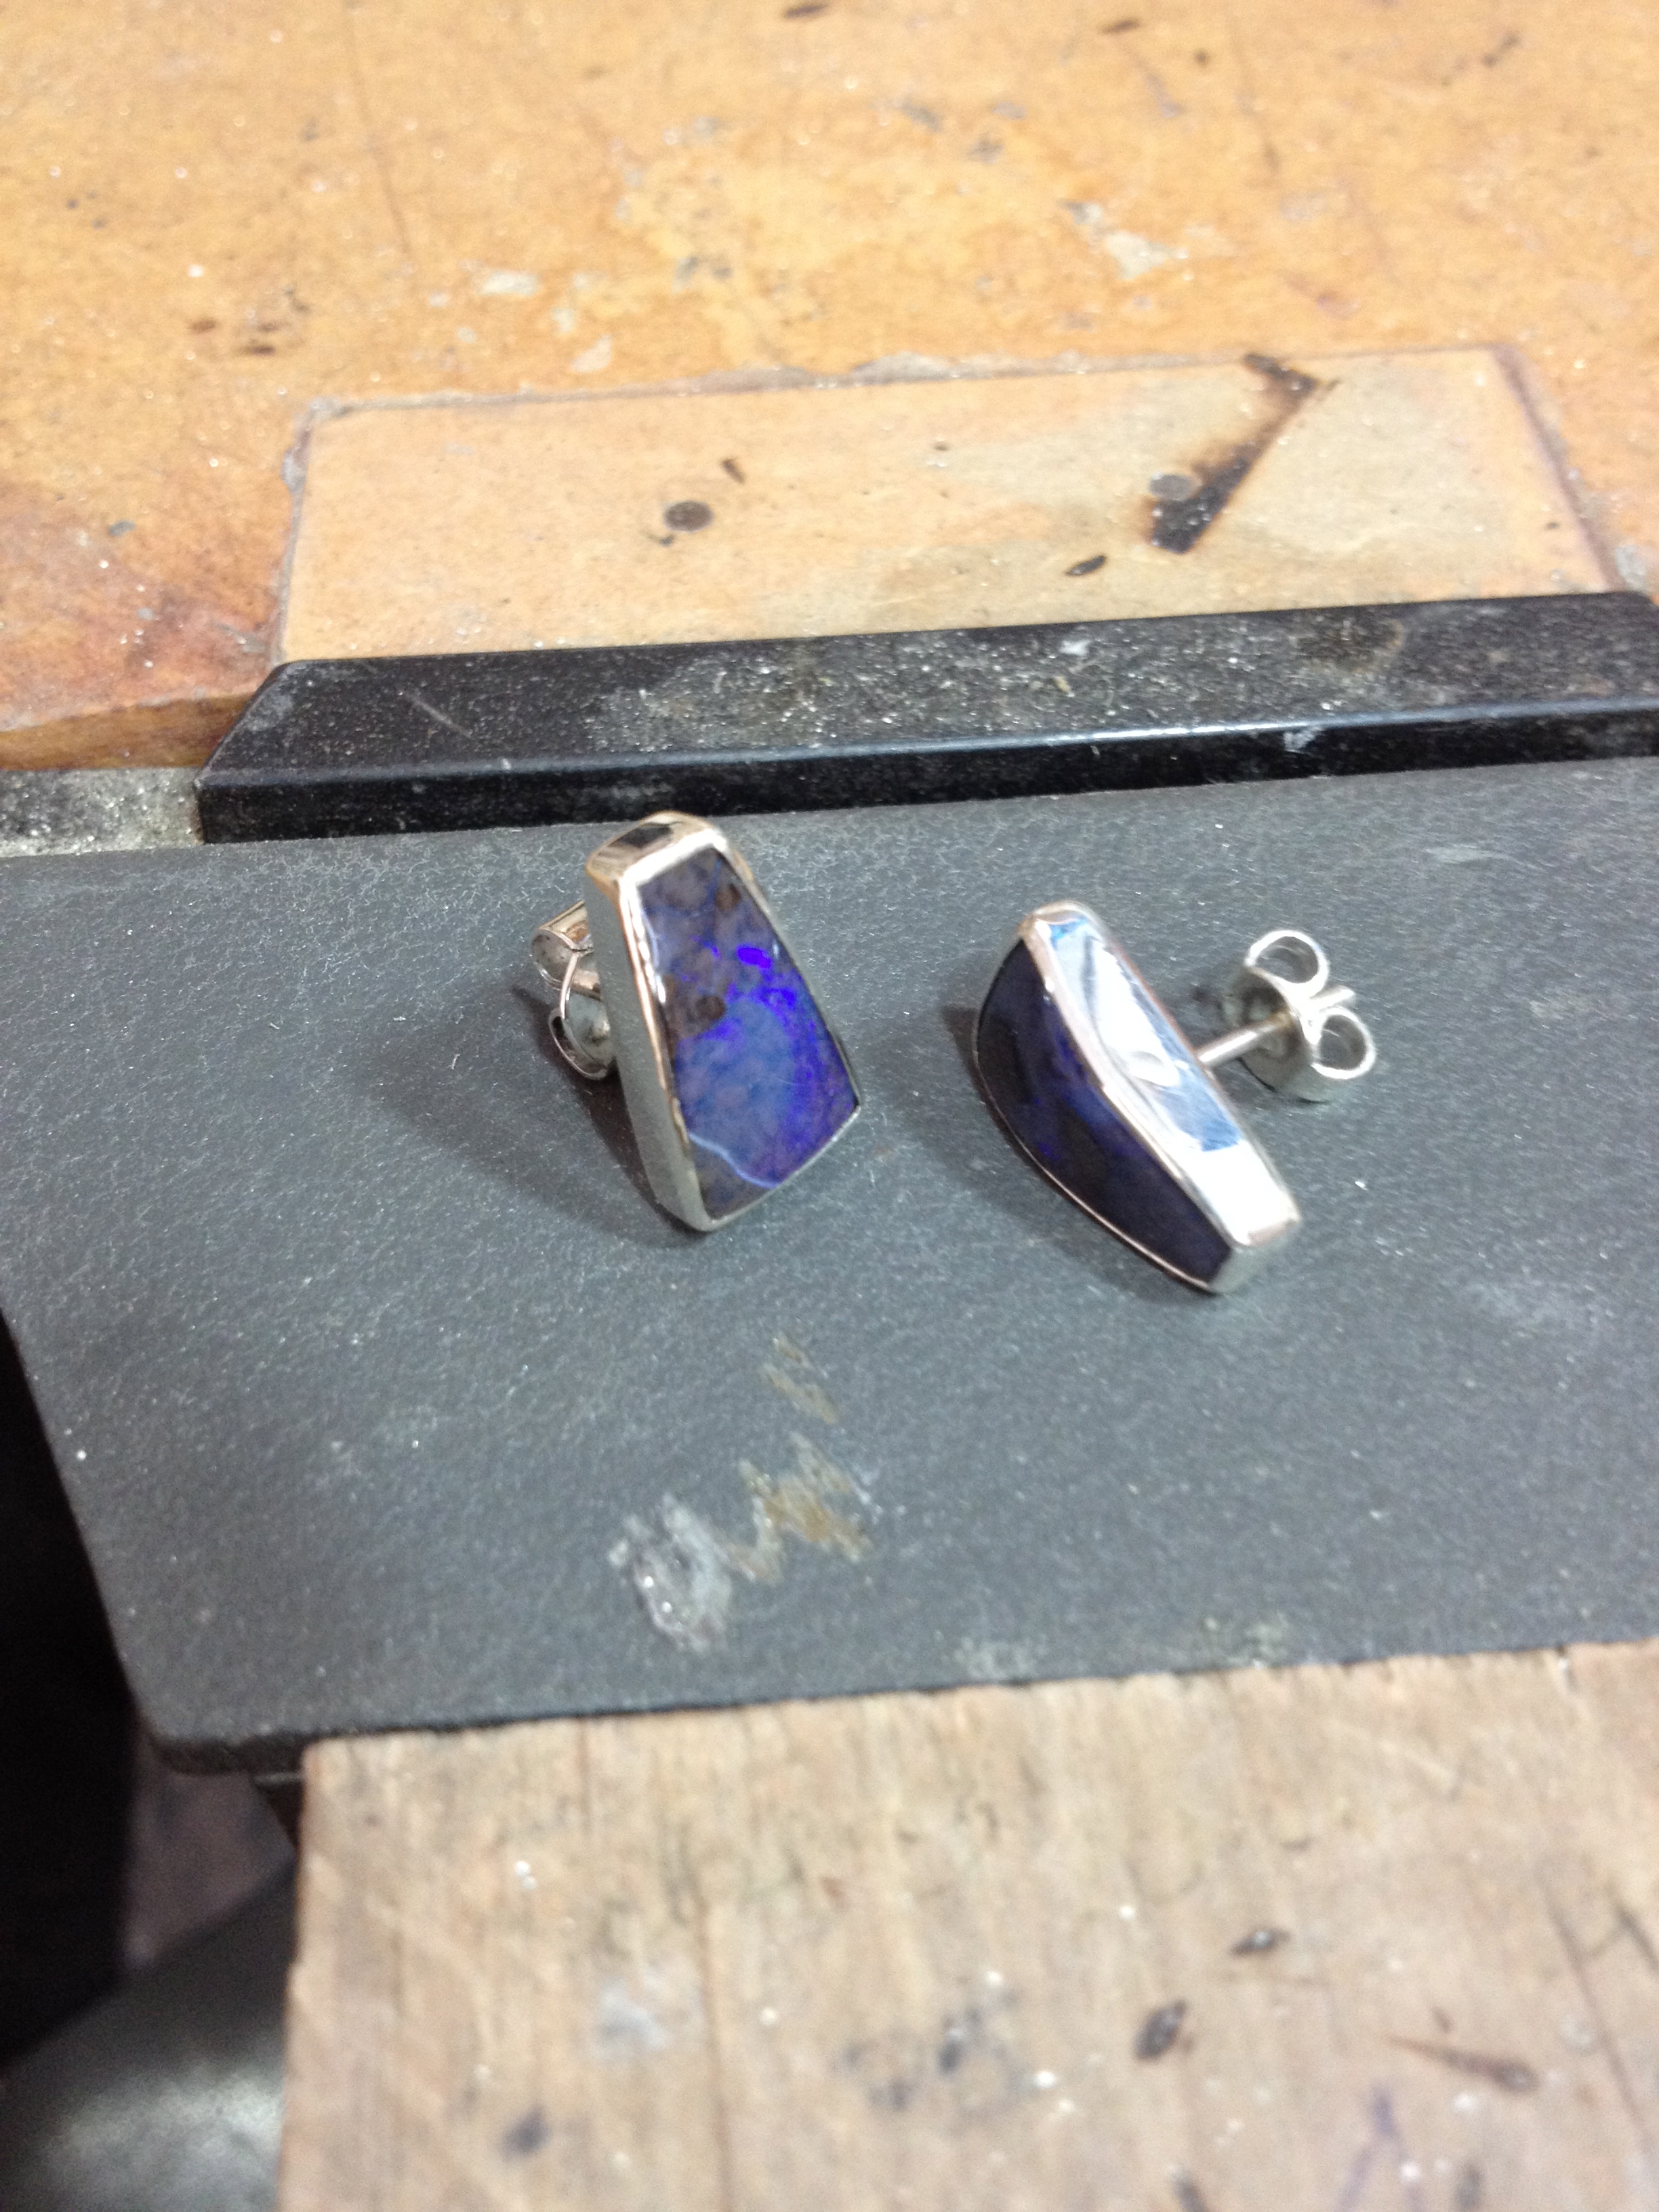
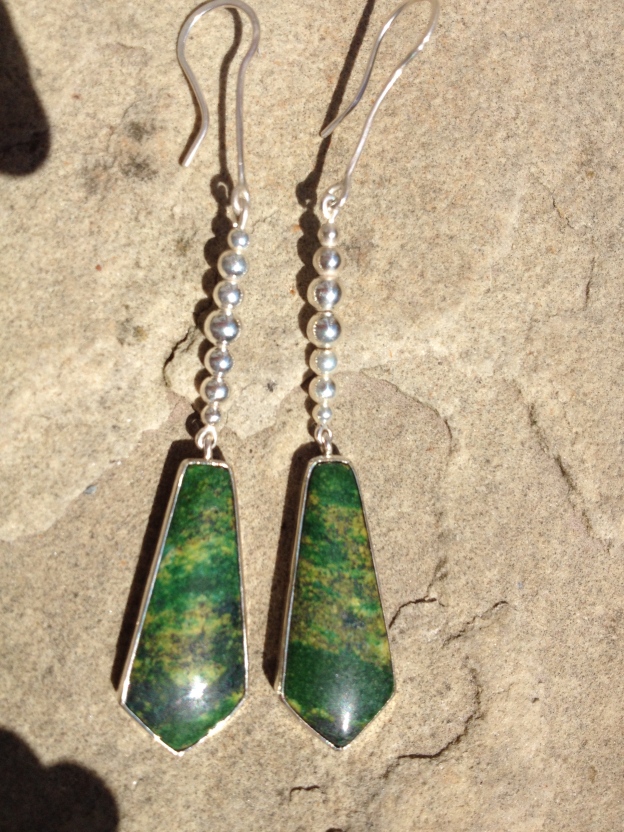
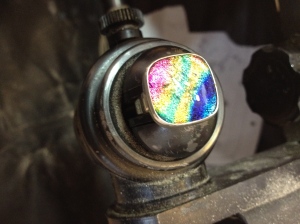
And here they are. I’m really pleased with them and I hope Emma likes them.


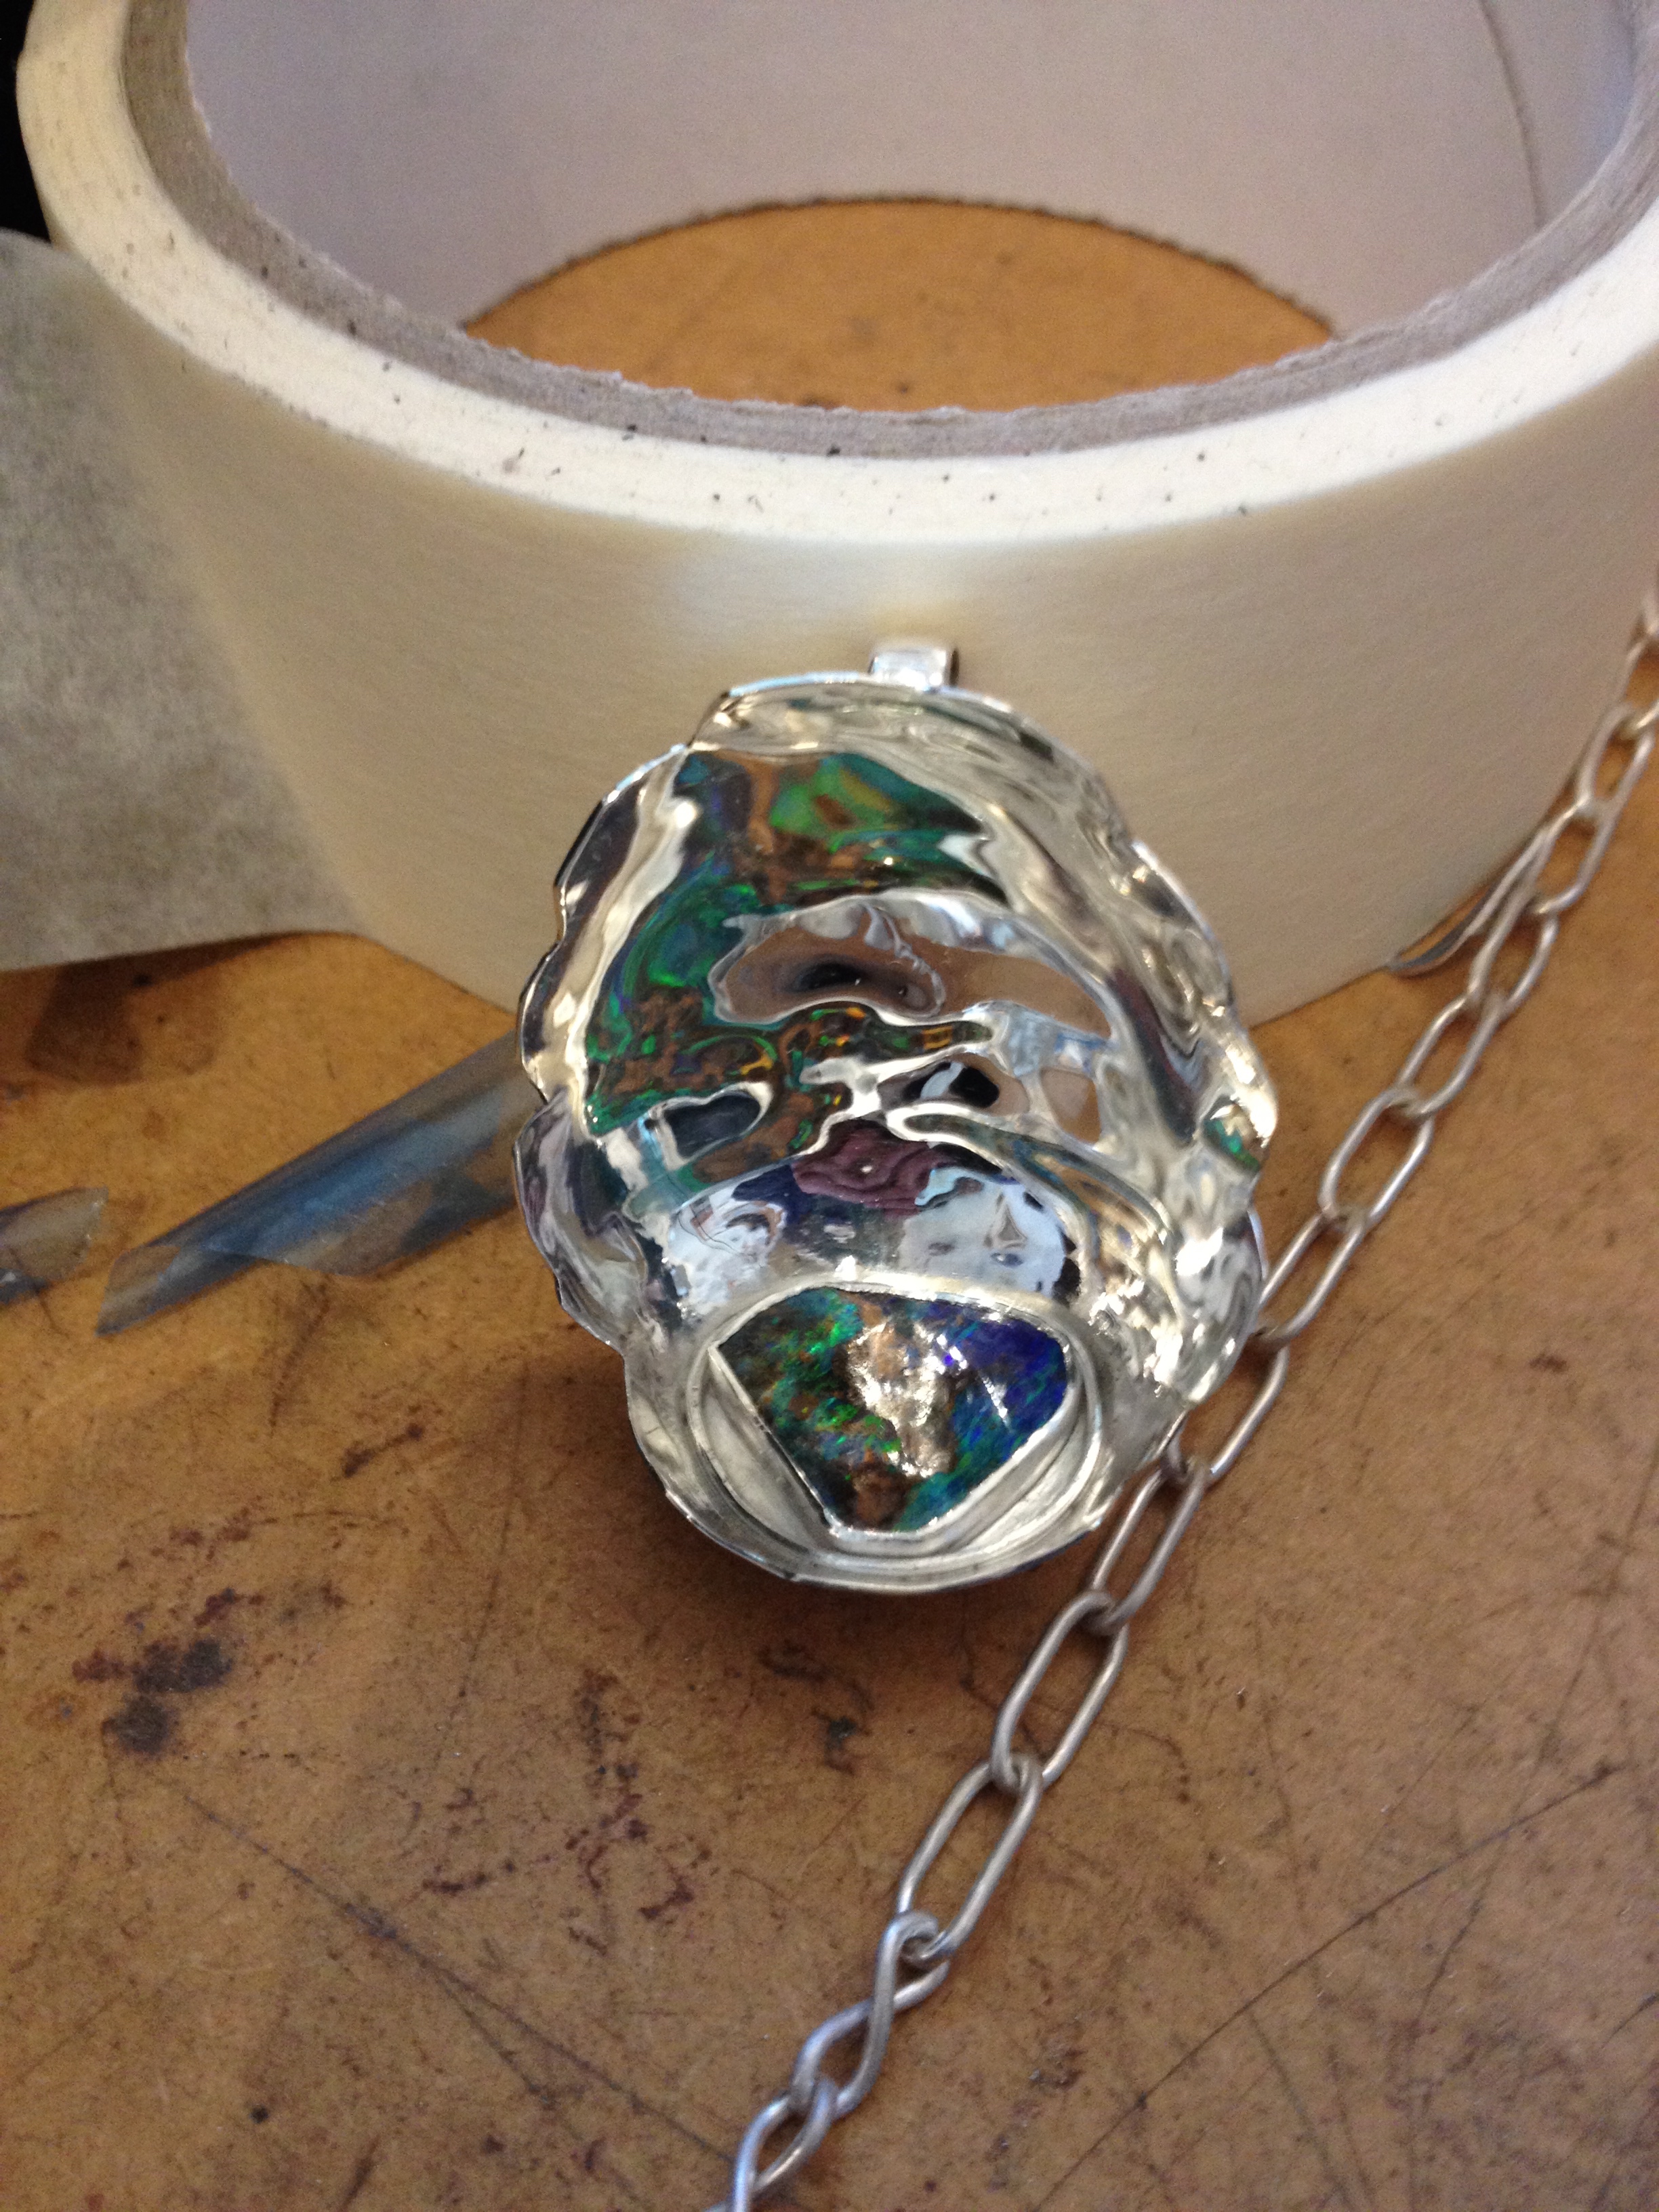


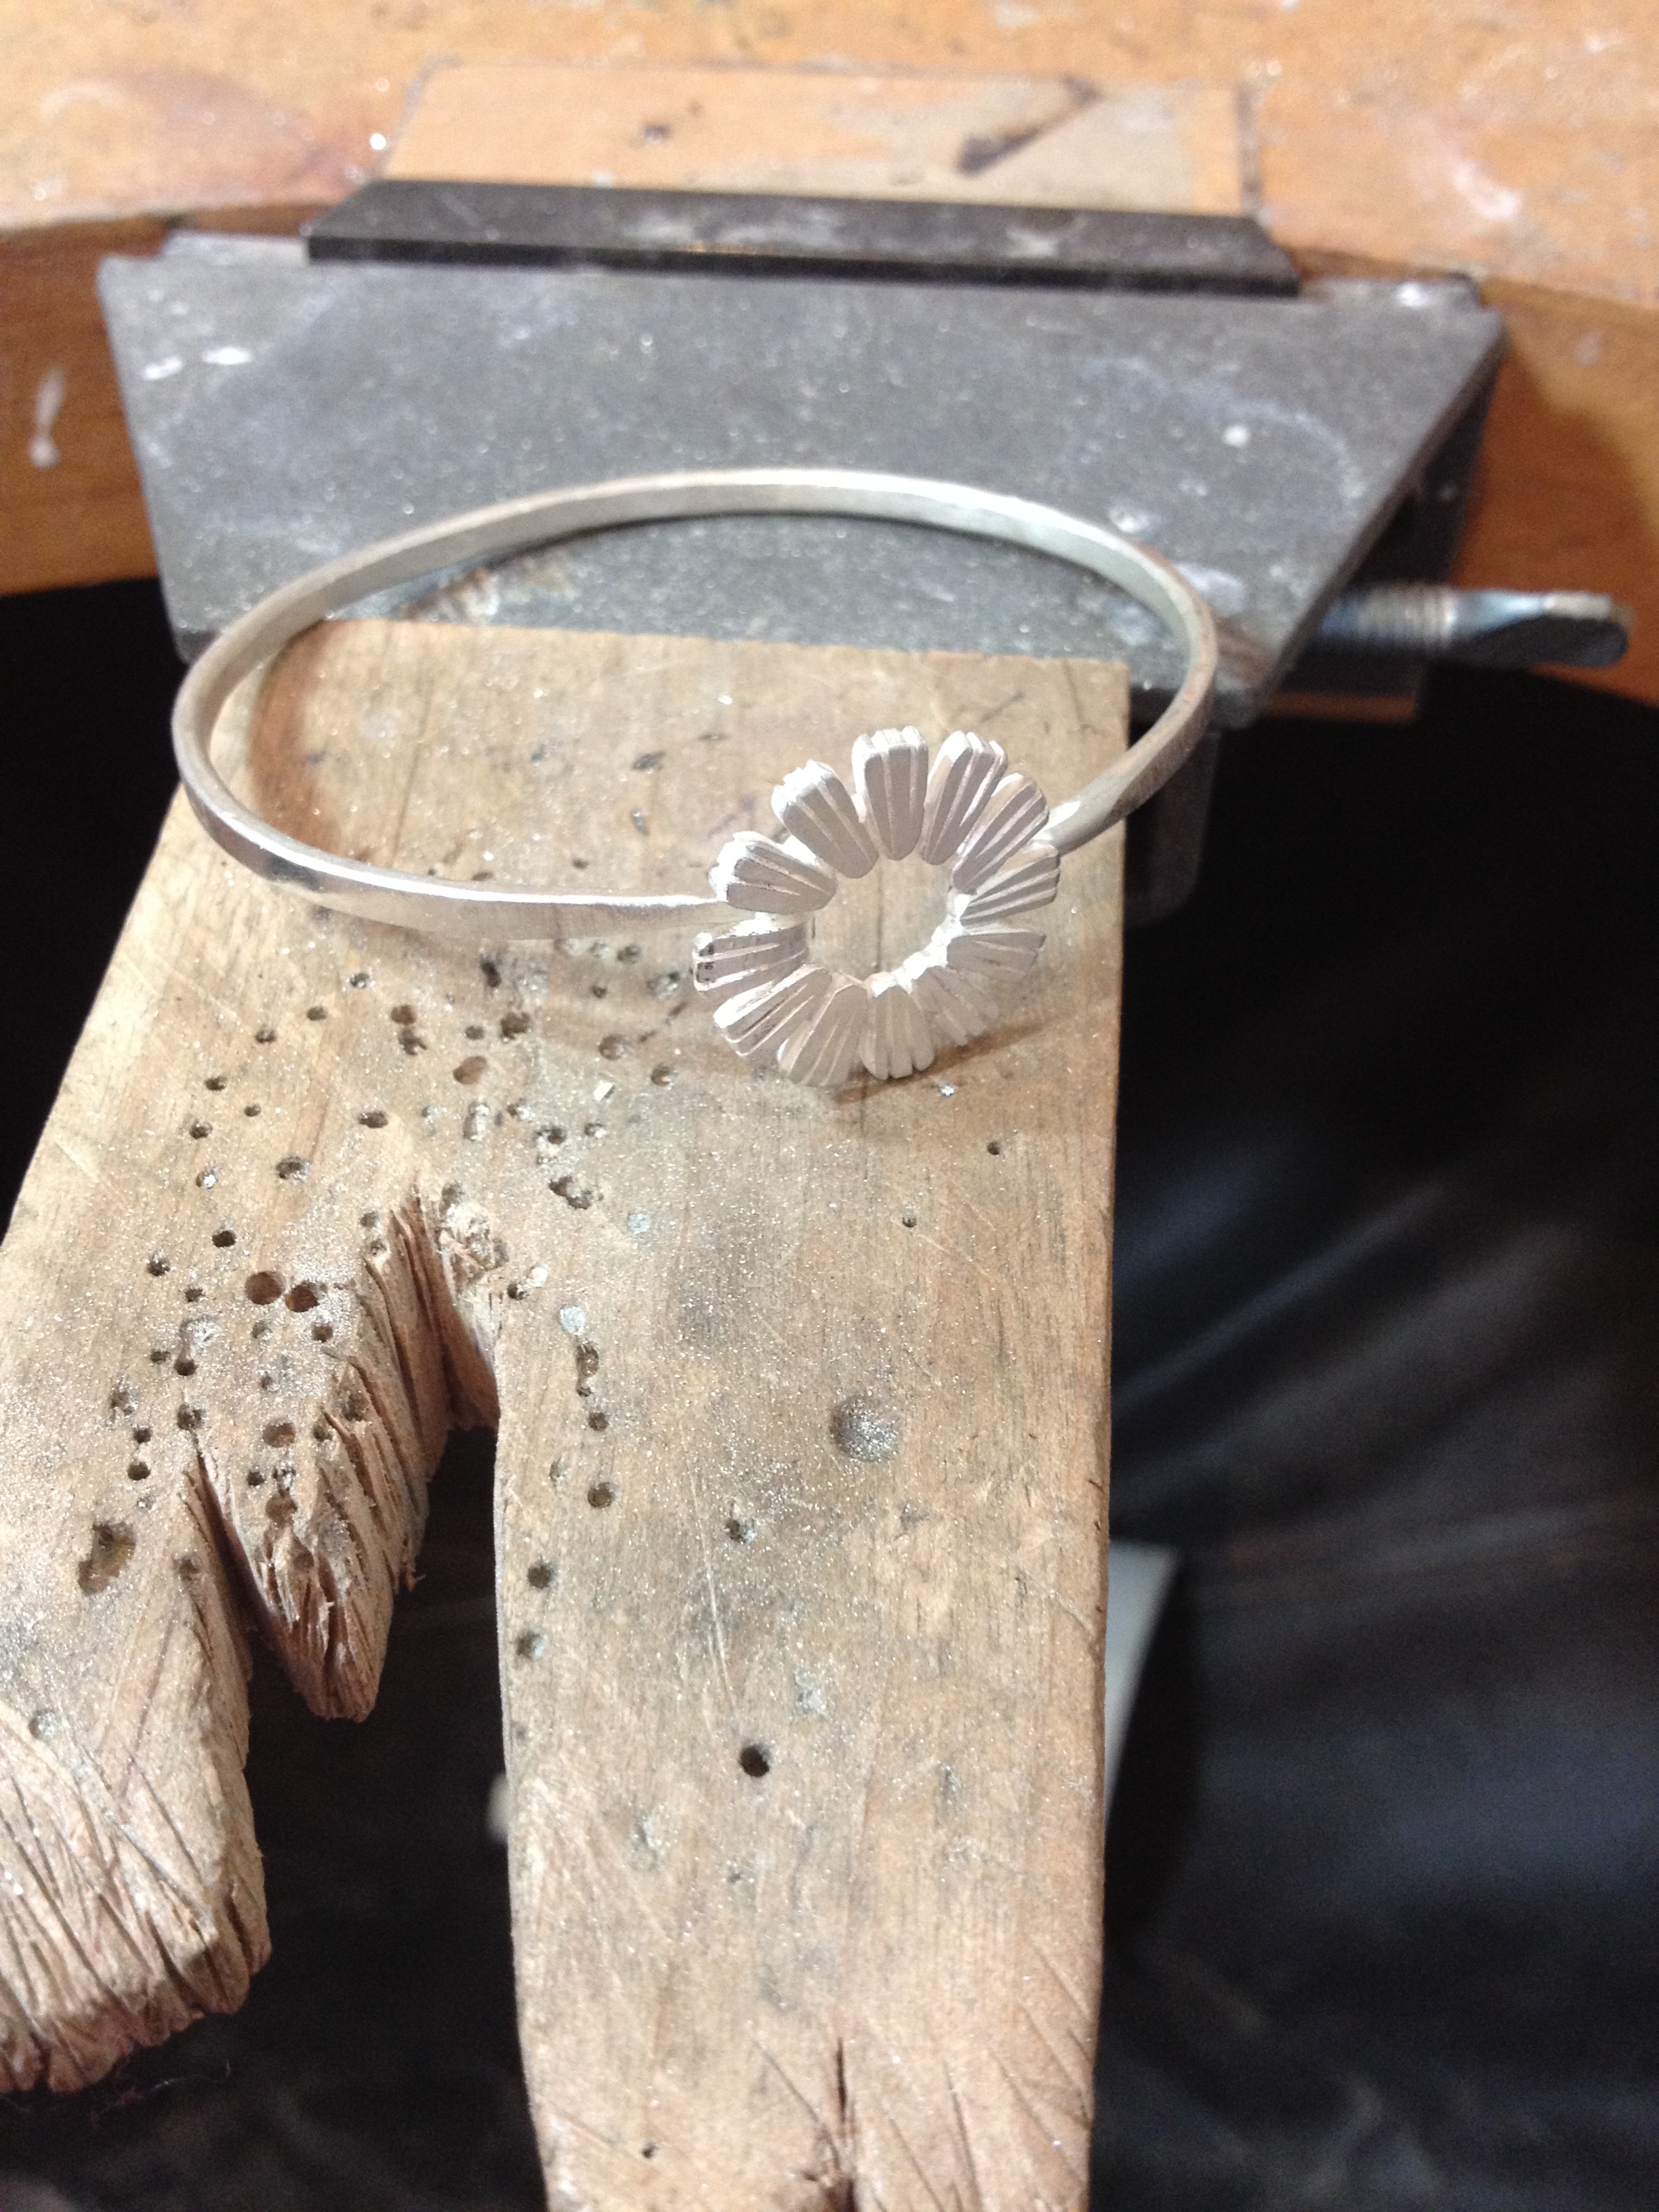
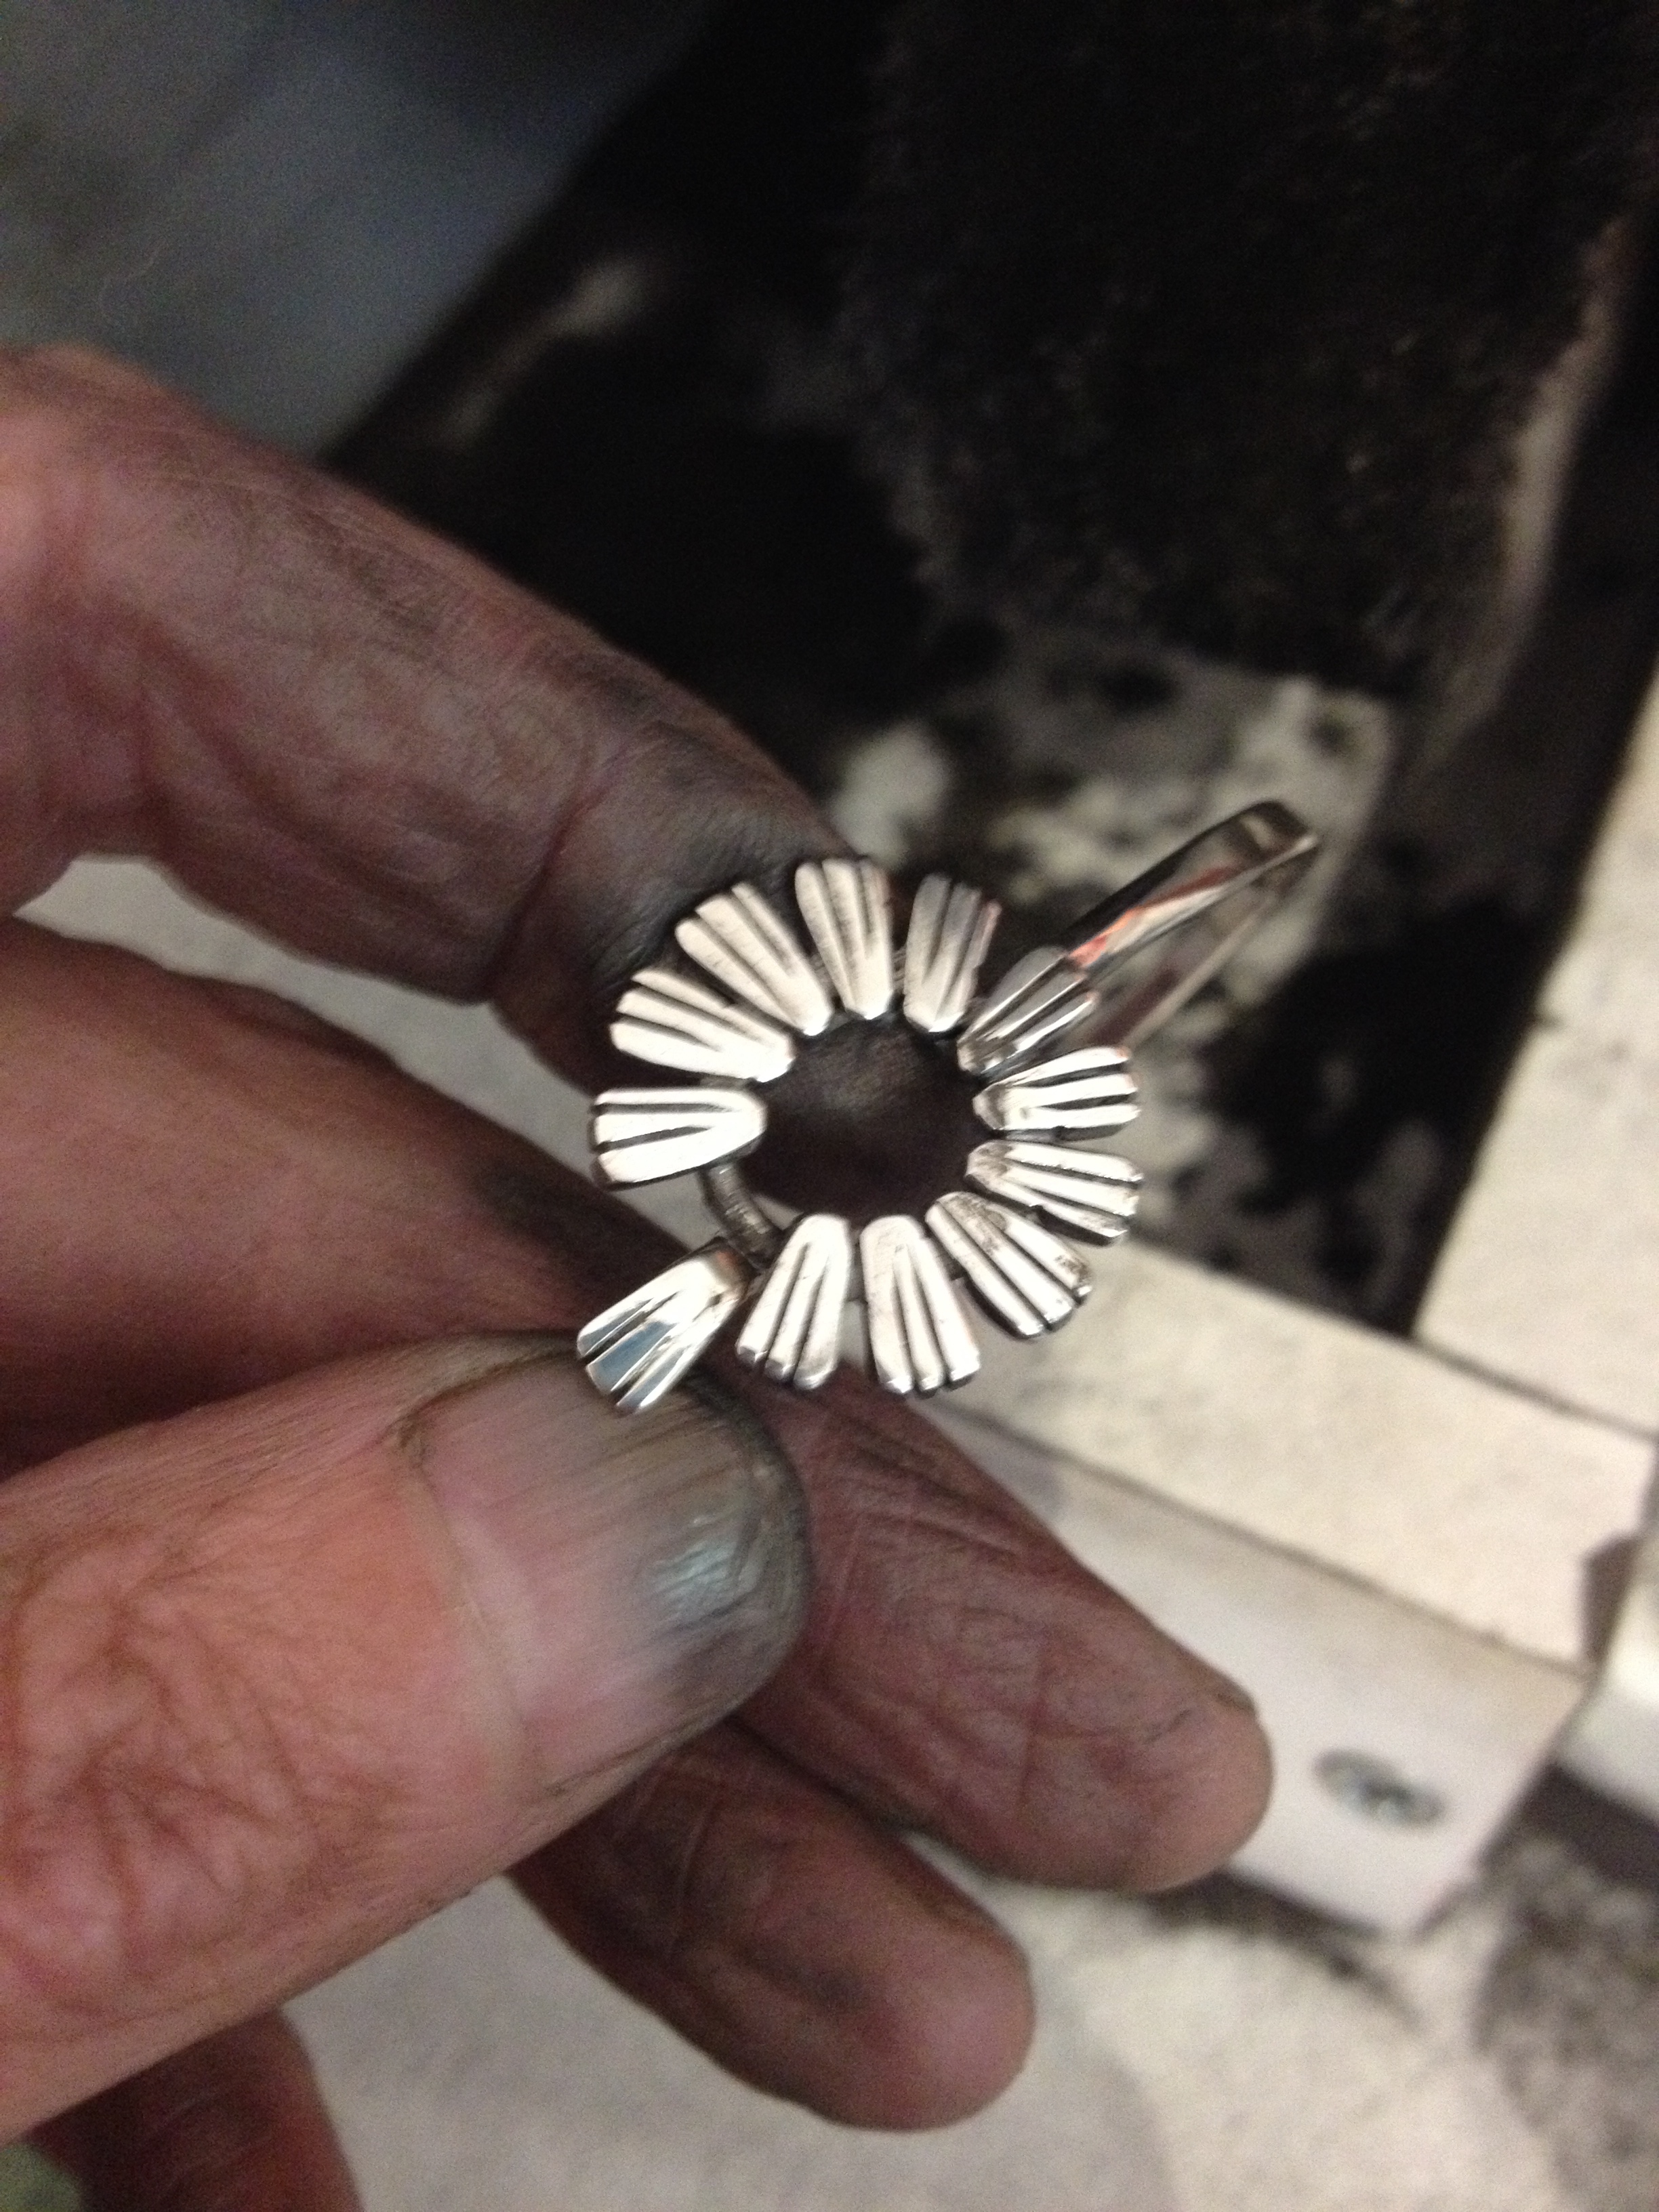

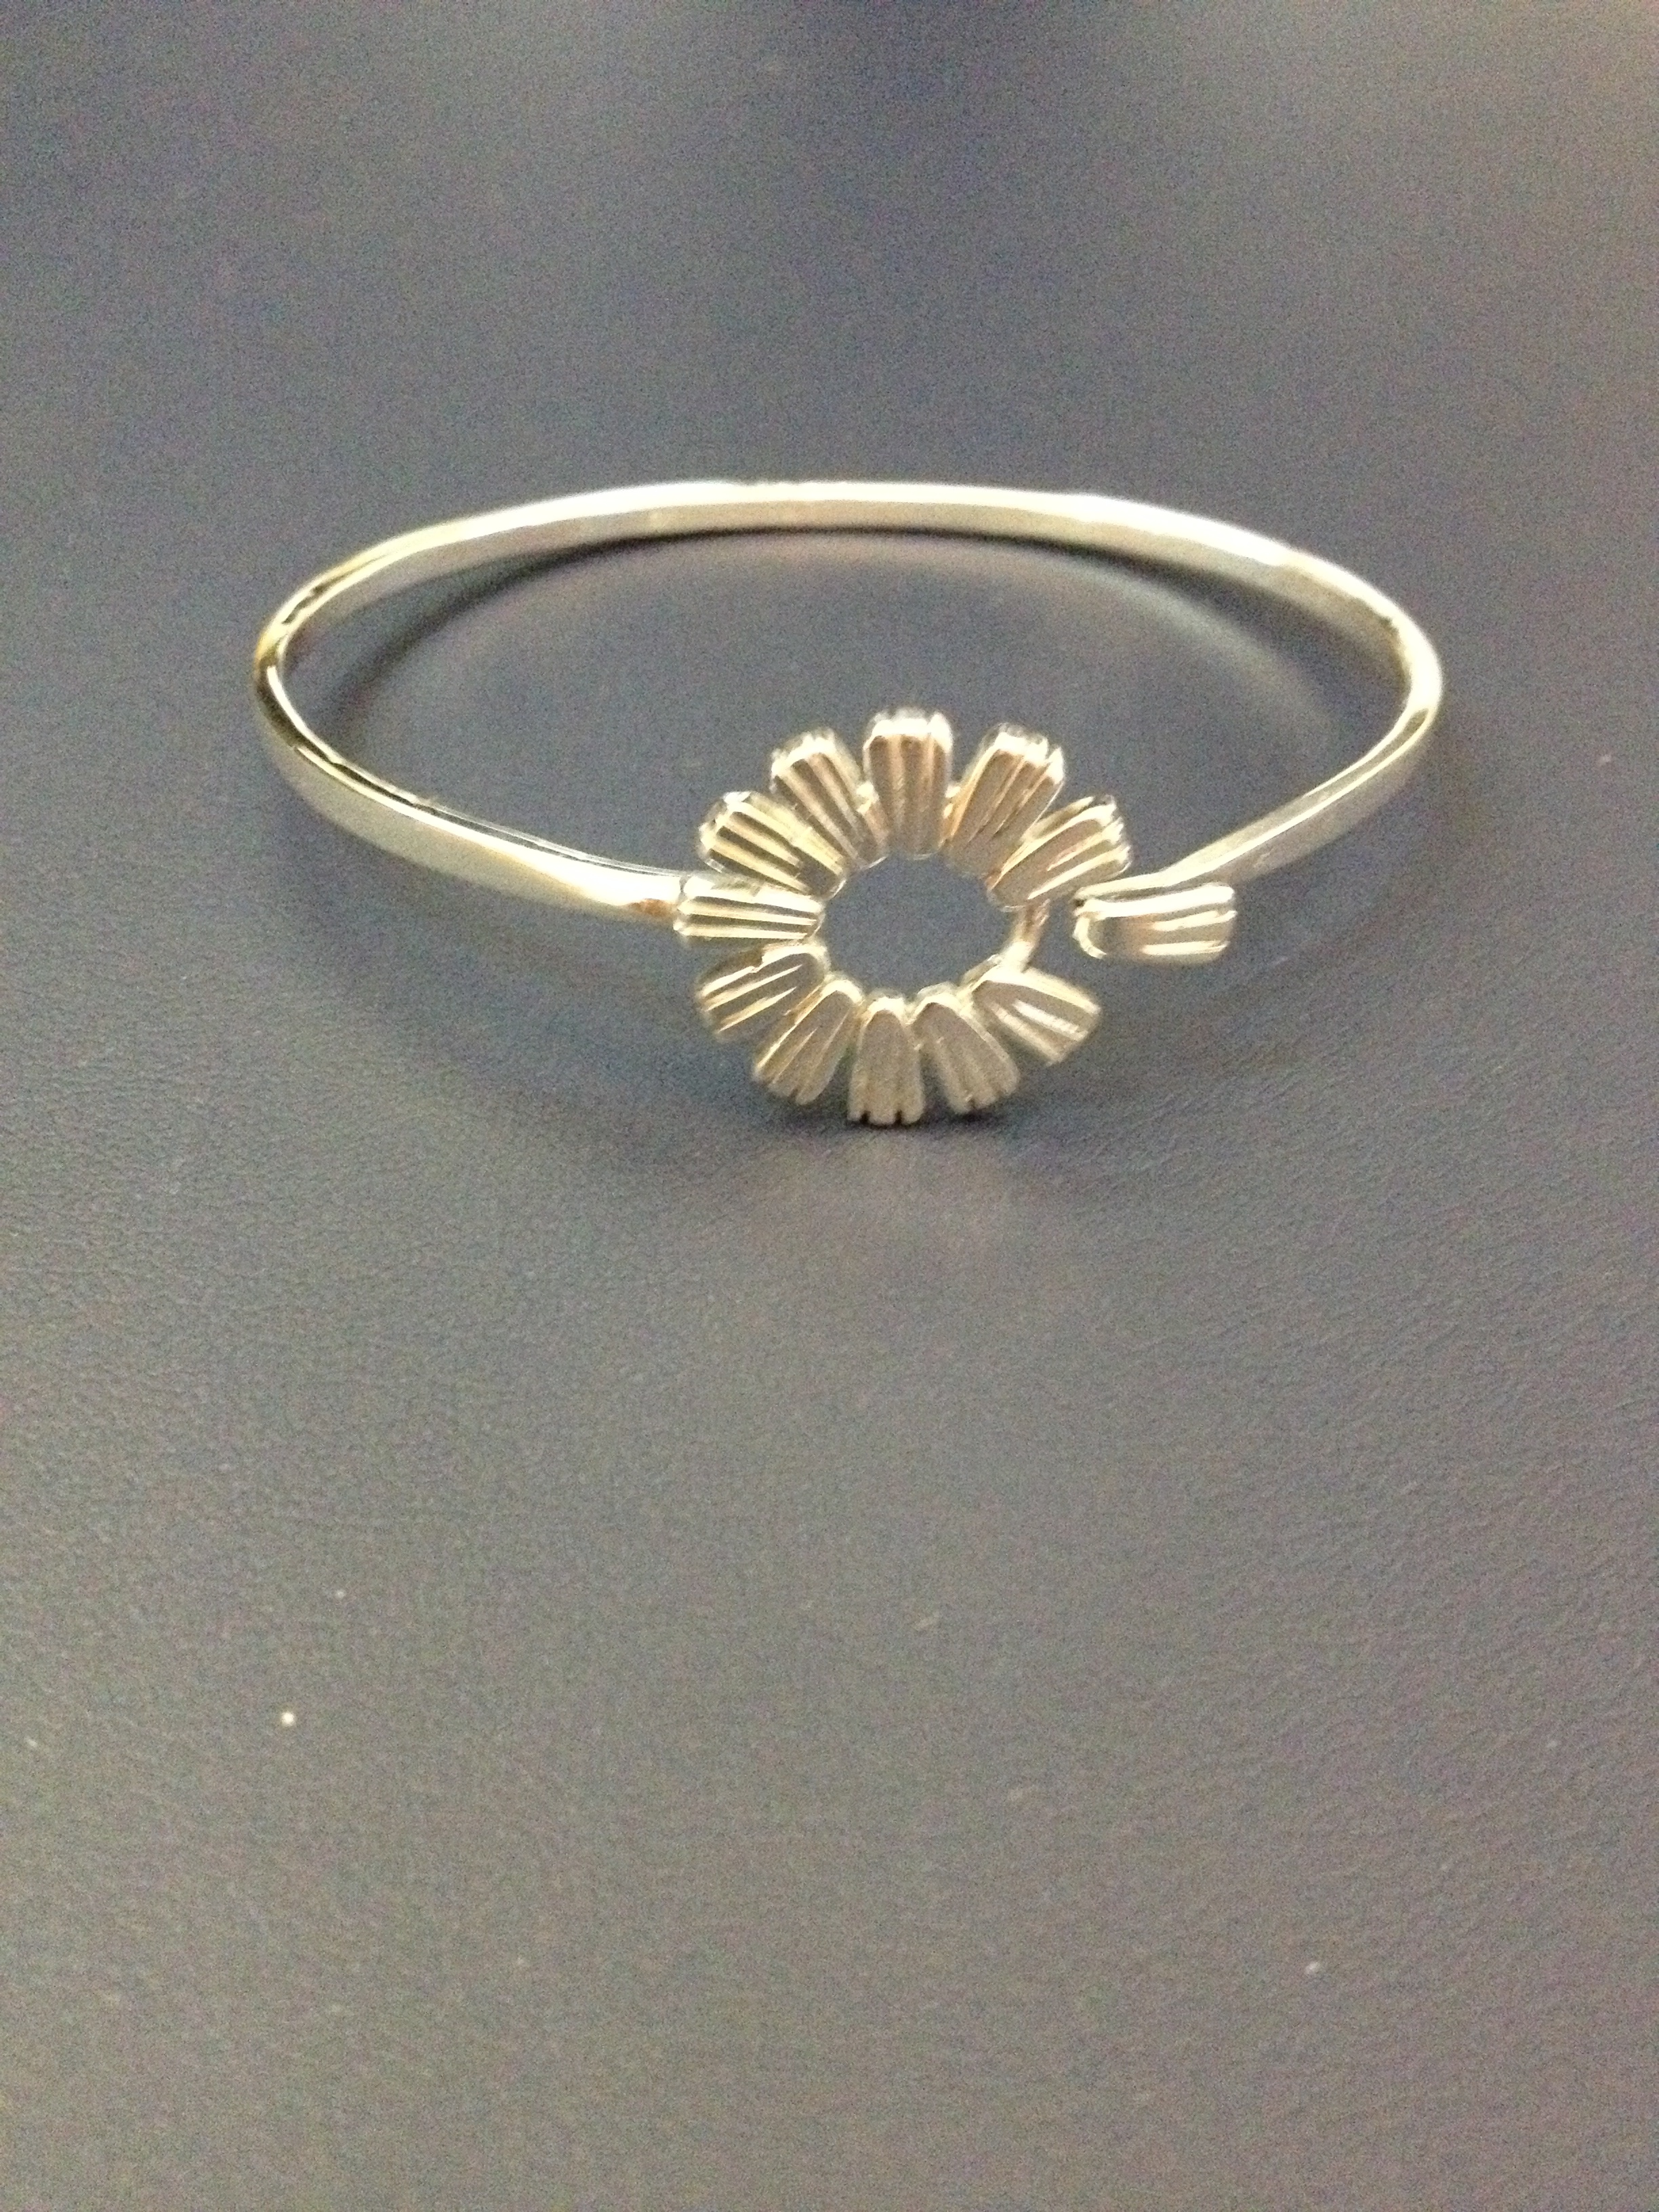


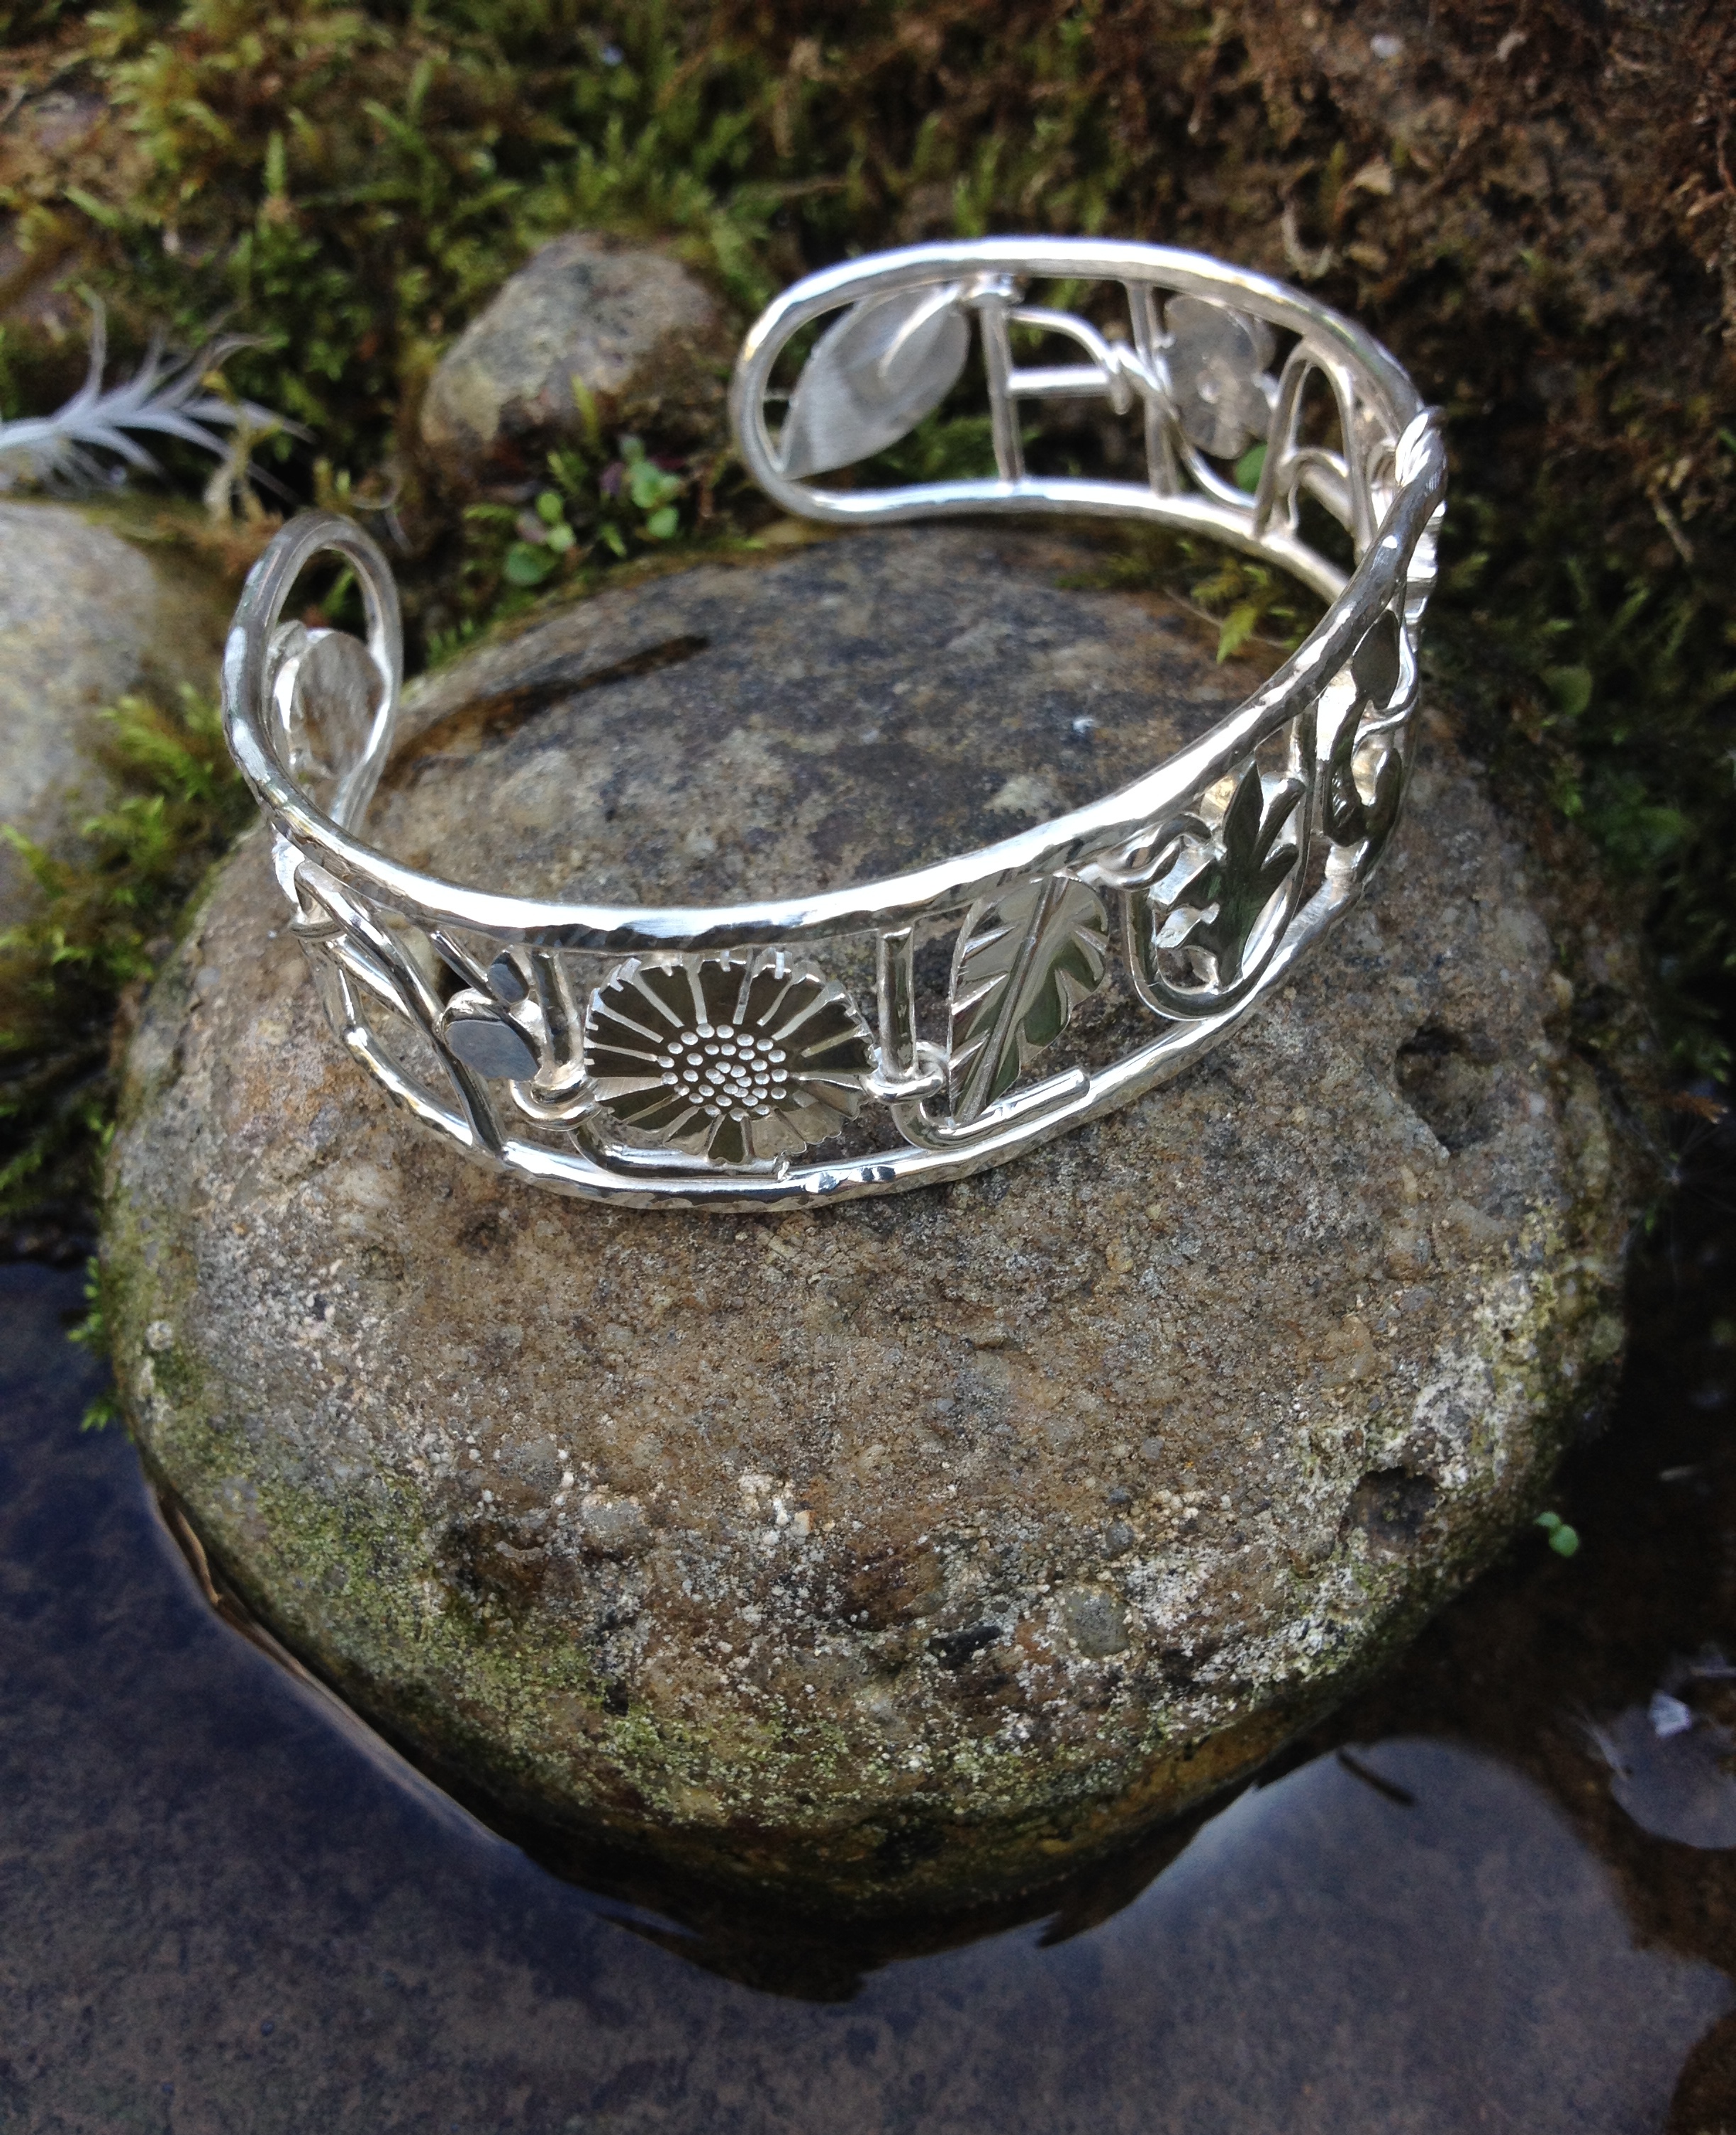


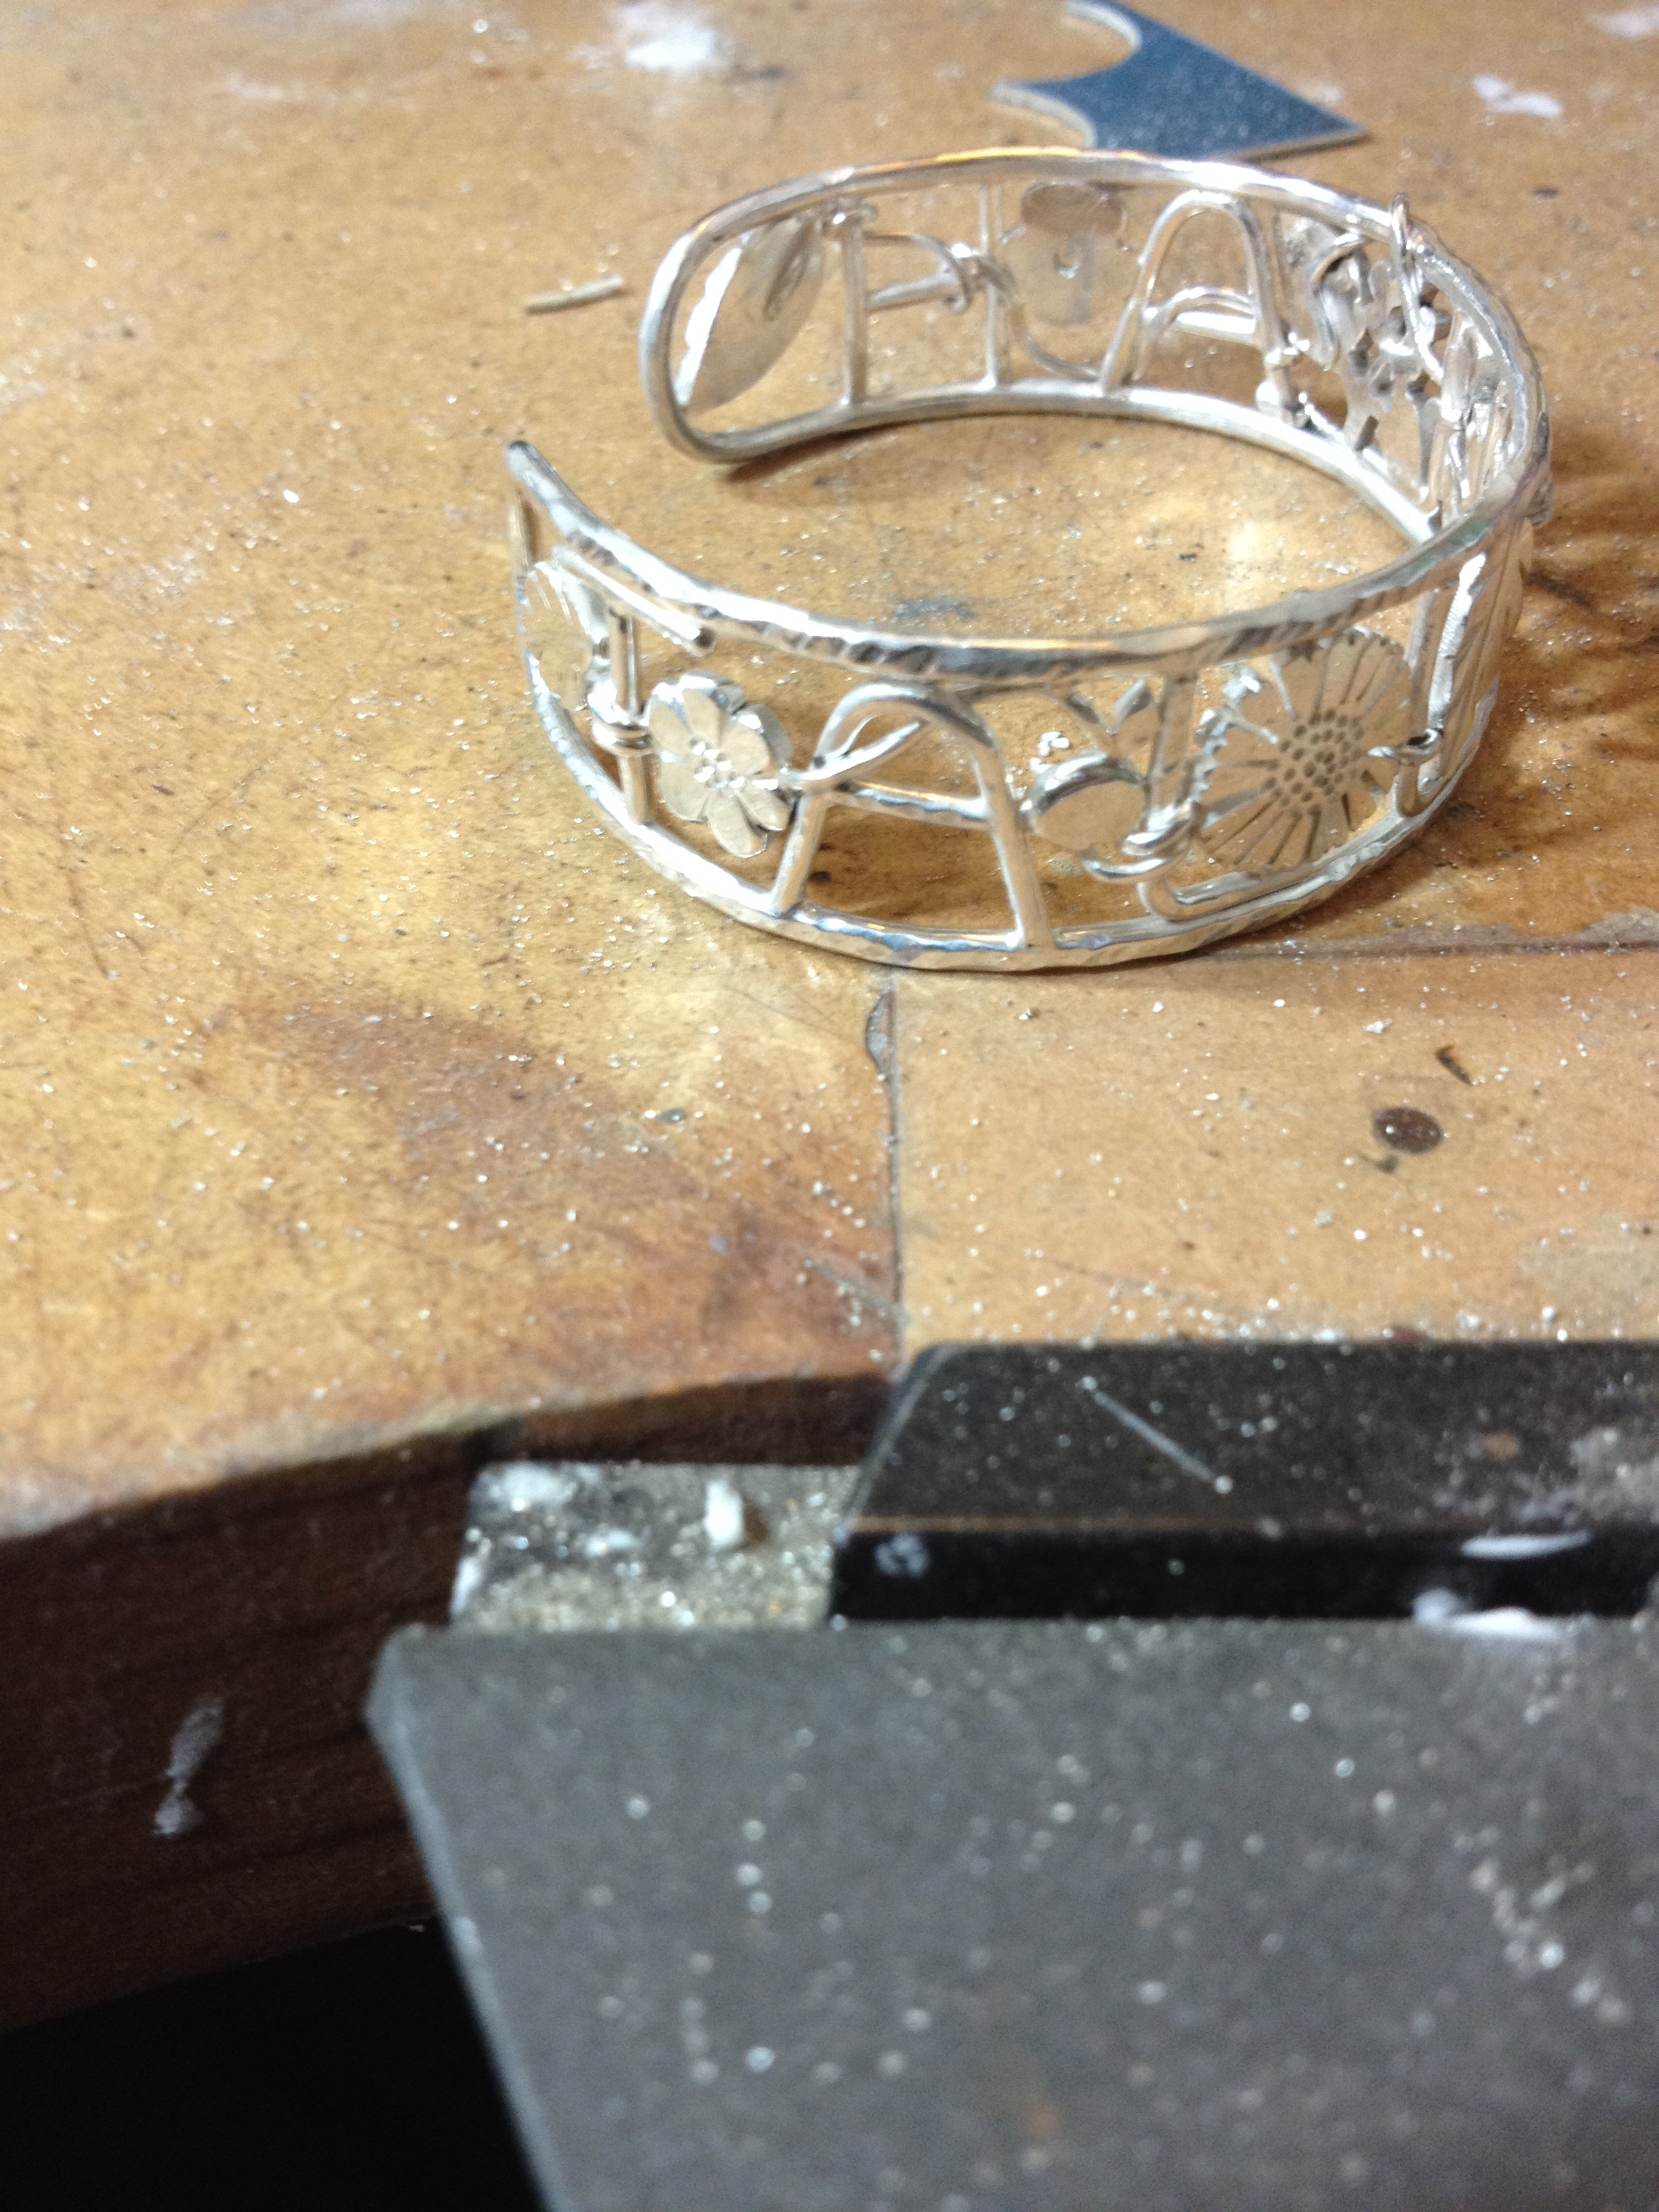
 Eventually I filled the whole bangle with motifs. Then I polished it up. Looks pretty.