

Here’s a step by step through the making of a pair of cufflinks for Lewi and a necklace for Das to celebrate their wedding.
I wanted to make a pair of cufflinks that would have moving parts so they could be fiddled with. I decided to have a spinning disc underneath a peridot stone. I also wanted to commemorate the date of Lewi and Das’s wedding.
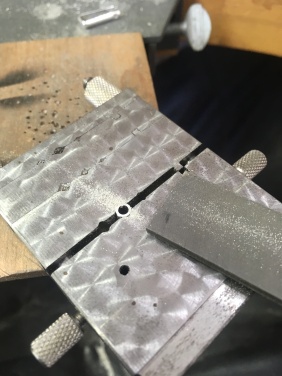
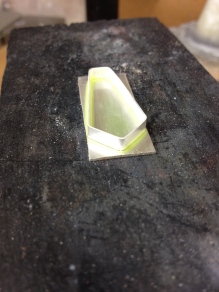
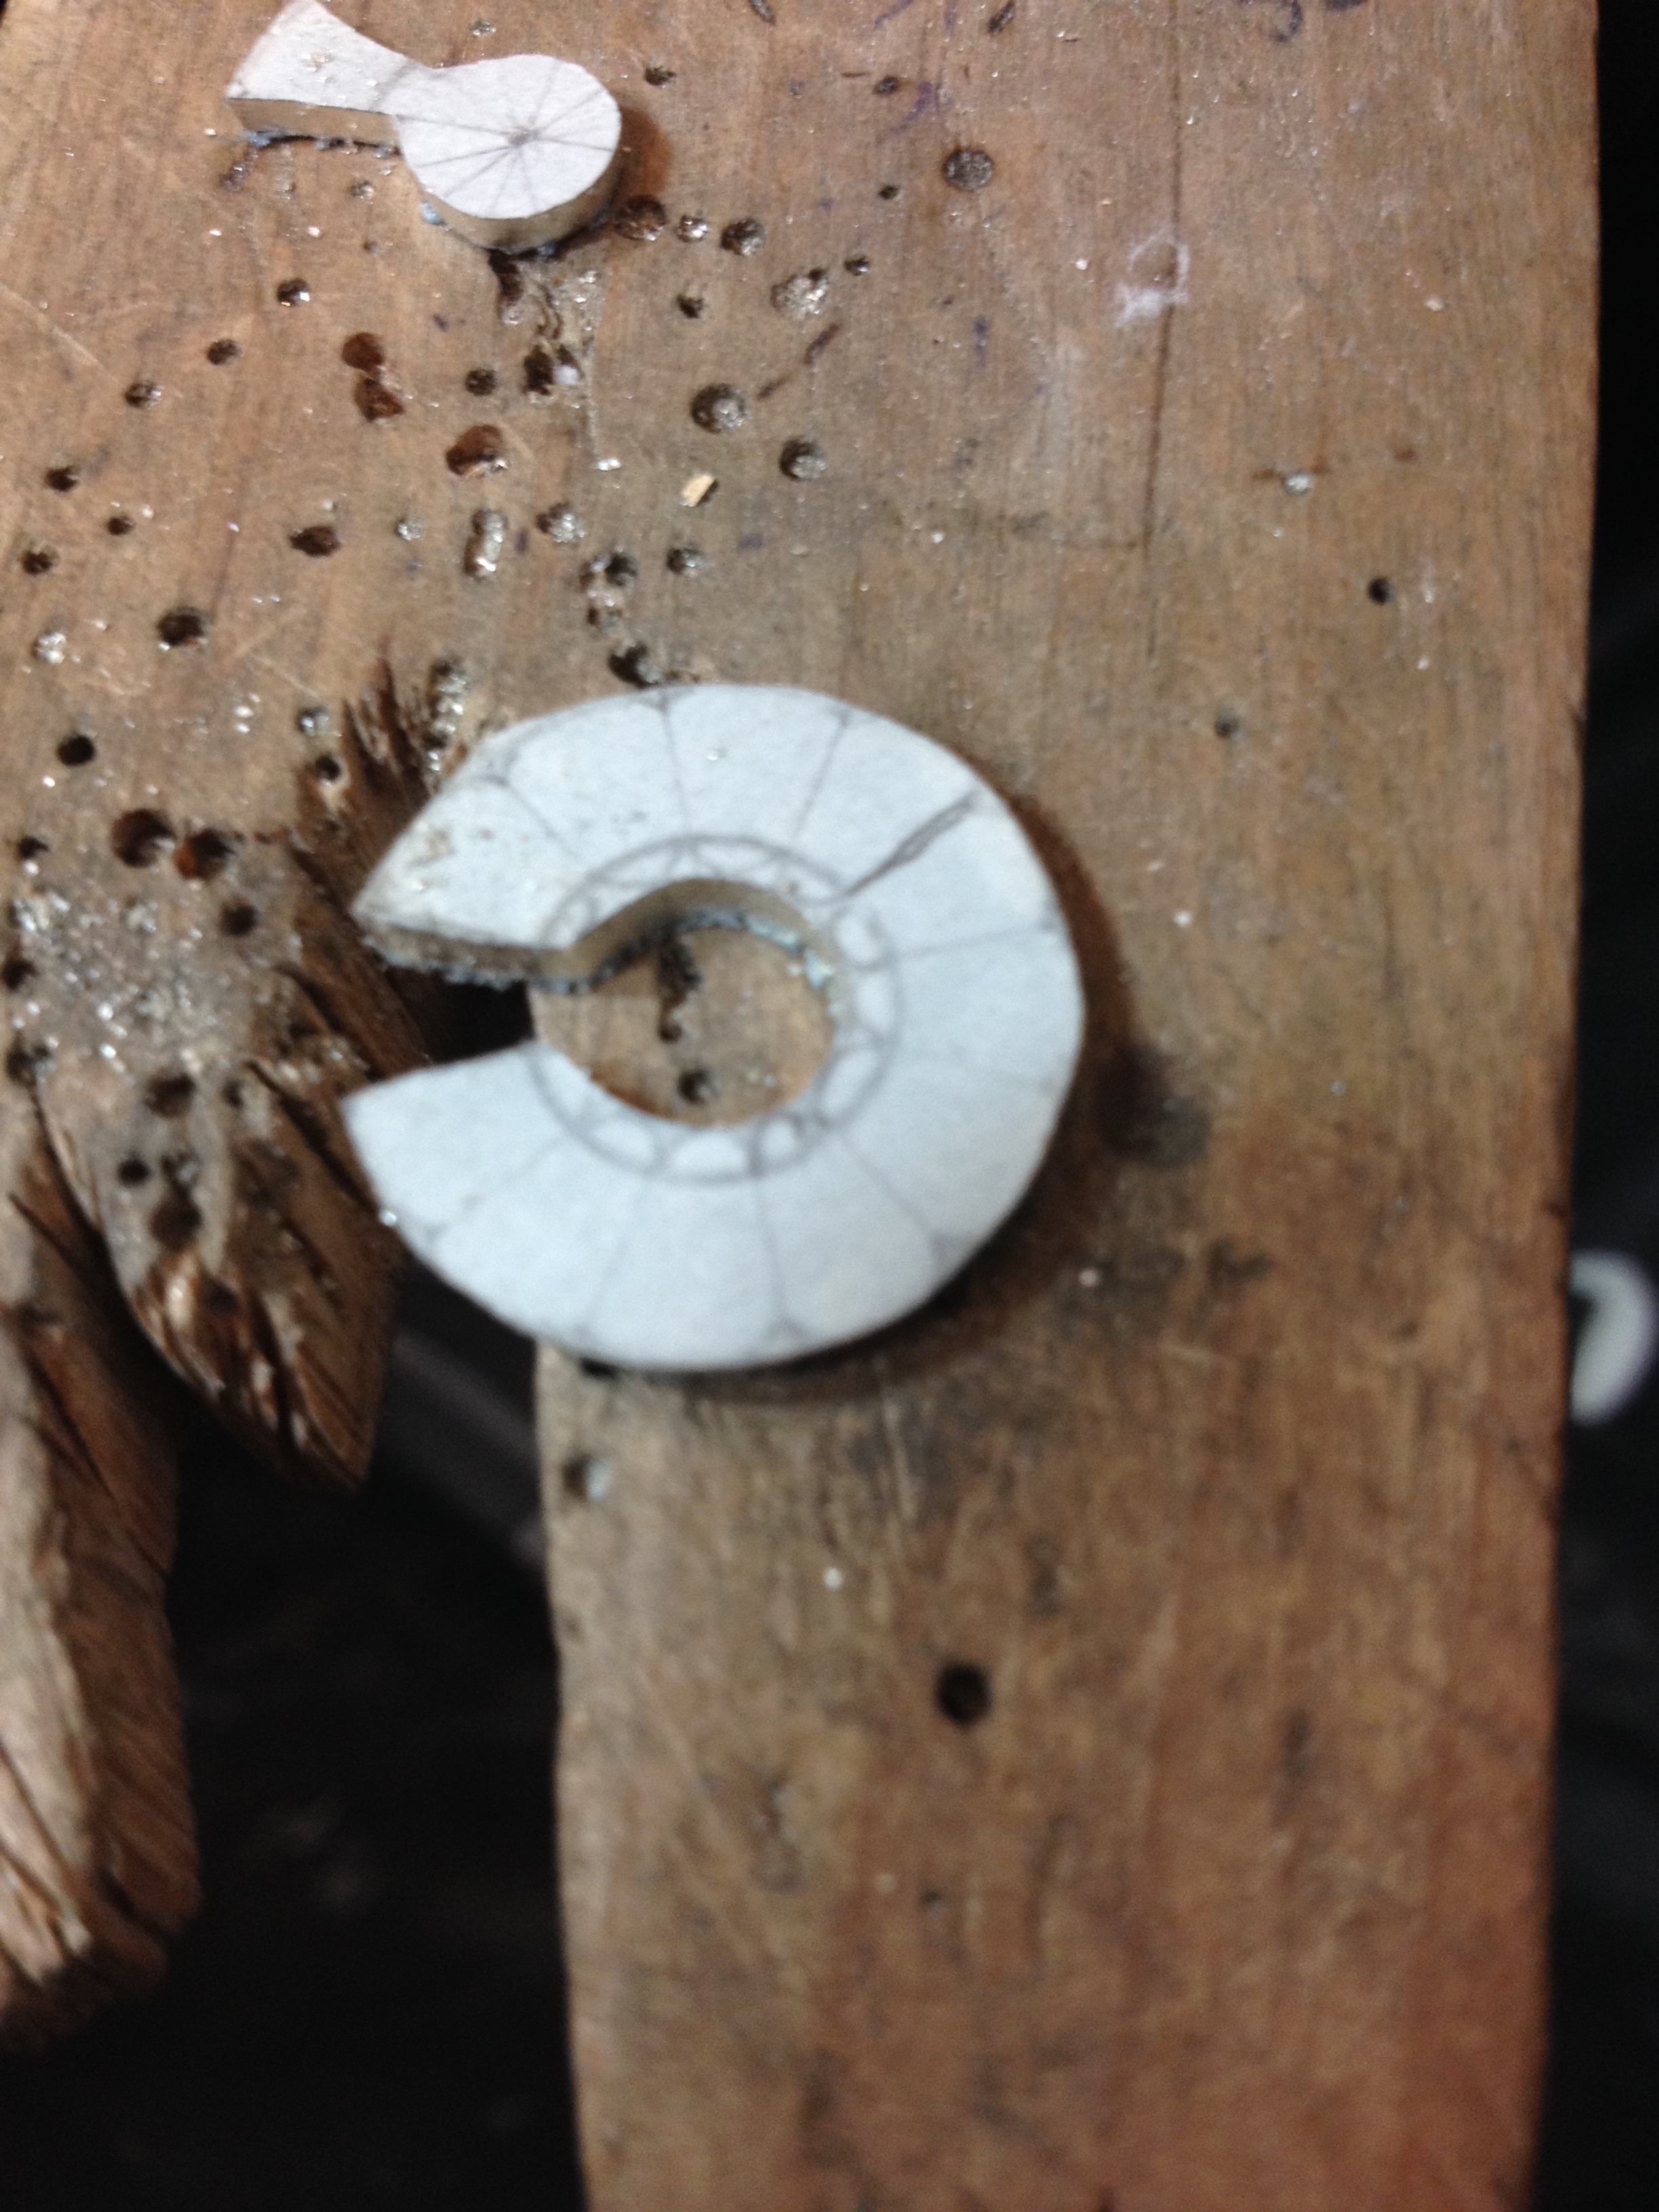
So, step one. Mark out on the silver sheet, using a pair of dividers, the size of the spinning discs. I made sure that I very firmly marked the centre. Then I headed to dearly beloved’s workshop to borrow his big drill to drill out the centre of each to make the hole for the spindle I used a flat file to smooth out the rough edge caused by the drill.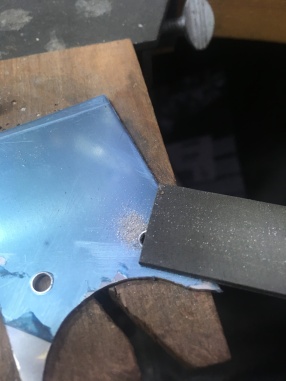
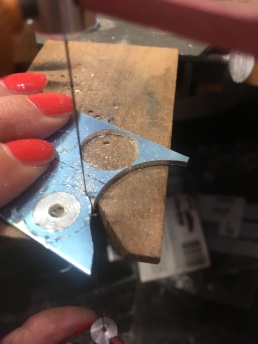
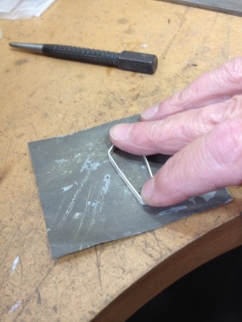
Then, using the pricing saw cut out the big discs and the little disks that will carry the stones. You can see this is the start of the project – I still have nail varnish and clean fingers!
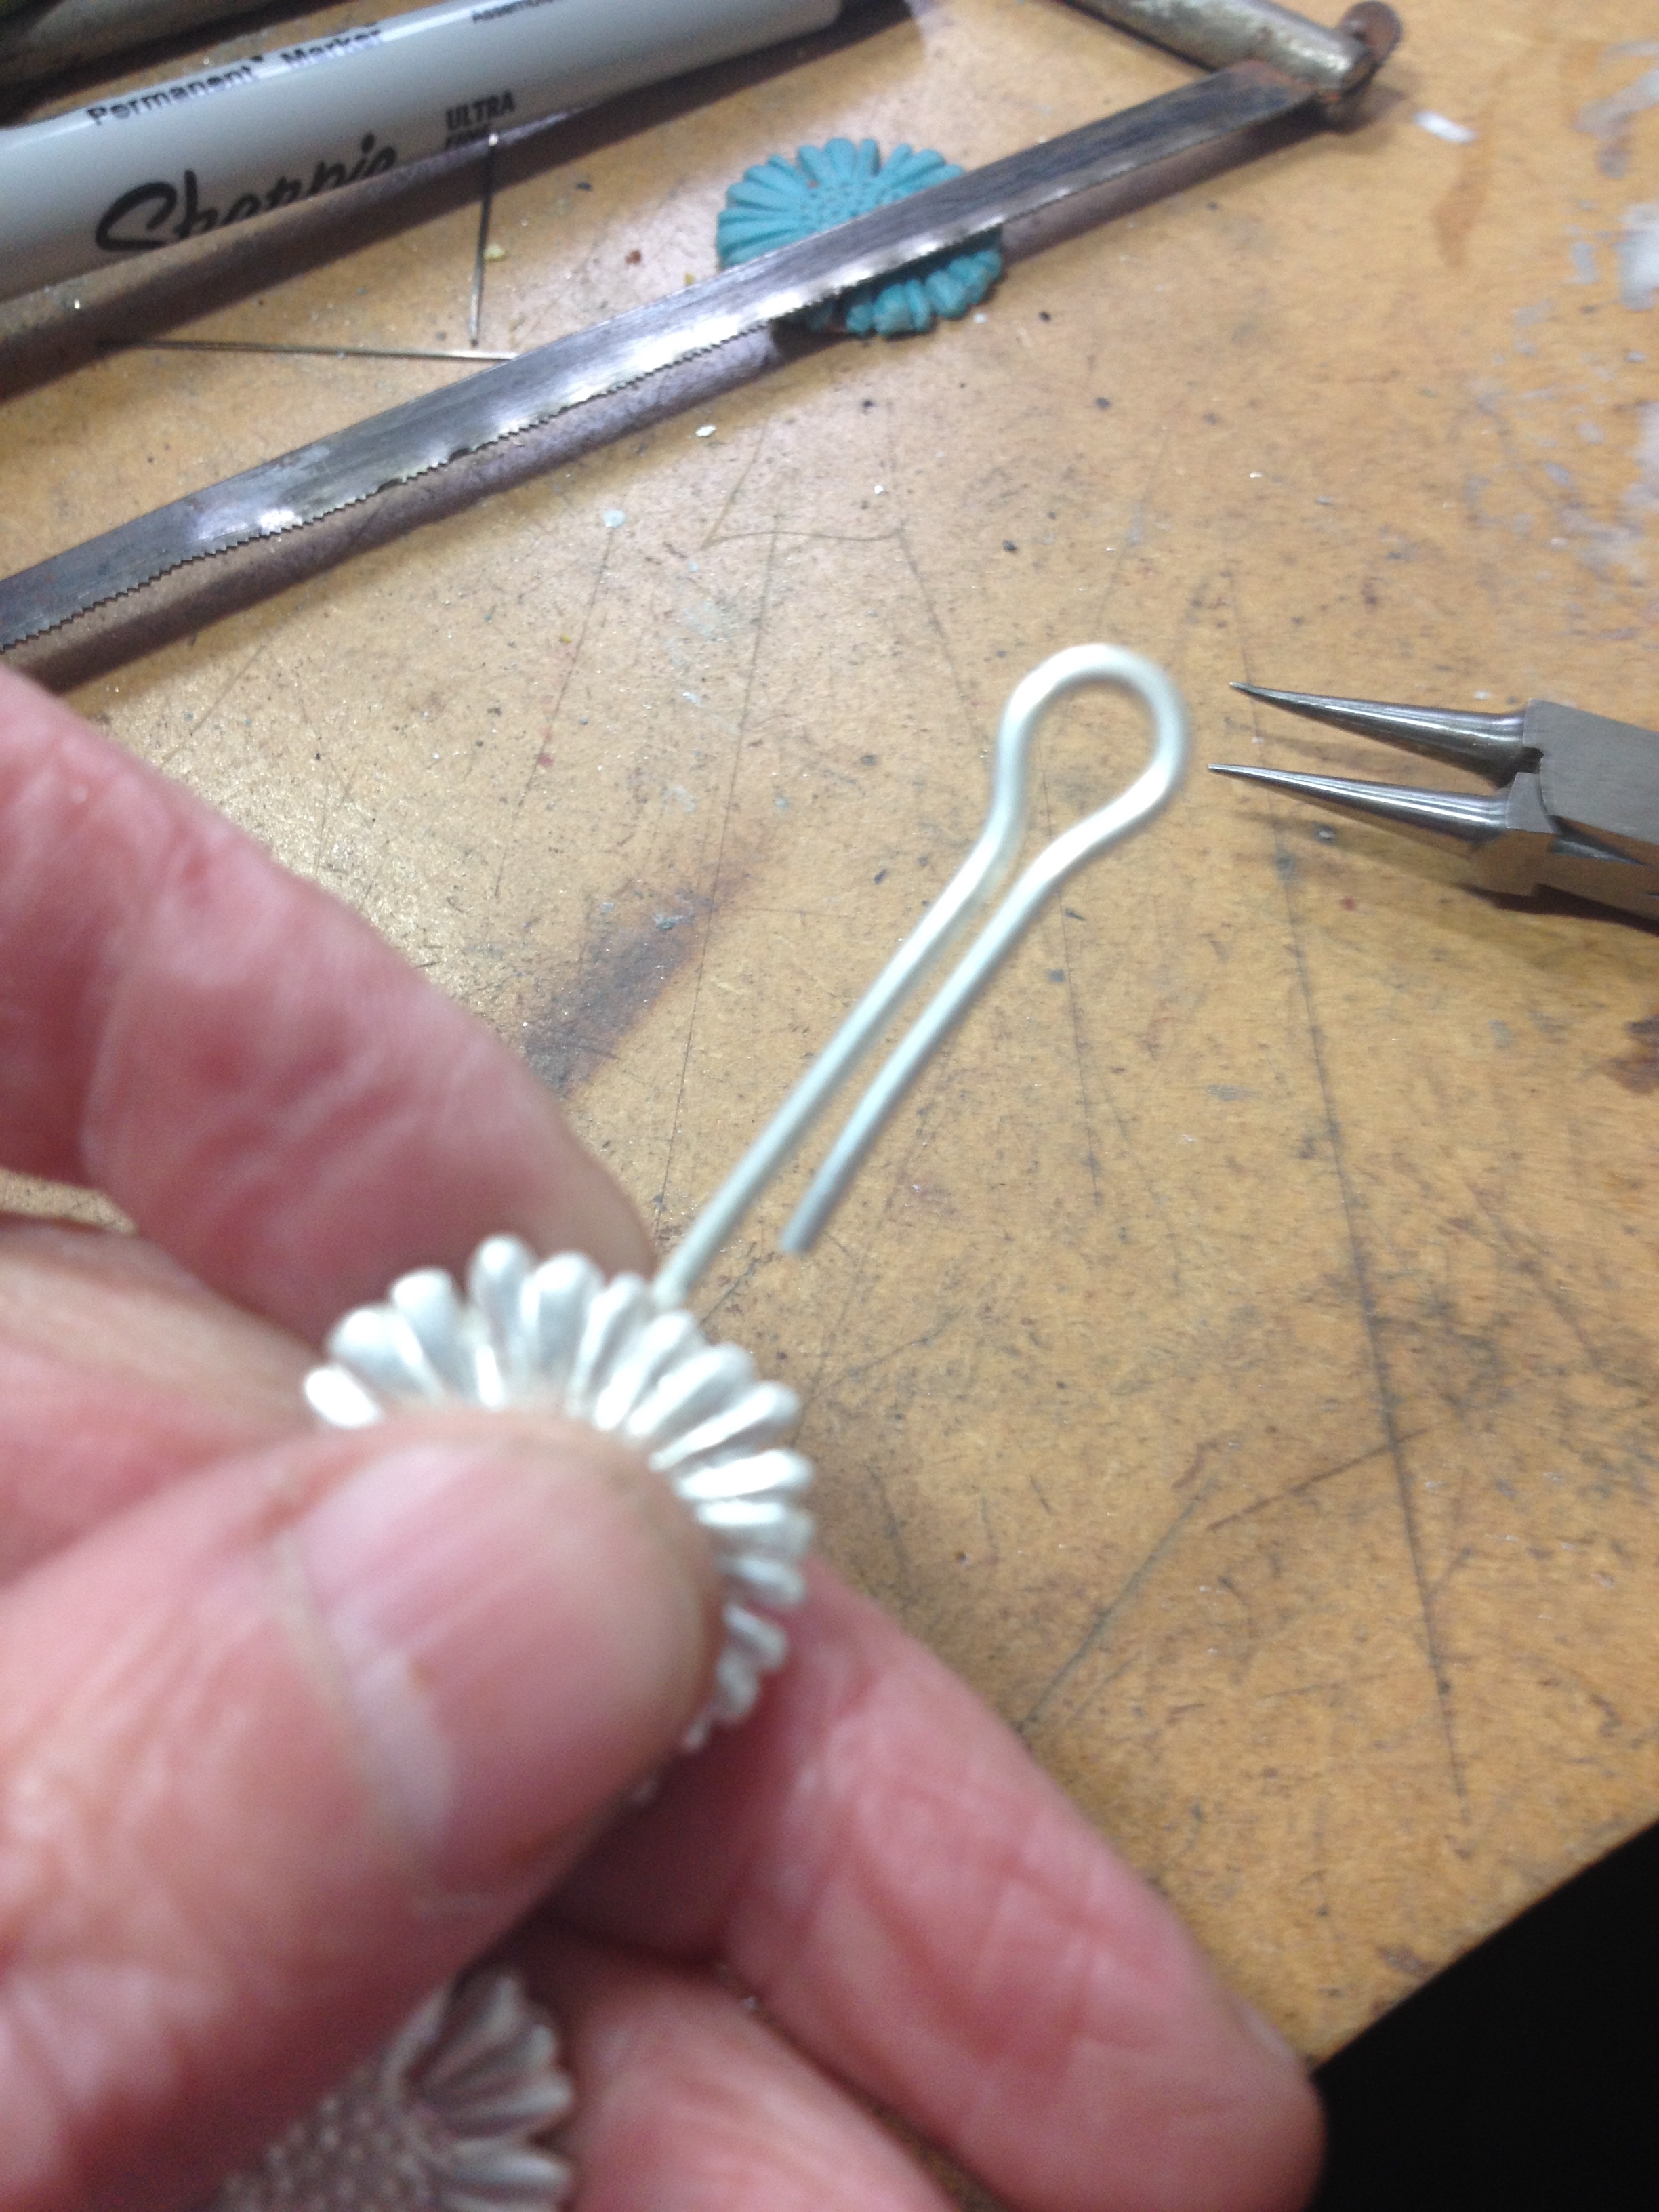
Now to one of the tricky parts. I want to put their initials and the date around the outside of the disc so it would still be seen below the stone.
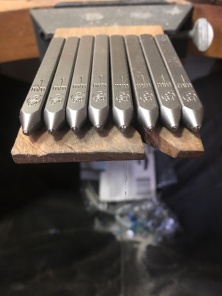
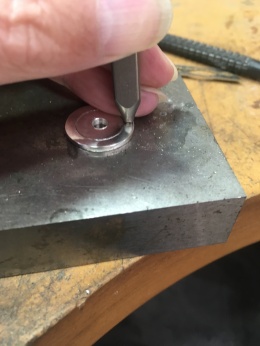
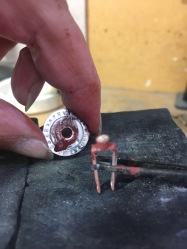
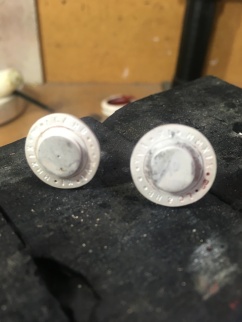
Holding my breath (Don’t know why but it seems to help) I used the dividers to mark a line around the disc and then I very carefully punched out – LC & DB . XVI . XI . MMXIX and my makers mark around the edge of the 1st disc
Except I didn’t. You guessed it, I got the date wrong and had to start again.
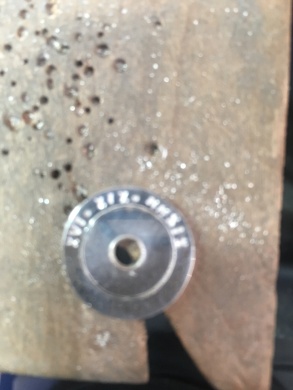
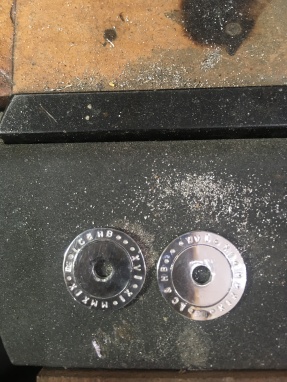
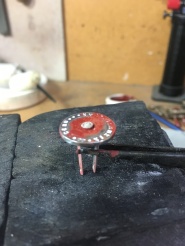
Grrrr. Anyhoo, Finally got them stamped correctly, started breathing again ‘cos I was a bit lightheaded by then. I then polished up the discs because I won’t be able to do so one I have it all assembled. First the edges and then the faces.
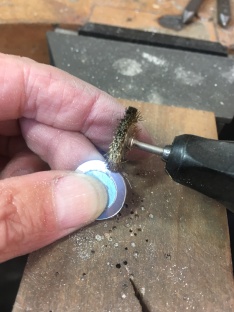
There, all shiny and ready to go.
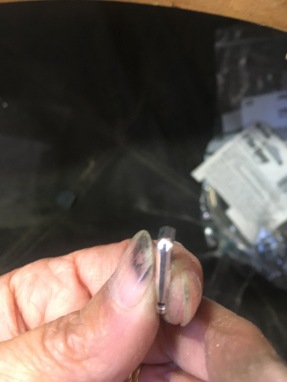
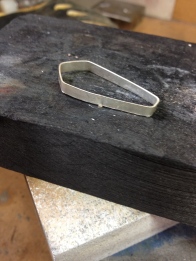
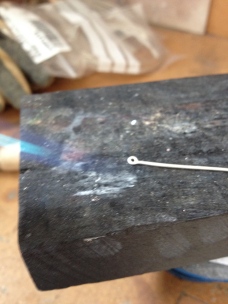
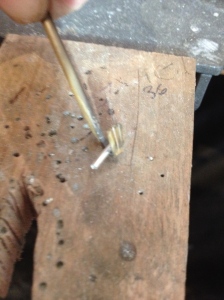
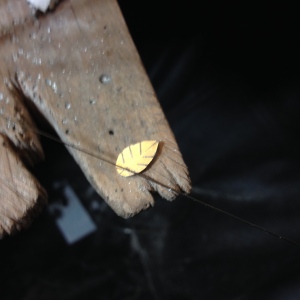
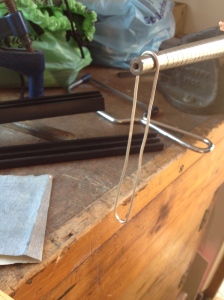
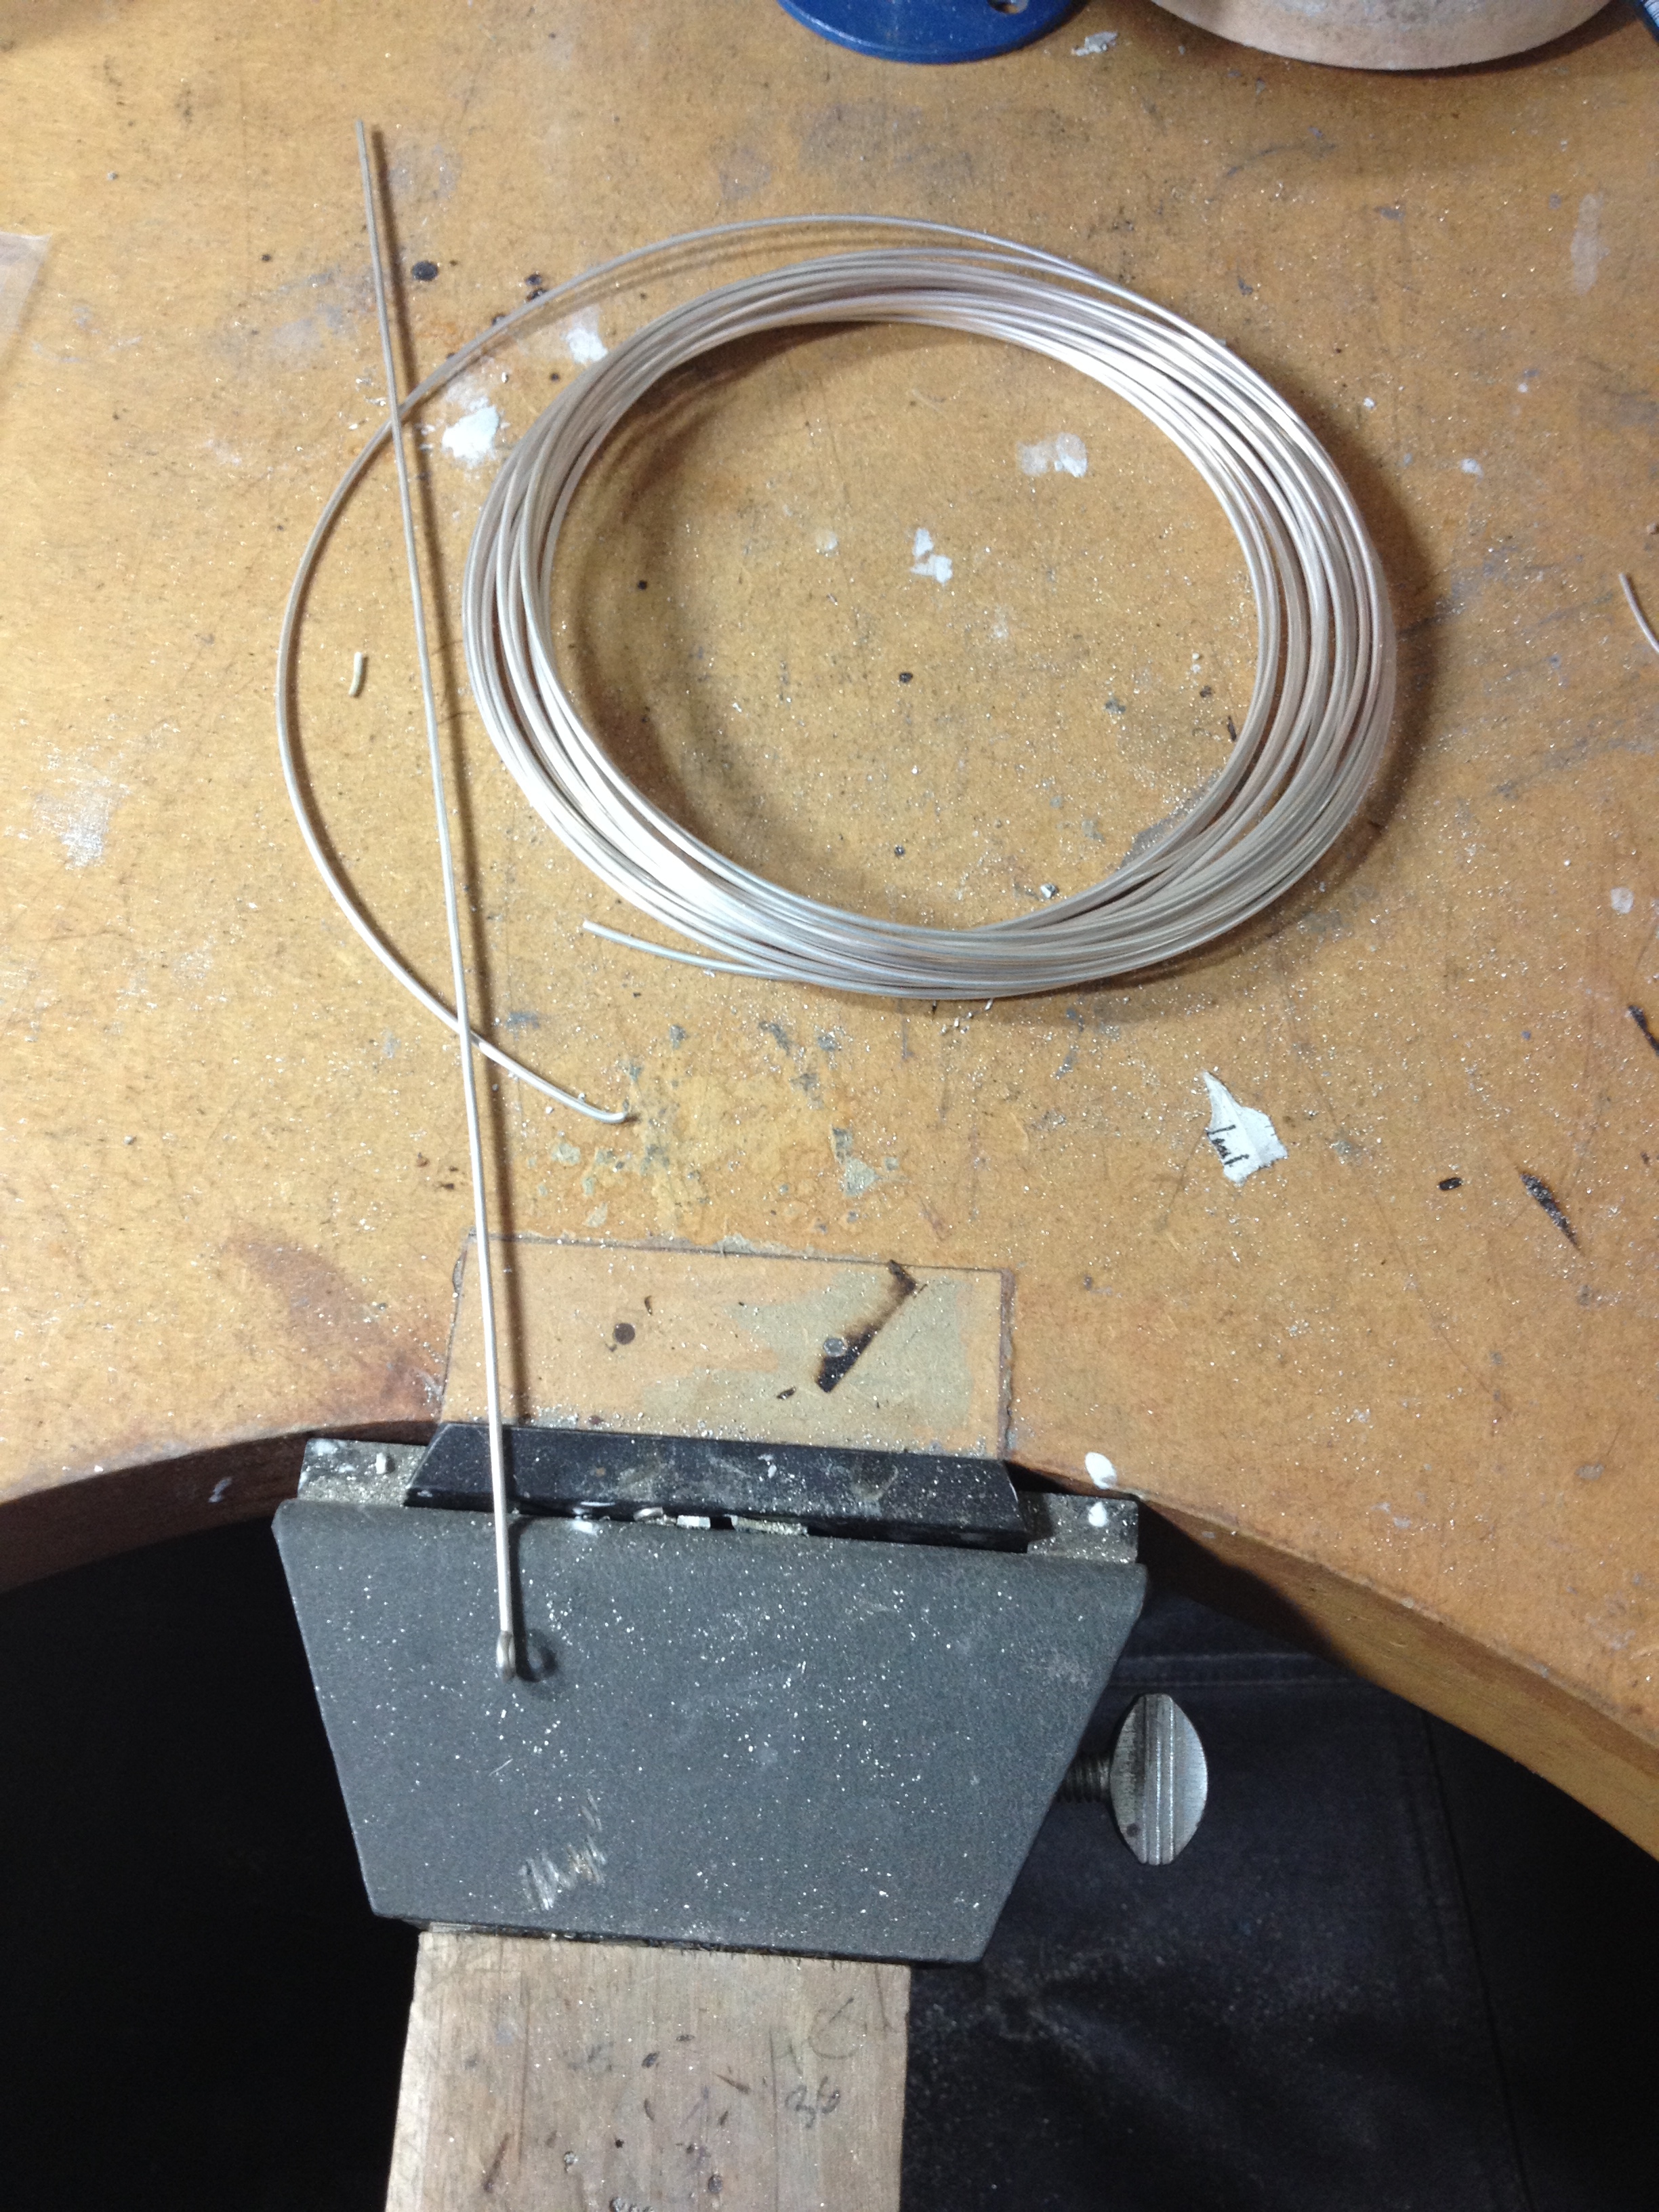
On to the next step. I wanted to create the spindle for the discs to spin on so I cut some tube. Tube is actually really tricky to cut straight so I use a ‘tube cutting jig’. Measure up the length I want to cut by placing the date disc on the jig and letting the tube poke out a wee bit further. Then turn the jig over and cut off the long length sticking out the back using the piercing saw held against the jig. Nifty little device this.


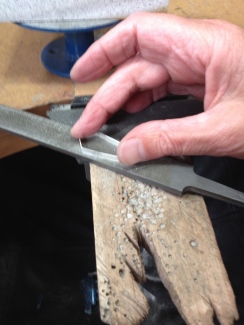
Use a file to make sure the end of the tube is free from burrs and completely straight. Don’t want a wonky spindle.
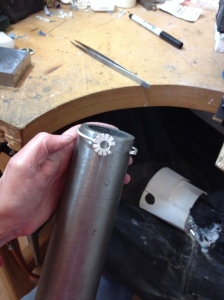
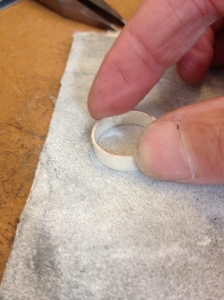
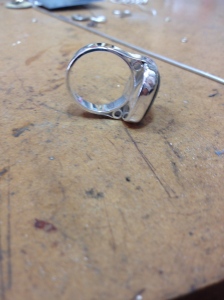
The tube now needs to be mounted onto the cufflink blanks. These are ready made and I had some in stock. I filed the end of the blanks flat to make sure the tube spindles would sit straight.
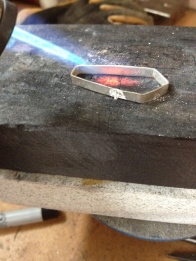
I then cleaned both the blanks and the tubes up, fluxed them and then soldered them together.
Now it gets tricky. I need to fit the date disc on the spindle and solder a smaller disc on top so it can carry a stone. But, I need to make sure that the date disc can spin so I mustn’t solder it to either the spindle, the cufflink blank or the top disc.
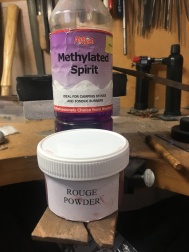
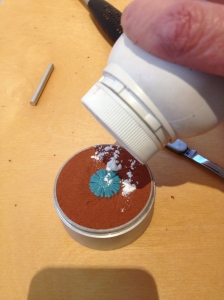
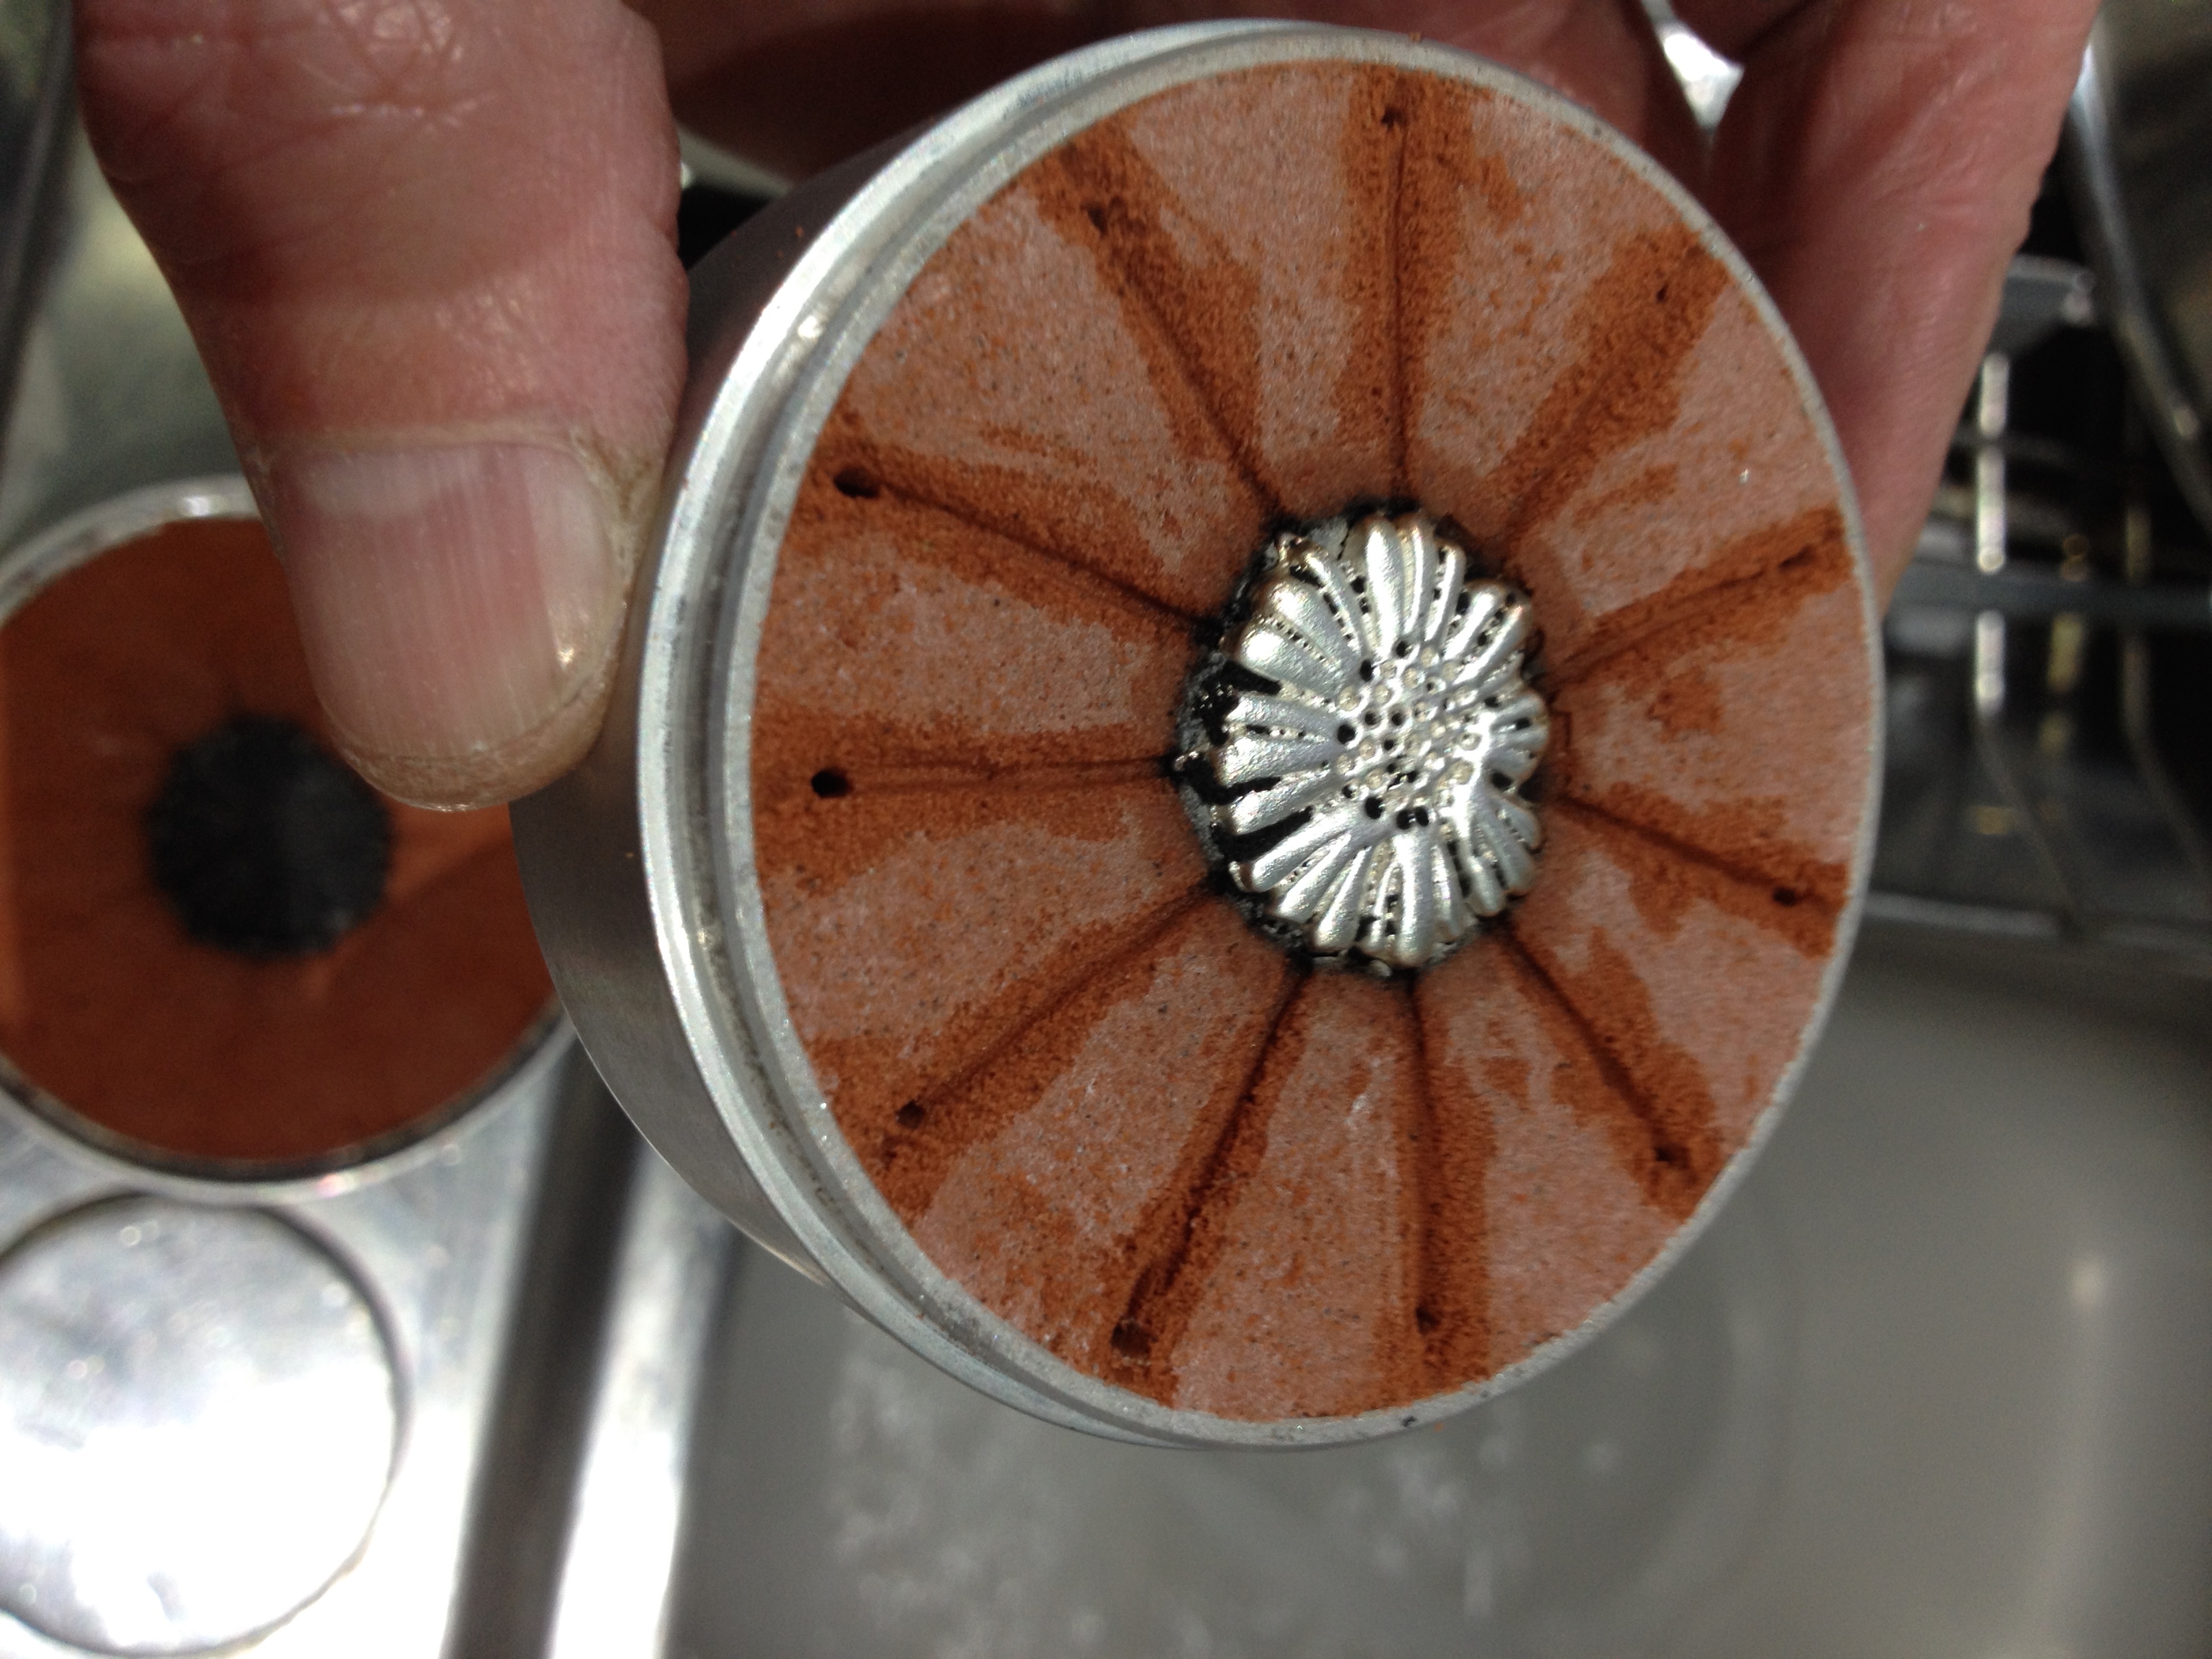
Fortunately I can use the hatred that solder has for dirty joints. Using a mix of meths and rouge powder I can paint it all over the bits where I don’t want the solder to run onto . Hopefully this will work and the disc will still spin. This will take quite a lot of fiddling to get set up.
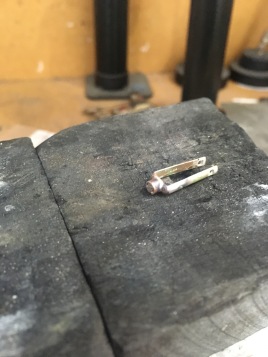
Sweat some solder onto the bottom of the small disc, place carefully onto the tube spindle and solder.
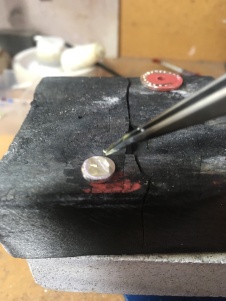
There we go all done, and breathe and clean it up.
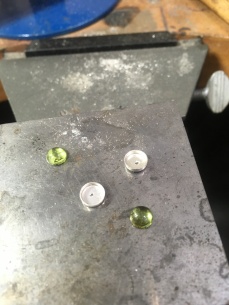
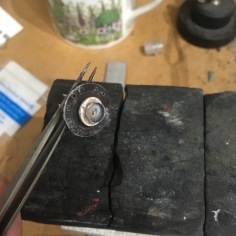
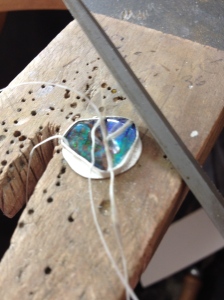
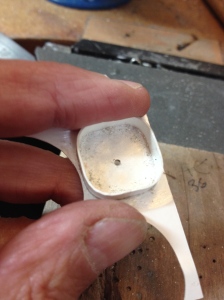
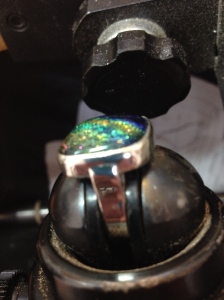
Thank the Lord, the discs spin! All I need to do now is add the bezel cups for the stones. These are commercially made cups that fortunately fit the little peridot cabochons I’m using. I drilled holes I’m the bottom of the bezel cups so I could check the fit and then poke the stones out again as they tend to get stuck!
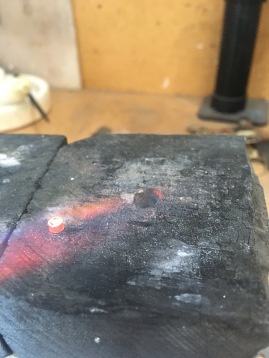
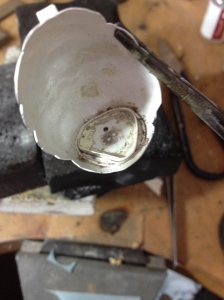
I melted a blob of solder onto the discs
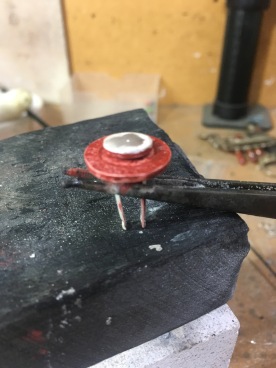
Then I soldered the bezel cups on. This was tricky. First I needed to make sure that the date discs would continue to spin so I covered the lower assembly liberally in my meths and rouge mix. Secondly, the bezel cup is very thin and will melt (Arrg) if too much heat is applied directly to it but the whole thing must be hot enough to melt the solder – but only the solder for the bezel cup NOT my previous joints. In other words pay close attention and be prepared to whip the blowtorch away as soon as the solder has run.
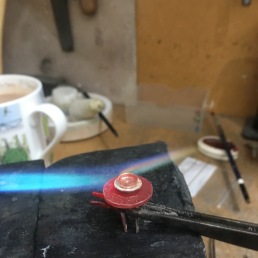
Phew…… and breathe.
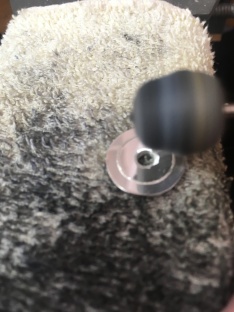
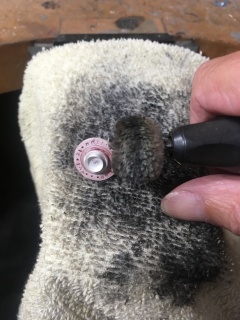
The meths and rouge mix has now gone black but the cups are secure and the date discs still spin. Now polish, polish, polish and then polish again so that it looks lovely and shiny.
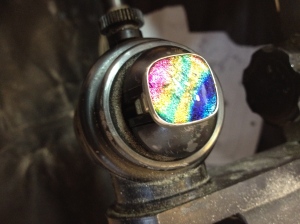
Fit the stones by pushing the edges of the bezels over and then fir the locking parts of the cufflink assembly and there we are. All done.

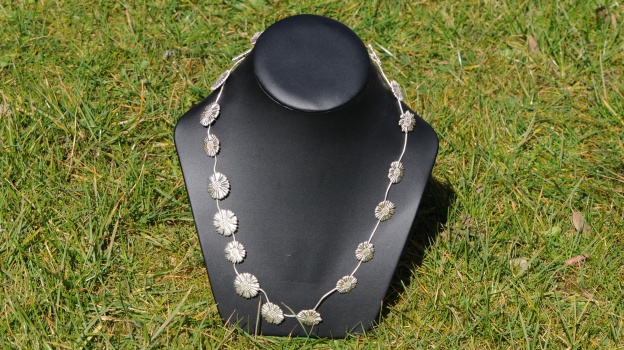
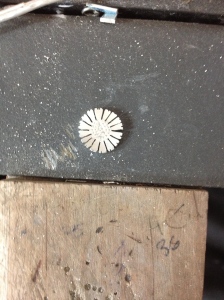
Oh, just one thing more – make up a little necklace for Das. I cut a ‘washer’ shape out of sheet Filed and sanded the edges -should never have put nail varnish on again!


Stamped the initials and date on it, polished it up and hung it on a chain.
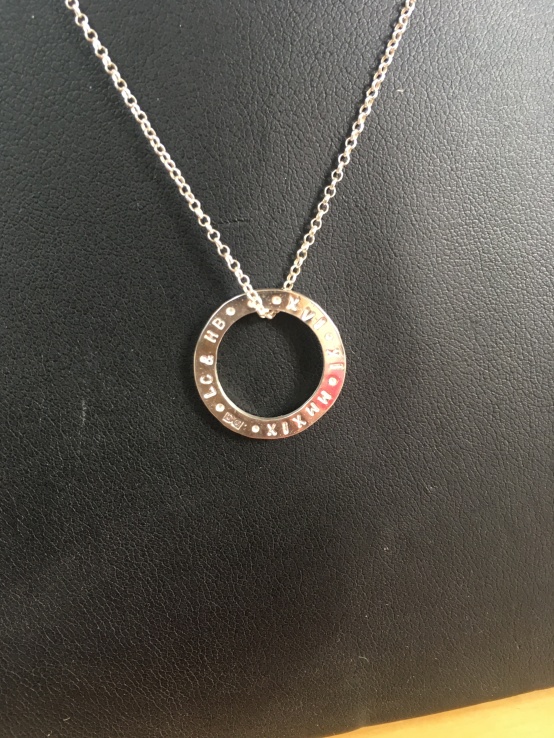
Congratulations Lewi and Das.


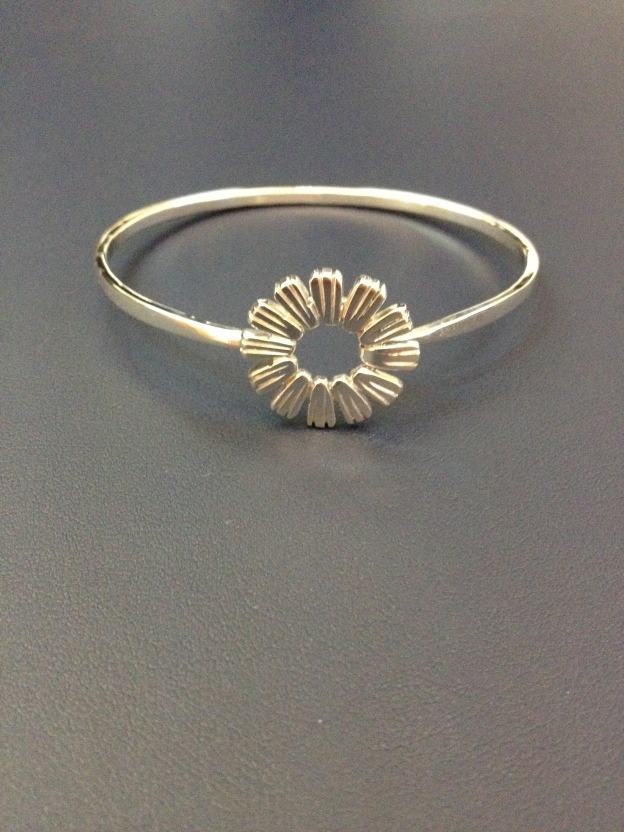


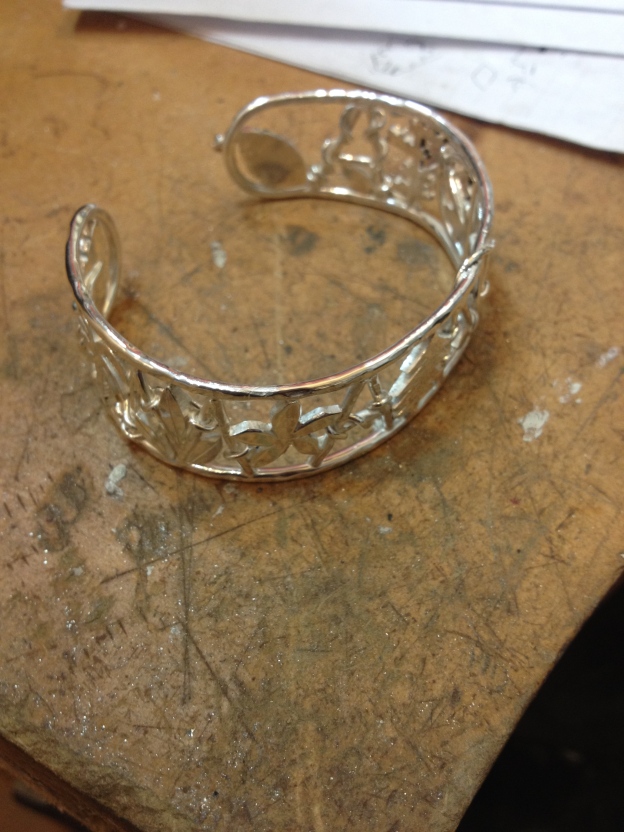


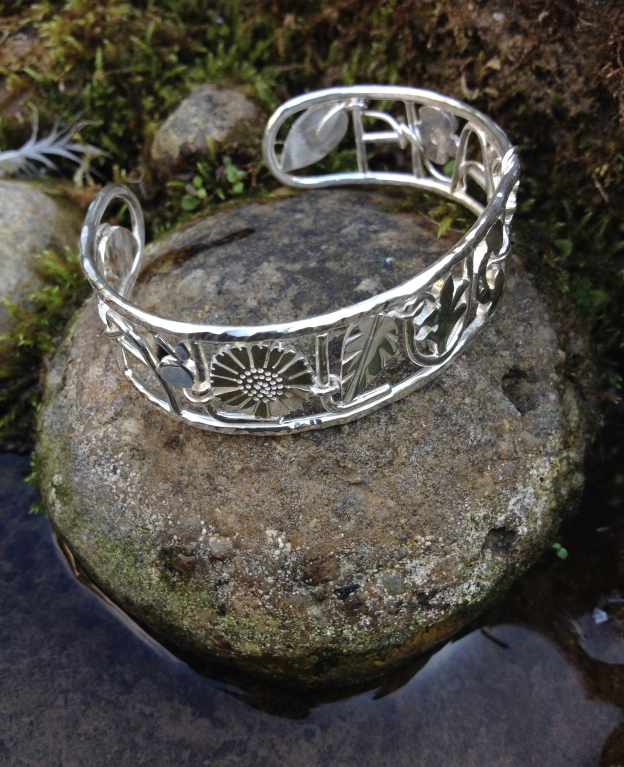


 Eventually I filled the whole bangle with motifs. Then I polished it up. Looks pretty.


